WP-Page Navi
In order to create page navigation links underneath your blog posts and archive listings for sites that have numbered pages, you need to install this WP-Page Navi plugin (http://wordpress.org/extend/plugins/wp-pagenavi). (See the settings in Figure 5-4.) This plugin provides a better user experience for your readers by making it easier for them to navigate through your content, and allowing search engines to easily go through your Web page and index your pages and posts. After you install and activate the plugin, you need to insert the following code into your Main Index template (index.php):
<?php wp_pagenavi(); ?>
![]() The wp_pagenavi(); template tag needs to be added on a line directly after The Loop. Please go to Book VI, Chapter 3 for extensive discussion of The Loop in the Main Index template file to find out where, exactly, you need to add this line of code.
The wp_pagenavi(); template tag needs to be added on a line directly after The Loop. Please go to Book VI, Chapter 3 for extensive discussion of The Loop in the Main Index template file to find out where, exactly, you need to add this line of code.
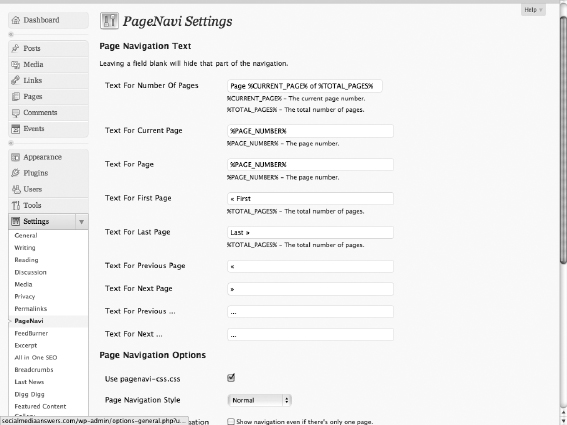
Installing this code gives you the lower navigation. You can experiment with where you want to place the wp_pagenavi() code in your template file to give you the type and look and feel you want. Additionally, you can control the look of the plugin by providing styling in your CSS (style.css) theme file for the WP-PageNavi plugin display, or you can have the plugin insert it's default CSS into your regular CSS by unchecking the Use Pagenavi.css? option.
Figure 5-4: WP-Page Navi settings.