Upgrading WordPress Automatically
To update WordPress automatically, follow these steps:
- Back up your WordPress Web site.
 Backing up your Web site before updating is an important step in case something goes wrong with the upgrade. Give yourself some peace of mind knowing that you have a full copy of your Web site that can be restored, if needed. My advice is not to skip this step under any circumstances.
 - Deactivate all plugins.
This prevents any plugin conflicts caused by the upgraded version of WordPress from affecting the upgrade process, and ensures that your Web site won't break after the upgrade is completed. More information on working with and managing plugins can be found in Book VII; for the purposes of this step, you can deactivate plugins by following these steps:
- Choose Plugins
 Plugins on the Dashboard.
The Plugins page appears.
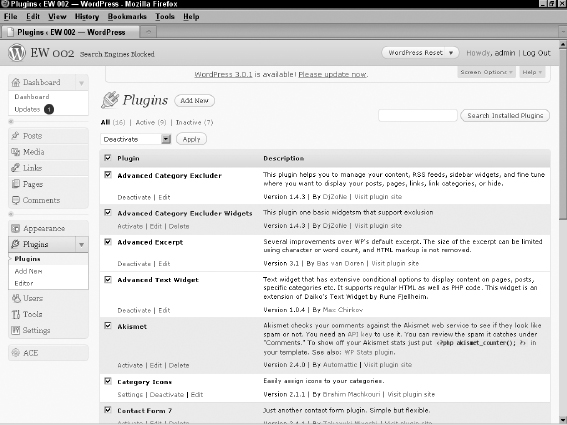
- Select all plugins by checking the box to the left of the plugin names listed on that page (see Figure 6-4).
- In the drop-down menu at the top, select Deactivate.
- Click the Apply button.
- Choose Plugins
- Choose DashboardUpdates.
The WordPress Updates page appears.
Figure 6-4: Plugins page with all plugins selected, ready to de-activate.
- Click the Update Automatically button.
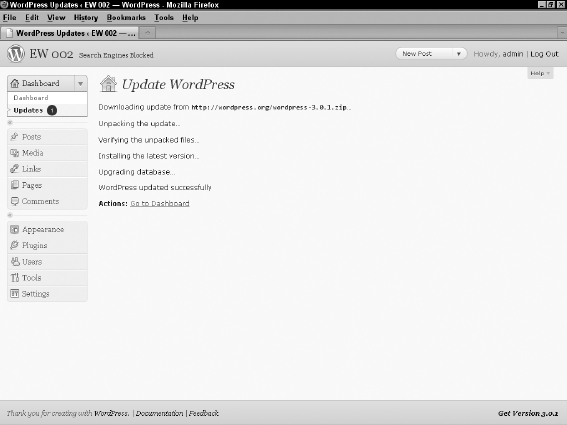
The Update WordPress page appears with a series of messages (as shown in Figure 6-5).
- Click the Go to Dashboard link.
The Dashboard page appears in your Web browser. Notice that both the update alert message at the top of the site, and the notification bubble on the Dashboard menu are no longer visible. Your WordPress installation is now using the latest version of WordPress.
Figure 6-5: WordPress update messages.