
Upgrading WordPress Manually
The second and least used method of upgrading WordPress is the manual method. The method is least used mainly because the automatic method, discussed in the preceding section, is so quick and easy to accomplish. However, certain circumstances — probably related to the inability of your hosting environment to accommodate the automatic method — exist where you can manually upgrade WordPress, so we include the description of the process here.
To upgrade WordPress manually:
- Back up your WordPress Web site and deactivate all plugins.
Refer to Steps 1 and 2 in the preceding “Upgrading WordPress Automatically” section.
- Navigate to the WordPress Updates page by clicking the Please Update Now link.
- Click the Download button.
This opens a dialog box that allows you to save the .zip file of the latest WordPress download package to your local computer, as shown in Figure 6-6.
Figure 6-6: Down-loading the WordPress files to your local computer.
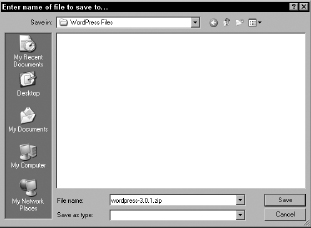
- Select a location to store the download package and click Save.
The .zip file downloads to your selected location on your computer.
- Browse to the .zip file on your computer.
- Unzip the file.
Use a program like WinZip (www.winzip.com).
- Connect to your Web server via FTP.
- Delete all the files and folders in your existing WordPress installation directory except the following:
- /wp-content folder
- .htaccess
- wp-config.php
- Upload the contents of the /wordpress folder to your Web server — not the folder itself.
Most FTP client software lets you select all the files to drag and drop them to your Web server. Other programs have you highlight the files and click a Transfer button.
- Navigate to the following URL on your Website: http://yourdomain.com/wp-admin.
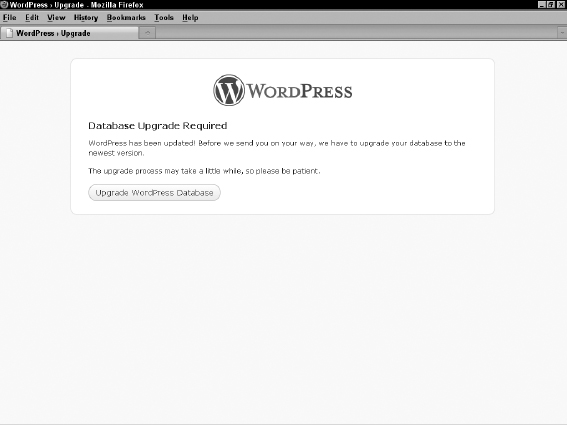
Don't panic — your database still needs to be upgraded to the latest version; so instead of seeing your Web site on your domain, you see a message telling you that a database upgrade is required, as shown in Figure 6-7.
- Click the Upgrade WordPress Database button.
WordPress initiates the upgrade of the MySQL database associated with your Web site. When the database upgrade is complete, the page refreshes and displays a message that the process has finished.
- Click the Continue button.
Your browser loads the WordPress login page. The upgrade is complete and you can continue using WordPress with the newly upgraded features.
Figure 6-7: Press the button to upgrade your WordPress database.
The upgrade process occurs on a regular basis, at least three or four times per year. For some users, this is a frustrating reality of using WordPress; however, this active development environment is part of what makes WordPress the most popular platform available. Because WordPress is always adding great new features and functions to the platform, upgrading always ensures that you're on top of the game and using the latest tools and features.
If you're the type of person who is uncomfortable with performing administrative tasks, such as upgrading and creating database backups, you can hire someone to perform these tasks for you — either a member of your company (if you are a business) or a WordPress consultant skilled in the practice of performing these tasks. Book I, Chapter 4 includes a listing of experienced consultants who can lend a hand.