
Inserting Clip Art
When you need a quick illustration in a workbook, you can insert a clip art item. Office includes a modest but useful set of clip art pictures that you can use in your workbooks. You can also download other clip art pictures from the Office pages of the Microsoft web site.
Excel gives you two tools for inserting clip art:
- Clip Art Browser. The Clip Art Browser is a pane that appears in the Media Browser. It shows a variety of clip art pictures.
- Clip Gallery application. The Clip Gallery is a separate application that you can use to manage your clips and insert them in your workbooks. The Clip Gallery has a wider selection of clip art pictures than the Clip Art Browser pane, but some of the items are the same. The Clip Gallery also has more features for helping you locate images.
We'll start with the Clip Art Browser.
Inserting a Clip Art Picture Using the Clip Art Browser
When you need a clip art picture, first see whether the Clip Art Browser contains a suitable picture. To open the Clip Art Browser and insert an item, follow these steps:
- Choose
Insert
Clip Art Clip Art Browserfrom the menu bar to display the Clip Art Browser pane in the Media Browser window. Figure 9–1 shows the Clip Art Browser pane.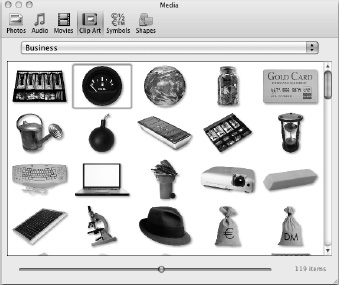
Figure 9–1. Use the Clip Art Browser pane in the Media Browser to insert clip art pictures in your workbooks. You can drag the sizing handle at the lower-right corner to resize the Media Browser.
- In the pop-up menu at the top, choose All Images if you want to see all the images available, or choose the category of images you want—for example, Animals or Business.
- If you want to zoom in to see the pictures at a larger size, drag the zoom slider at the bottom to the right. To zoom out, drag the slider to the left.
- Browse through the clip art items that appear in the Clip Art Browser to find the one you want.
- To insert an item, click it and drag it to where you want it to appear in the workbook.
Instead of inserting a clip art picture in the workbook, you can Ctrl+click it or right-click it and then click Copy on the context menu to copy it to the Clipboard. You can then use the Paste command (for example, press Cmd+V) to paste the clip art picture where you need it.
Inserting a Clip Art Picture Using the Clip Gallery
If the Clip Art Browser doesn't contain a suitable picture for your workbook, try the Clip Gallery. Follow these steps:
- Click the cell at which you want to position the upper-left corner of the picture.
- Choose
Insert Clip Art Clip Art Galleryfrom the menu bar to launch the Clip Gallery application (see Figure 9–2). - In the Category list box, click the category of pictures you want to display. You can then scroll through the pictures.
- To search by clip name or keyword, type the search term in the Search box, and then click the Search button. The Clip Gallery adds all matching clips to the Search Results category at the top of the Category list box and displays this category in the main box.
- Click the clip art item you want to insert in the workbook.
- Click the Insert button. Excel inserts the clip art item and automatically closes the Clip Gallery.
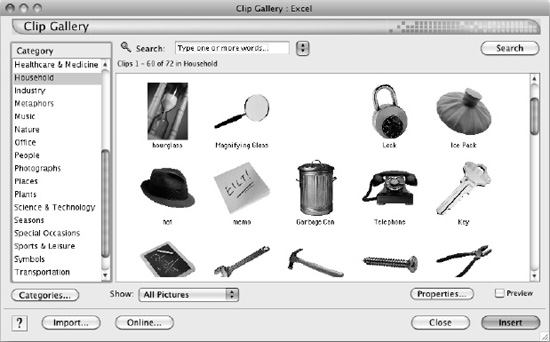
Figure 9–2. The Clip Gallery is a tool for managing your clip art and inserting clip art items in workbooks. To see more pictures at once, drag the sizing handle at the lower-right corner down or to the right.
Managing Your Clip Art Items with the Clip Gallery
To get the most out of the Clip Gallery, you can add your own pictures, motion clips, and sounds to it. You can also download clip art items from the Microsoft Office web site and add them to the Clip Gallery. To keep the Clip Gallery items arranged and make it easy to find the items you need, you can change the categories in the Clip Gallery and tag the items with keywords.
Adding Your Own Pictures to the Clip Gallery
To add your own pictures to the Clip Gallery, follow these steps:
- Choose
Insert Clip Art Clip Art Galleryfrom the menu bar to open the Clip Gallery. - Click the Import button to display the Import dialog box (see Figure 9–3).
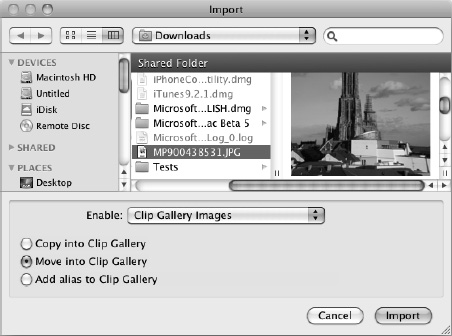
Figure 9–3. Use the Import dialog box to add your own pictures or downloaded pictures to the Clip Gallery.
- In the Enable pop-up menu, choose the type of items you want to add:
- All Clips. Select this item to import any type of item the Clip Gallery can handle.
- Clip Gallery Images. Select this item to add picture files to the Clip Gallery.
- Clip Gallery Movies. Select this item to add movies.
- Clip Gallery Sounds. Select this item to add sound files.
- Clip Gallery Packages. Select this item to add gallery packages you've downloaded.
- Microsoft Office Online Files. Select this item to add gallery packages you've downloaded in the
.cilfile format from the Microsoft Office web site.
- Click the file to add to the gallery.
- In the lower-left corner of the Import dialog box, select the appropriate option button to choose how to add the item to the Clip Gallery:
- Copy into Clip Gallery. Select this option button to make a copy of the clip and add that copy to the Clip Gallery. Take this approach when the clip art item is on a removable drive or a network drive.
- Move into Clip Gallery. Select this option button to move the clip from its current folder to the Clip Gallery. Use this option when you've downloaded a file but not for your material that you've organized into folders.
- Add alias to Clip Gallery. Select this option button to add an alias to the Clip Gallery. The alias is a file shortcut; it points to the file in its current location. Use this option for material you've organized into folders but want to add to the Clip Gallery.
- Click the Import button. The Clip Gallery closes the Import dialog box and displays the Properties dialog box for the item (or the first item if you're importing multiple items). Figure 9–4 shows the Description tab of the Properties dialog box for a picture.
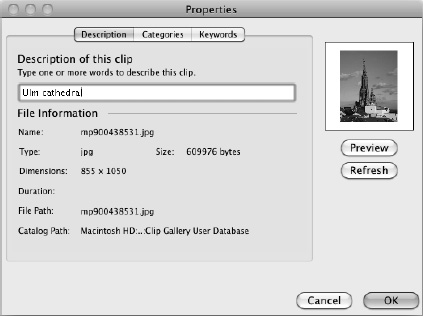
Figure 9–4. On the Description tab of the Properties dialog box for a clip art item, enter a useful description in place of the file name.
- In the Description of this clip box, type a description of what the clip shows. The Clip Gallery suggests the first part of the file name as the description, but you'll often want to improve on this.
- Click the Categories tab to display its contents (see Figure 9–5).
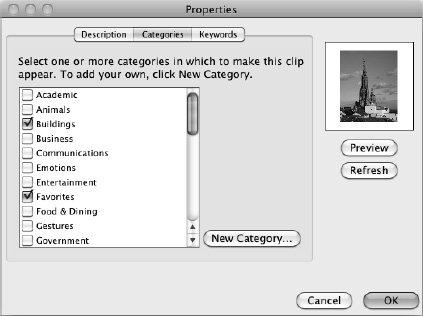
Figure 9–5. On the Categories tab of the Properties dialog box, select the check box for each category you want to assign the item to. To add a category, click the New Category button.
- Select the check box for each category you want the picture to appear in. If no category is suitable, create one by clicking the New Category button, typing the name in the New Category dialog box, and clicking the OK button.
- Click the Keywords tab to display its contents (see Figure 9–6).
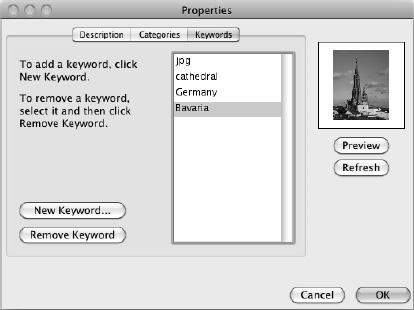
Figure 9–6. On the Keywords tab of the Properties dialog box, add keywords to the clip art item so that you will be able to search for it.
- Mark the clip art item with the keywords it needs. Use these techniques:
- Add a keyword. Click the New Keyword button to open the New Keyword dialog box. Type the keyword, and then press the Return key or click the OK button.
- Remove a keyword. Click the keyword in the list box, and then click the Remove Keyword button. In the confirmation dialog box that opens, click the OK button.
- Click the OK button to close the Properties dialog box. The Clip Gallery imports the picture and adds it to the categories you chose.
Downloading Clip Art Items from the Microsoft Office Web Site
The Clip Gallery contains enough items to get you started with clip art, but if you need to use clip art extensively in your workbooks, you'll probably want to download other items from the Microsoft Office web site and add them to the gallery. To do so, follow these steps:
- Choose
Insert Clip Art Clip Art Galleryfrom the menu bar to open the Clip Gallery. - Click the Online button to launch or activate your default browser and display the Images page on the Microsoft Office web site.
NOTE: The first time you click the Online button in the Clip Gallery, the Launch Browser dialog box appears, asking your permission for it to launch your default browser. Select the Don't Ask Me Again check box, and then click the Yes button.
- Browse to find the images you want.
- Add each image to your basket by moving the mouse pointer over the image, waiting until the details panel pops up, and then clicking the Add to Basket link on it.
- When you're ready to download the images, move your mouse over the Selection Basket link in the upper-right corner, and then click the Download link.
- On the web page that appears, click the Download button to download the clip art items in an archive file.
- Click the Downloads folder on the Dock, and then click the archive file. Its name starts with ClipArt, and it has the file extension
.cil, so it should be easy to identify. The Clip Gallery automatically imports the files.
NOTE: If your Dock doesn't contain a Downloads folder, open a Finder window to the Downloads folder in your user account. Then double-click the archive file. Alternatively, click the Import button in the Clip Gallery window, click the file in the Import dialog box, and then click the Import button.
After importing the files, you may want to set their properties and keywords as described in the previous section to make them easier to find.
Organizing the Clip Gallery with Categories
As you saw a little earlier in this chapter, you can create new categories as needed when importing items into the Clip Gallery. You can also create or delete categories by clicking the Categories button in the Clip Gallery and working in the Categories dialog box (see Figure 9–7):
- Create a category. Click the New Category button to display the New Category dialog box. Type the name for the category, and then click the OK button.
NOTE: These categories appear only in the Clip Gallery, not in the Clip Art Browser.
- Delete a category. Click the category in the list box, and then click the Delete button. In the confirmation dialog box, click the OK button.
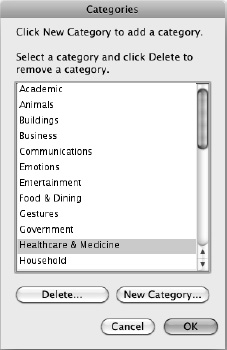
Figure 9–7. Use the Categories dialog box in the Clip Gallery to delete existing categories or create new categories.