
The Unity UI workflow, being far less programmer centric than Unity's previous effort--,the infamous OnGUI, is highly editable inside the editor; let's take a look.
Load Unity, assuming it is not already running. Also, select the HoloLens Beginner Guide from the project list.
Once loaded, it should look similar to this:

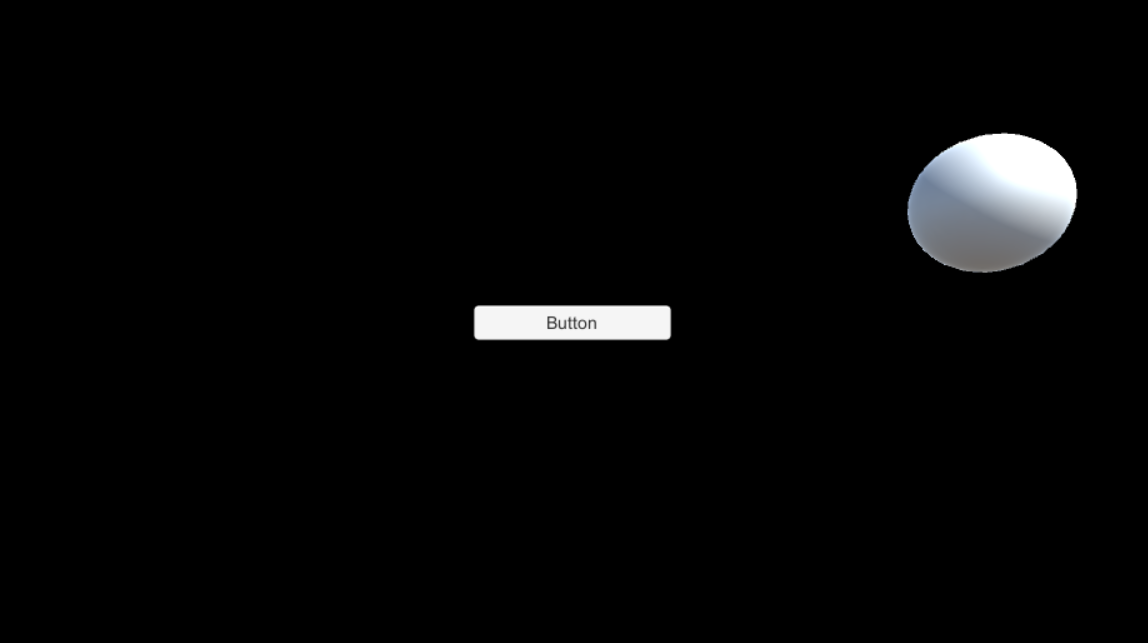
Let's add a UI element so that we can see how it all works. Click on GameObject in the main menu. Scroll down to UI and select Button:

When this is accomplished, you should note a few new things. First, we now have a large rectangular labeled button on the screen:
We also now have three new objects in our Hierarchy view: Canvas, Button, and EventSystem:
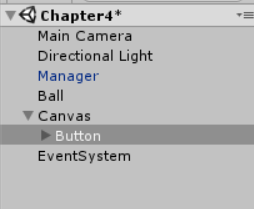
- Canvas: The Canvas is the heart of the UI system. All elements of our user interface will be children of a canvas.
- EventSystem: The EventSystem handles input from various sources.
- Button: A button is exactly what you think it is. If you select it in the Hierarchy view, you will see another important element of the UI system.
- RectTransform: The RectTransform component is used to place UI elements on a canvas. It always helps the canvas to be resized for different platforms with little hassle:

In order to see this new UI in action, we will need to make a few modifications to the LaunchBall class.
First, we will need to take a look at our Update function :
void Update () {

        if (lbJump)
        {
            TeleportBall();
            ChangeColor();
            rend.material.color = lbColor;
            LaunchBallJump();
        }

        if (checkLBToggle)
        {
            CheckLB();
        }
       }
Then, we need to change the preceding code to this:
void Update () {


       }
We need to add the following line to both, our Start function and our ChangeColor function:
 rend.material.color = lbColor;
void Start()
    {
        gameObject.transform.position = launchBallHome;
        lbSpeed = 20f;
        lbColor = new Color(0.1f, 0.2f, 0.5f);
        rend = gameObject.GetComponent<Renderer>();
        lbJump = true;
        rend.material.color = lbColor;
    }
Also, while we are here, let's add the public keyword to the start of the function:
public void ChangeColor()
    {
        float redColor = 0.1f;

        lbColor.r = redColor;
        lbColor.g = Random.Range(0, 1f);
        lbColor.b = Random.Range(0, 1f);
        rend.material.color = lbColor;
    }
Rename the TeleportBall method to ResetBall and change the code to match this:
public void ResetBall()
    {

    transform.position =
                new Vector3(transform.position.x, -1,
         transform.position.z);


    }
We also need to add the public keyword to the LaunchBallJump method as well.
If we go back to Unity and click the Play button, the ball will now move to center of the screen and turn blue. These changes are defined in the Start() function, while everything else that was previously happening was in the Update() method, which is now empty.
With that out of the way, we can now make our ball do things in an interactive fashion.