
When I was working on building this project, since we cannot actually throw a ball up the ramp, I tried a few other approaches and control schemes to let the player get the ball from one end of the ramp to the other. I tried to set up a pinball-style air-tap and hold scheme, a double-tap measuring the timing of the two taps to determine the strength of the throw, and a few others as well.
My reason for not sticking to any of the earlier versions was that each one required the user to be looking at the ball, and generally by the time the user looks up, the ball is just starting to land or is already in a hole in some cases.
When you play SkeeBall in real life, you look at the target board the whole time, not the ramp. I decided that I wanted to use a control scheme that mimicked that. So, I landed on this solution.
At the end of the ramp, there is a light moving back and forth, transitioning in color from green to red. Depending on the color and position of the light when the user air-taps, it determines the amount of force that is applied to the ball when it is released.
This allows the user to look at the holes they are aiming for and therefore the experience feels a bit more authentic. Now, let's go through the steps to make this work:
- In the skee Hierarchy, create an empty game object called MovingLightSpeedIndicator.
- Set its Transform information to match the following image:

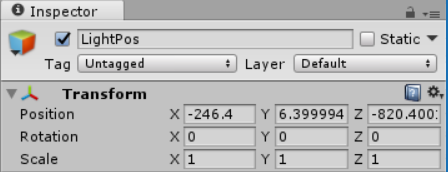
- As a child of that object, create another empty GameObject, called LightPos, with the following Transform information:
- Create another empty GameObject as a child of MoveLightSpeedIndictator, called LightPos2, with the Transform information, as follows:

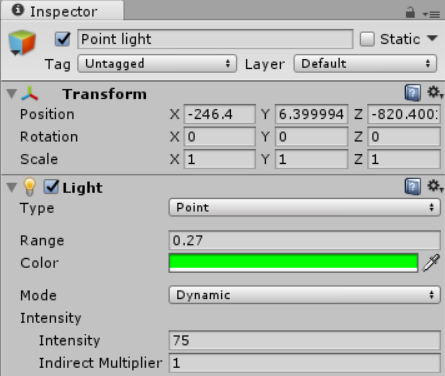
- The last object we need to create for this branch of the hierarchy is a Point light. Set its Transform and light component fields to match the following image. The color we are using for this light is R = 0, G = 255, and B = 0:
- Finally, click on Add Component | New Script with the Point light object still selected.
- Type BounceObjectToPoints in the name field and click on Create and Add. Now, double-click on the name to open it in Visual Studio.
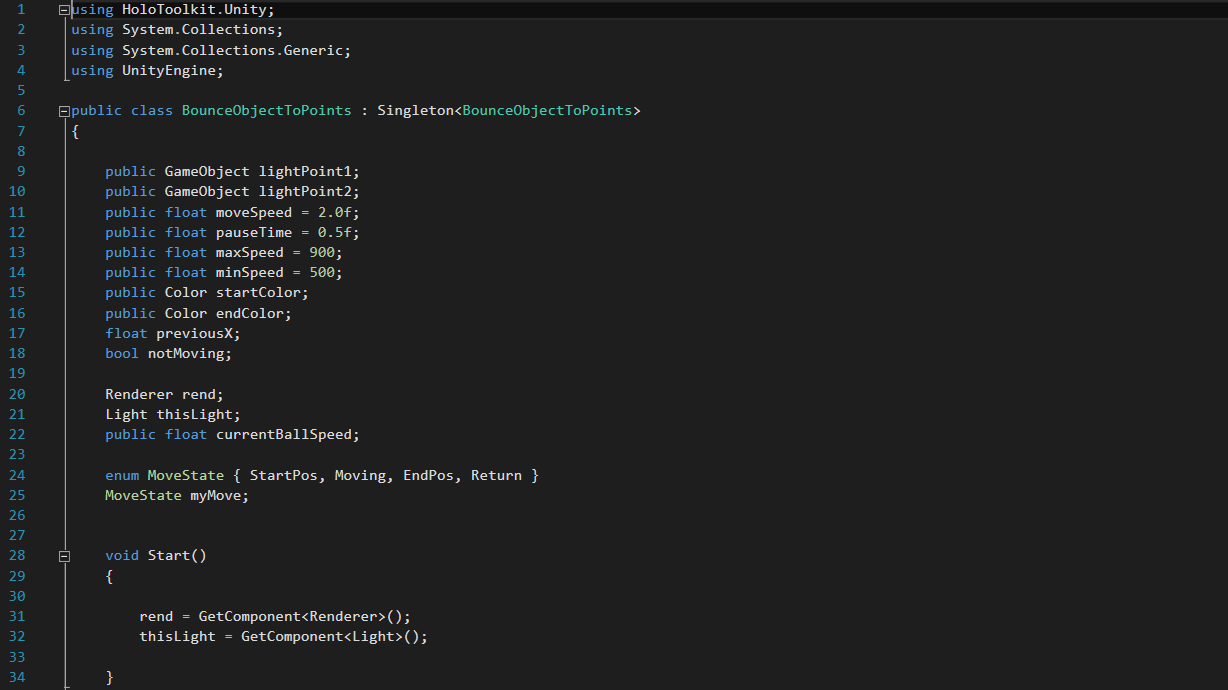
- Grab the BounceObjectToPoints.cs file from the downloads package and either copy and paste it into the class in Visual Studio or type it out manually (for reference, here's a screenshot):
- Once you have the code in place and have saved the file, the options for the class should appear and look like this:

- Drag and drop each of the LightPos objects over and change the rest of the fields to match the following image:

So, if you did type it all out, you might be curious as to what it all meant. Well, let me tell you. The big-picture idea is that we are using two GameObjects as transform references. We have an enumeration, called MoveState, with four states: StartPos, Moving, EndPos, and Return.
In the Update() method of our light object, we have a switch looking at two of those MoveState: StartPos, and EndPos. Each of those cases calls a coroutine, Lerps, short for Linear Interpolation, the object from either position A to B or from B to A.
Vector3.Lerp linearly interpolates between two vectors.
After the switch section, we have two lines of code that are important.
The first is our means of setting the current speed. Using a MapScale function, we can map our maxspeed(900) and minspeed(500) to the local X position(-245.1f to -57.5f) of the Point Light:
currentBallSpeed = MapScaleFloat(transform.localPosition.x, -245.1f, -57.5f, maxSpeed, minSpeed);
The second line uses the same MapScaleFloat method to map the maximum and minimum speed of the ball from 0.0f to 1.0f. The return value of this method is used as the value for the red color. The way this function is being used creates a 1.0f to 0.0f range. In the green element of the color, we have the same method with the exception that maximum and minimum speed are switched, creating a low to high range:
thisLight.color = new Color(MapScaleFloat(currentBallSpeed, maxSpeed, minSpeed, 0.0f, 1.0f), MapScaleFloat(currentBallSpeed, minSpeed, maxSpeed, 0.0f, 1.0f), 0f);
The rest of the Update() method is using the x position from the current frame instead of the previous frame to determine which move state should be active.
Now that we are done with the skee Prefab, for now, we can move a few steps closer to a playable project. Next up, we have the actual GameBall that will be using the speed that we set up just now.