
Now we are ready to animate.
In order to do this, like the classic lead animator, we will set keyframes. Then, we will let the junior animators--Unity, in our case--handle everything in between. To keep our first experience in animation simple, we will make a looping animation. We will leave the opening and closing keyframes alone so that the animation loops seamlessly.
Creating keyframes is a simple matter of moving the playback head (the vertical red line) to different points on the timeline and changing properties, such as position, rotation, scale, and so many others:
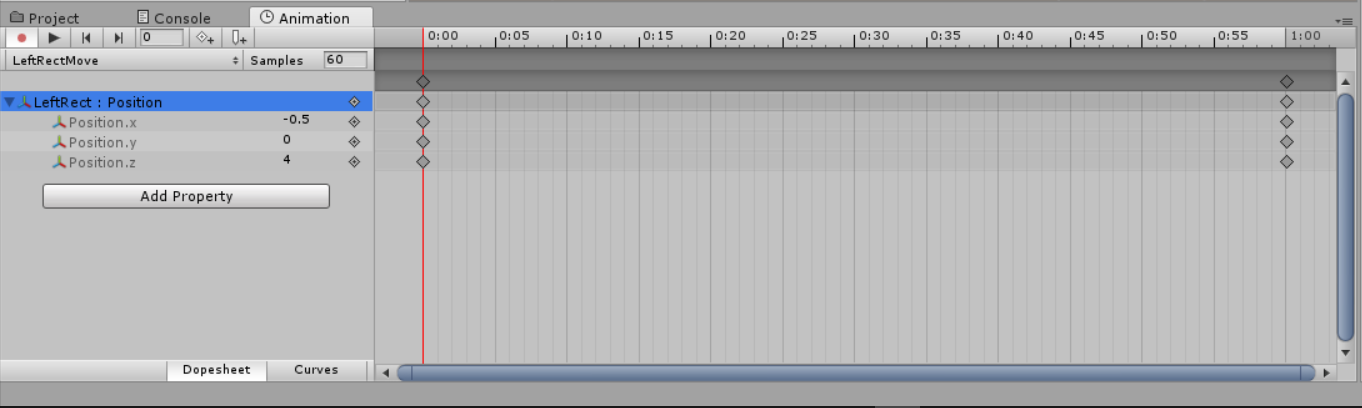
Let us take a moment and see how to create those keyframes.
- Click on theTimeline at the bar just before 0:20 to move the playback head there:

- Now, when you look at the Transform component of LeftRect, you will note that all the Position Input fields are red; this means that this object is in record mode:
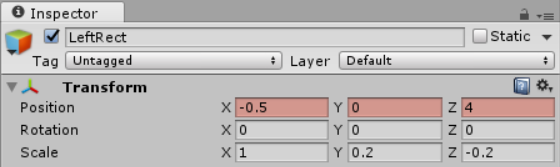
- Now, change the Y position to 0.2.
- Repeat step 1, substituting the time for 0:40.
- Change the Y position to -0.2.
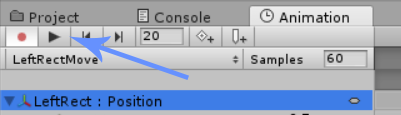
Now, if you click on the Play button, you should see the cube animating. Good work!:
We will follow all the steps for the previous cube object with a couple of minor differences:
- Ensure that RightRectMove is the selected animation that we are working on and click on the Add Property button:

- Click on Transform and then click on the plus symbol next to Position.
- With RightRect still selected, click on the Timeline at the bar just before 0:20.
- Now, change the Y position to -0.2.
- Click on the Timeline from the bar just before 0:40.
- Change the Y position to 0.2.