
Now, let's see this work on HoloLens. We will be repeating most of the exact same steps from the last chapter; I will lighten up on the visual aids this time:
- Click on File and select Build Settings.
- From the Scenes In Build box, select Scenes/Main and press the Delete key.
- Click on the Add Open Scenes button.
- Click on the Build button.
- When the Build Windows Store window appears, if you are not already in your app directory, navigate there.
- Click on Select Folder.
Here we are, building again! This will take a few moments, and as before, a Windows Explorer window will pop up upon completion:
- Double-click on the Apps folder.
- Double-click on the HoloLens Beginners Guide.sln.
Now, we wait again as Visual Studio opens up. Ensure that your HoloLens is up and running:
- In the Solution Explorer, select HoloLens Beginners Guide (Universal Windows).
- Click on Build and select Deploy HoloLens Beginners Guide.
When this process is finished, you will see these statements in your output window:
You are now ready to test out all the hard work you did in this chapter. Bring up your menu, find the HoloLens Beginners Guide app, and run it.
Remember your commands:
- AirTap / Saying Select: This causes the block being gazed at to move up and down
- Change Color: This causes the block being gazed at to turn blue:
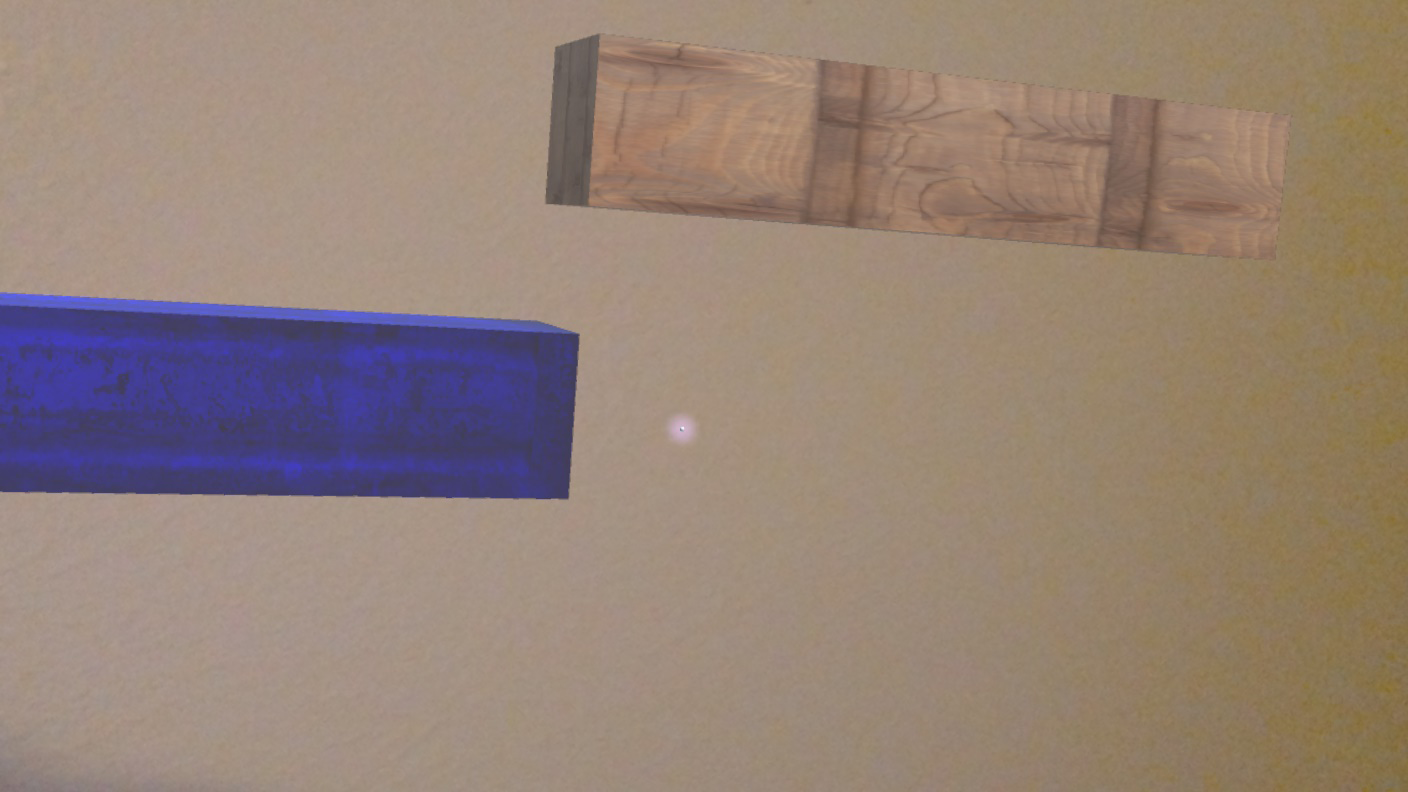
- Reset: This causes the gazed-upon block to turn back to the default color
- Gazing at the Blocks: This causes them to turn green so that you know the one that is being looked at:
