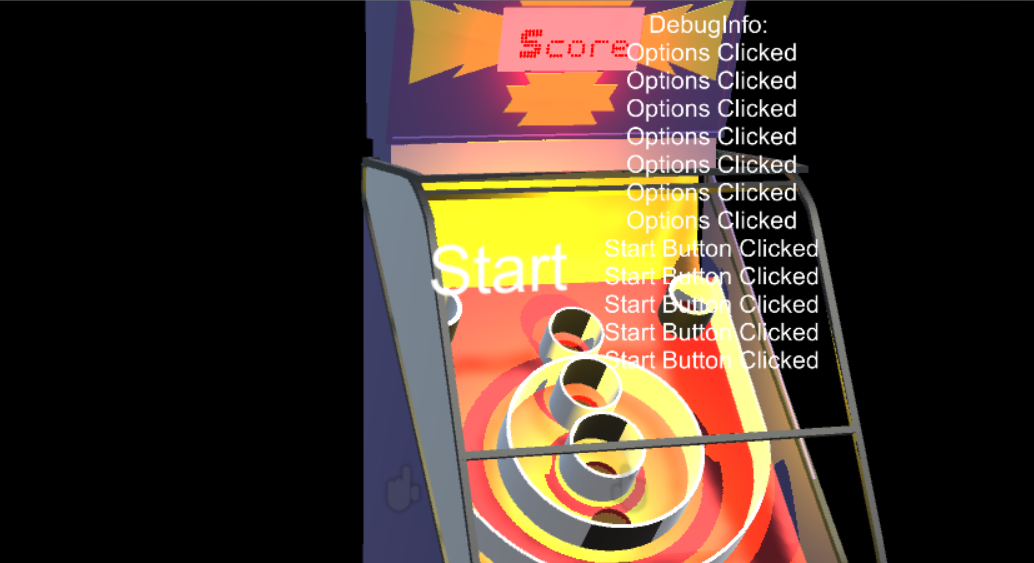
We don't actually have a game to start just yet, and we don't have options. So, what we will do is set up the buttons to send a message to our debug window and tell us if that has been clicked.
Our debug window is attached to a Singleton, so we can easily access it from anywhere in the code using ApplicationManager.Instance.debugInfoString =. Application Manager is the Singleton, Instance is the directline to application manager and debug InfoString is a connection to the text we want to change. Whatever is on the other side of the equal sign will be put into our debug window.
Simple, right?
OK, so now we need to select the StartBtn object and click on Add Component, click on New Script, type StartButton, and press Enter. Now, double-click on it to open it in Visual Studio.
Here is the entirety of the script file. We are using the HoloToolkit input module to handle the air-taps.
When an air-tap happens, we send the message Start Button Clicked.
Please note the += sign and the . The += sign means that we are taking the string that is there and adding to it, while the means new line:

Create an OptionButton script for your OptionsBtn object and use this exact same code from line 8 to line 25, with the exception of replacing Start Button Clicked with Options Button Clicked.
Now, if you run the application and click on the start and option words, you should see something like this; great work!

