
Here, we will do some initial setup so that we can get into this chapter. After ensuring that we are synced up with the preceding chapter's scene file, we will bring in a few necessary Game Objects in the form of the input manager, basic cursor, and HoloLens camera. Then, we will import some new assets into Unity.
If you followed the tutorials in Chapter 5, Now That Is How It Should Sound, this is roughly what your Unity screen should look like; if that is the case, then follow the pattern we have used in the previous chapters and save this scene as Chapter6.unity.
This will be our starting point:
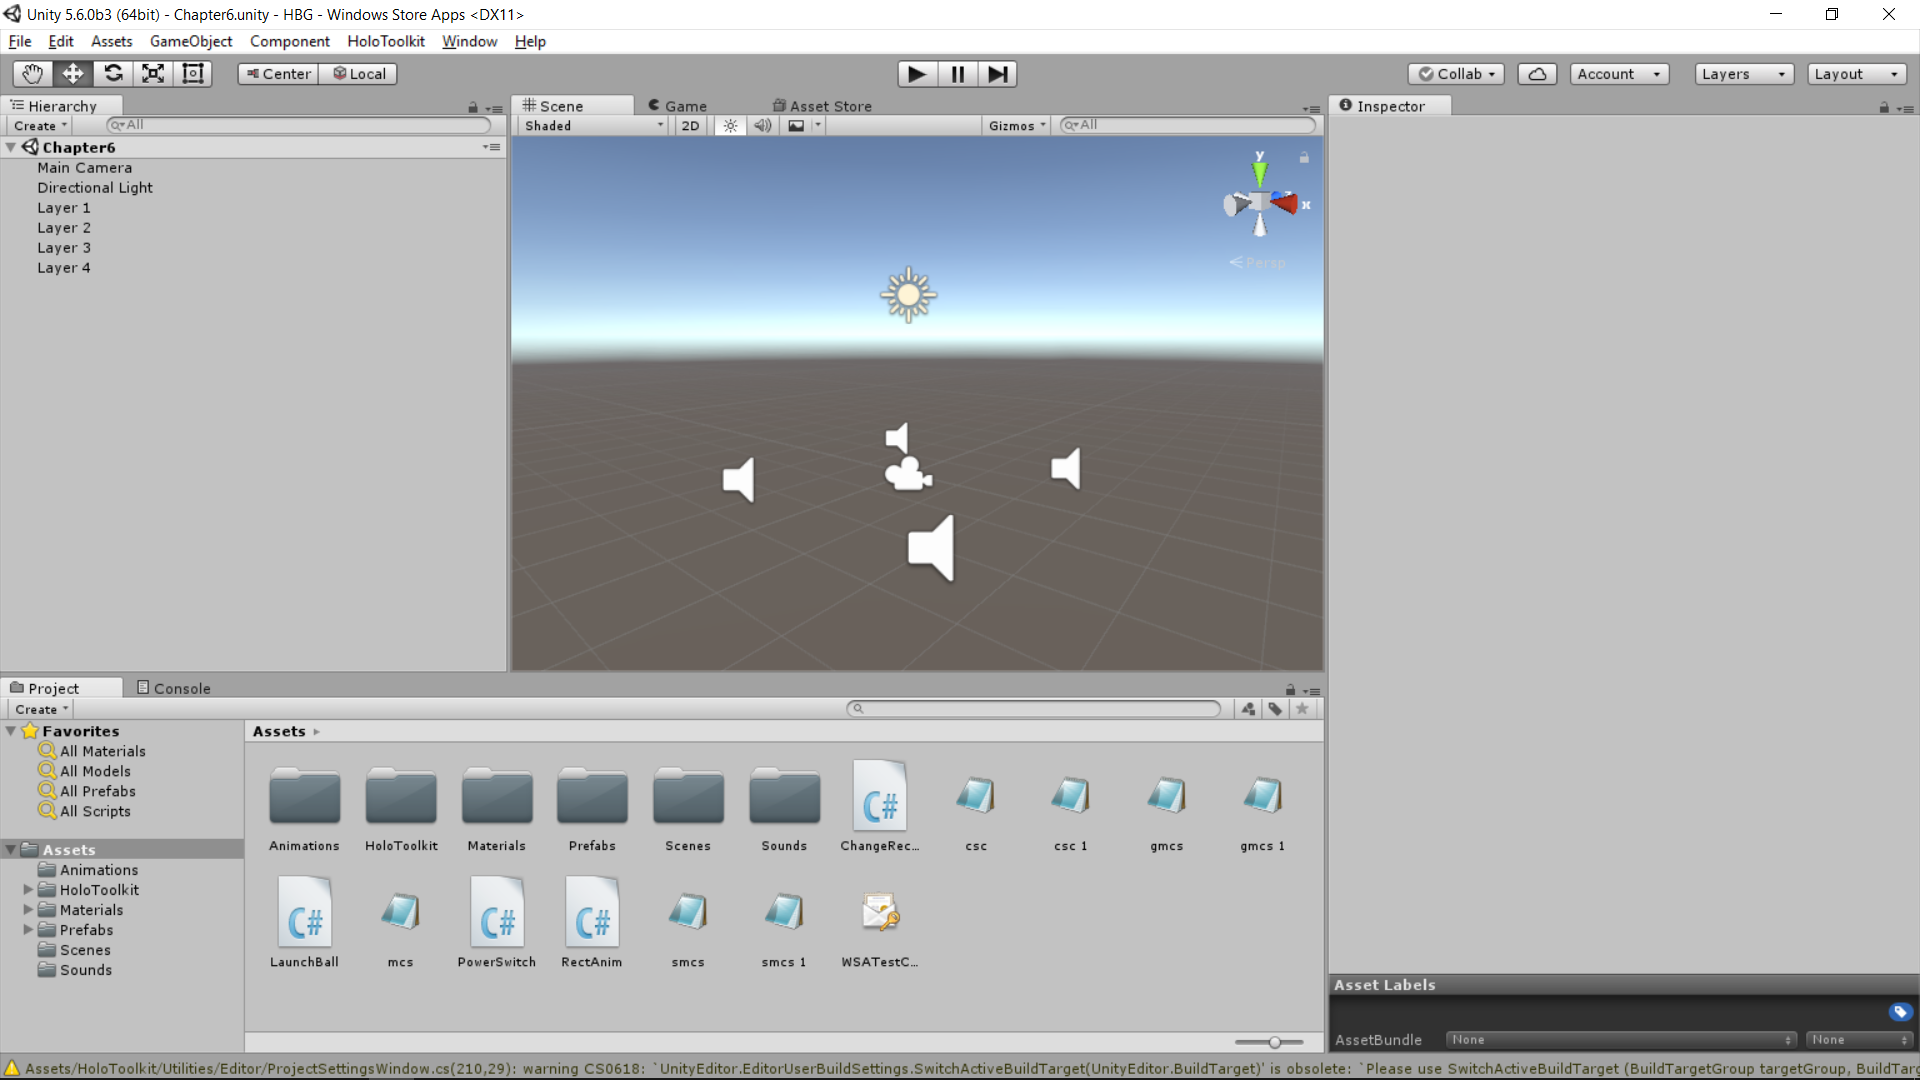
All right, now for some quick clean up:
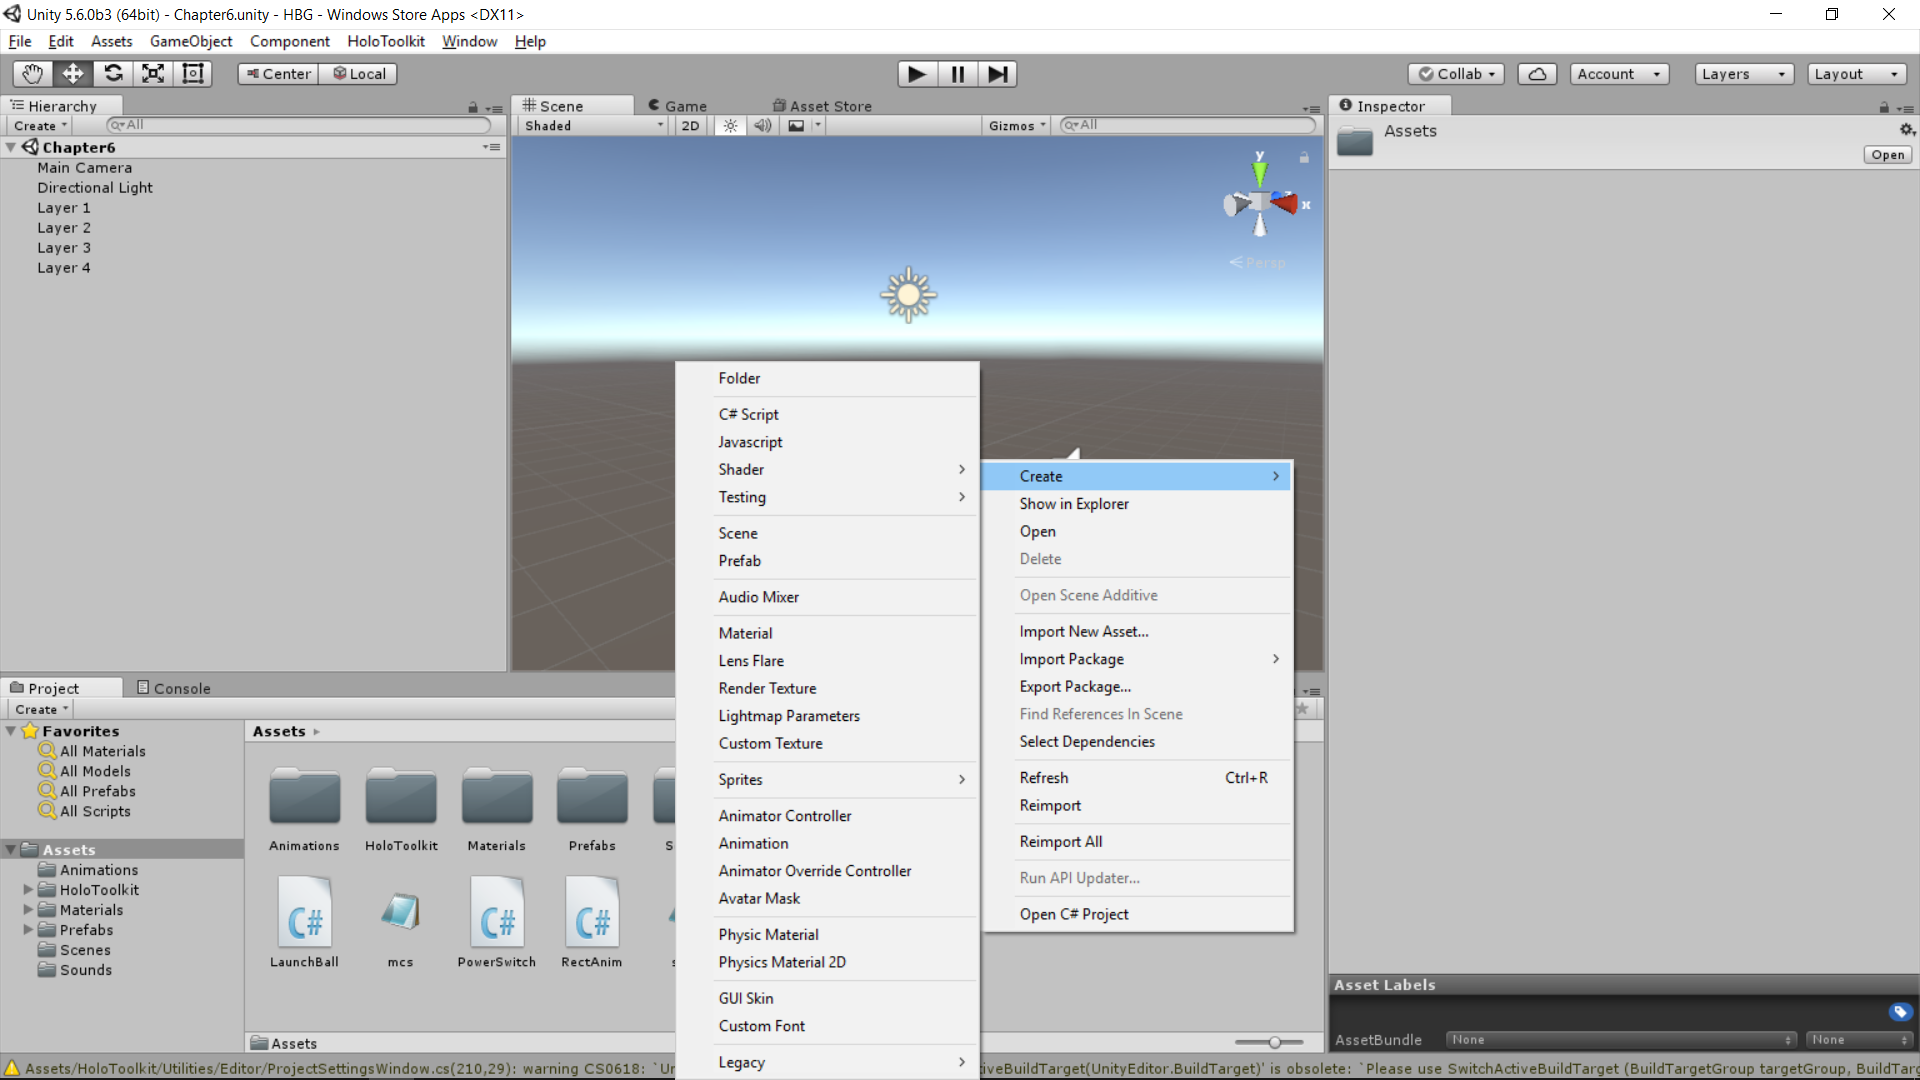
- Right-click in your Assets window and select Create. Click on folder and name that folder Scripts:
- Select each script file that is in the root Assets folder and drag it to the Scripts folder; this is what your Unity window should look like when this is done:

So, before we can really get into the Spatial Mapping, we will need to set up our input manager and cursor, like we did in the past. So, let's perform the following steps:
- Drill into the HoloToolkit | Input | Prefabs directory in your Project View:

- Select both the InputManager and the HoloLensCamera prefabs and drag them to our Hierarchy view.
- Delete the MainCamera object in the Hierarchy view.
- Now, double-click on the Cursor folder in the Assets view.
- Drag BasicCursor in the Hierarchy view.
- When you have completed these steps, your Hierarchy view should look like this:

So, for the next section, we will import our Skeeball machine and a spatial map to work with inside Unity. This will dramatically speed up the testing process.