The Horizon Security Server software is delivered as a single executable (EXE) file, named in a format similar to VMware-Horizon-Connection-Server-x86_64-x.x.xyyyyyy.exe. The following steps outline the installation process:
- Double-click the Horizon Connection Server installer EXE file to launch the installer.
- In the Welcome to the Installation Wizard for VMware Horizon 7 Connection Server window, click on Next >.
- Review the License Agreement, select the I accept the terms in the license agreement radio button, and click on Next >.
- Select the installation directory and click on Next >.
- Select Horizon 7 Security Server as shown in the following screenshot, and then click on Next >:

- Enter the name of the Horizon Connection Server that the Horizon Security Server should be paired with in the Server: field and click on Next >.

- In the Password: field, enter the Security Server Pairing Password that was specified earlier and click on Next >.

- Enter each of the publicly resolvable URLs as requested in the External URL:, PCoIP External URL:, and Blast External URL: fields. Click on Next > when complete.

The PCoIP External URL must be entered as an IP address that remote clients will use to access the Horizon Security Server. The other values shown may be changed later if required.
- Select either the Configure Windows Firewall automatically or Do not configure Windows Firewall radio button and click on Next >. If the Do not configure Windows Firewall option was selected, configure the firewall manually using the settings provided earlier in the chapter.
- Review the final installation screen to ensure that the installation directory is correct. If changes are needed, click on the < Back button to reach the necessary configuration screen and make the required changes. Assuming that the settings are correct, click on Install to begin the automated installation process.
- Click on Finish when prompted at the completion of the installation process.
- The installation process will install all the components required for the Horizon Security Server. The same process can be used to install additional Horizon Security Servers, although a new Security Server pairing password would need to be generated as each is only valid for one use.
- Navigate to the Security Server web page and verify that it is displayed as shown in the following screenshot. The page can be accessed using the URL https://SecurityServerFQDN; since we have not yet replaced the default self-signed SSL certificate, our web browser will likely display an error:
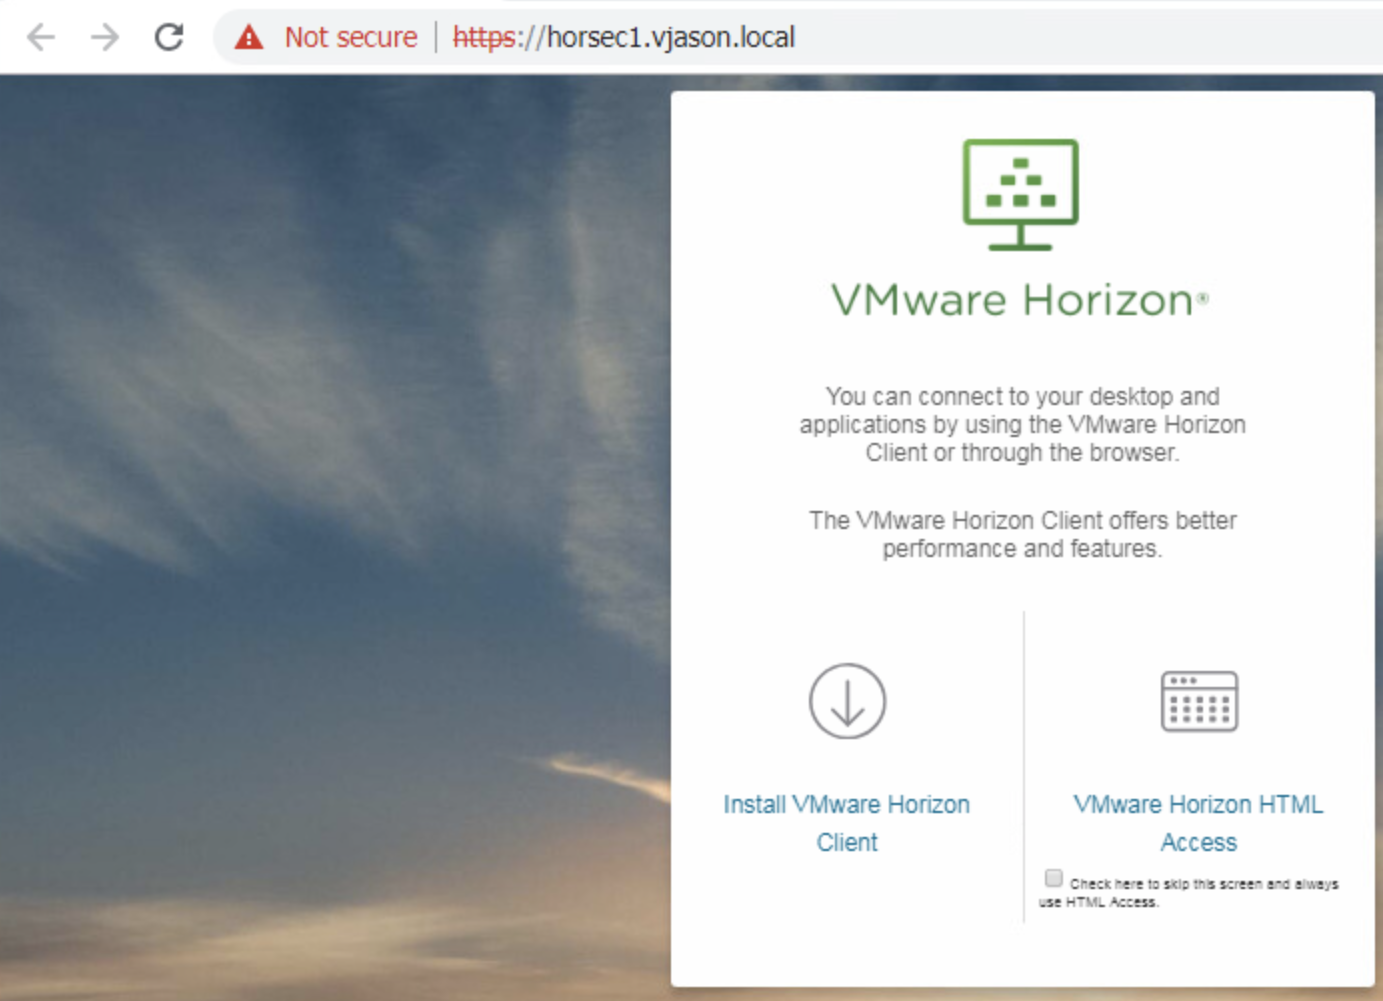
The procedure used to replace the Security Server self-signed SSL certificates is described in Chapter 16, Managing Horizon SSL Certificates.
- Navigate to the View Configuration | Servers page within the Horizon Administrator console.
- Select the Security Servers tab in the Servers window and verify that the security server is listed as shown in the following screenshot:

- Repeat this process as needed to install additional Security Servers; you will also need to generate a new Security Server pairing password as well.
The final configuration steps will be completed in the Horizon Administrator console, and will be detailed in the next section.
When the installation process has been completed, be sure to read the VMware Horizon Read Me file. By default, this file will be opened when you click Finish after the installation process. The Read Me file typically contains important information that you should know prior to placing your new or upgraded servers into production, and may save you wasted troubleshooting time later.