
App Volumes uses a very simple process to create an AppStack, requiring very little more from the administrator than executing a few commands and installing the target application. In this section, we will create an AppStack for Notepad++, although the process is similar for other applications, or even collections of applications.
The following steps outline the procedure used to create an AppStack. It assumes that the provisioning computer being used is running the same OS and patch level as the target App Volumes clients, has the App Volumes agent installed, is a member of the target Active Directory domain, and has not been used as an App Volumes client. Additionally, a snapshot of this computer should be taken prior to installing the application, as you will revert to this snapshot once the AppStack has been created:
- Log in to the App Volumes Manager console (https://rtpappv01.vjason.local) using an account that has administrator permissions.
- Click on the Volumes tab and then AppStacks.
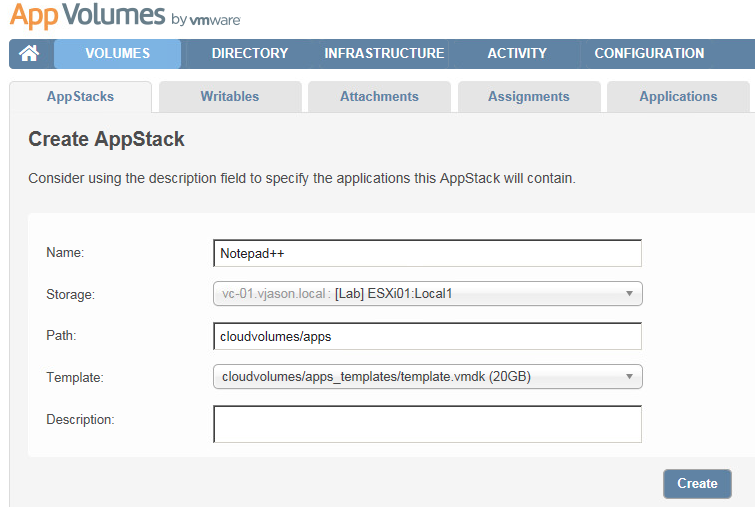
- Click the Create button to open the Create AppStack window.
- Enter a Name for the AppStack; Notepad++ is used in the following screenshot. Leave the other options at their defaults, and then click Create:
- In the Confirm Create AppStack window, accept the default option of Perform in the background and then click Create.
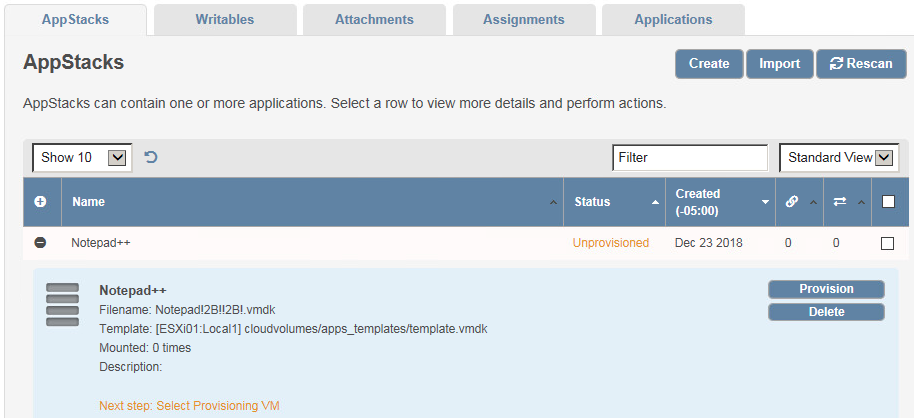
- You will be returned to the AppStacks window. Expand the Notepad++ AppStack, as shown in the following screenshot, and then click Provision:
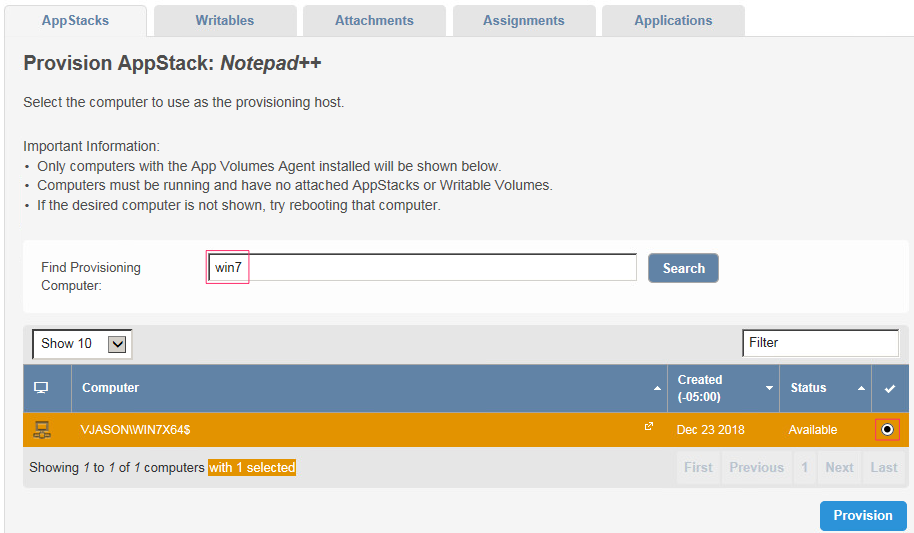
- Search for the computer that you intend to use to provision AppStacks, click the radio checkbox to the right of it, as shown in the following screenshot, and then click Provision:
- In the Confirm Start Provisioning window, shown in the following screenshot, click Start Provisioning:

- Log in to the AppStack provisioning computer; you should see the dialog box shown in the following screenshot when you log in, which indicates that the computer is in provisioning mode:
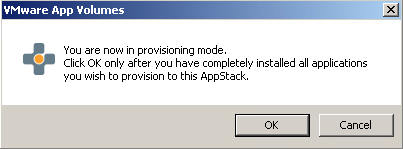
- Install the application, or applications, as you would normally, making any specific customizations that you want applied to your AppVolumes clients. If you need to reboot the computer one or more times as part of the process, you may do so. When finished, return to the dialog box referenced in the previous step and click OK.
- When prompted, as shown in the following screenshot, click Yes to continue:

- Click OK to begin the AppStack analysis, as shown in the following screenshot, and again to reboot the computer and continue the capture process:

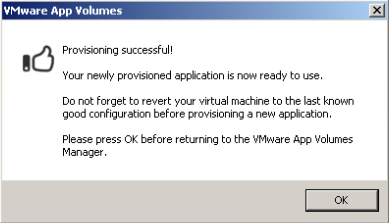
- Log in to the AppStack provisioning computer; you should see the dialog box shown in the following screenshot when you log in, which indicates that the capture process is complete. As indicated, click OK before continuing; once that is done, you may revert the provisioning computer vSphere snapshot and return to the console in order to perform further tasks:
The AppStack creation process has now been completed. We can now assign the AppStack to your end users or associated AD security groups. The AppStack assignment process is outlined in the section of this chapter entitled Assigning AppStacks.