The Horizon JMP Server is configured using the Horizon Console, which is an alternative to the traditional Horizon Connection Server management interface that is both simpler in design and (also) the only location where you can enable various newer Horizon features such as the JMP Server.
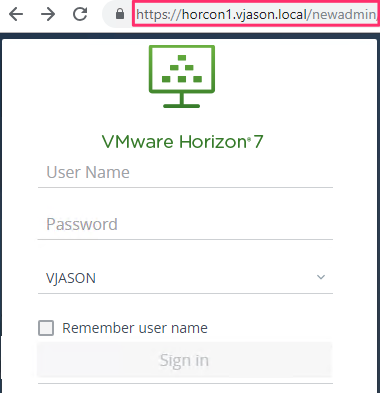
The Horizon Console can be accessed by appending the Connection Server URL with /newadmin, such as https://horcon1.vjason.local/newadmin. The following steps outline the configuration process for the JMP Server:
- Log in to the Horizon Console using an AD account that has administrative permissions. The following screenshot shows the login page for our sample Horizon Connection Server, which was accessed at the https://horcon1.vjason.local/newadmin URL:
- Upon successful login, the dashboard will open to the welcome page:

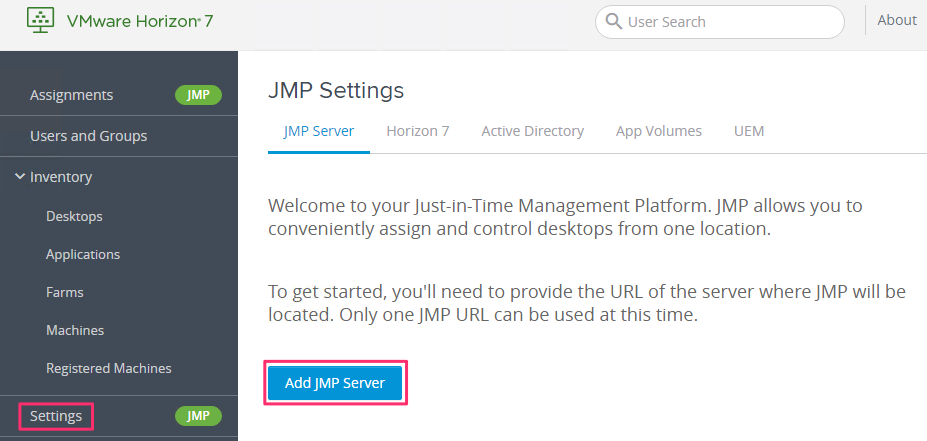
- Click on Settings, then Add JMP Server, as shown in the following screenshot:
- Enter the JMP Server URL (https://horjmp1.vjason.local), and then click Save:

- Verify that the JMP server is validated! message appears:
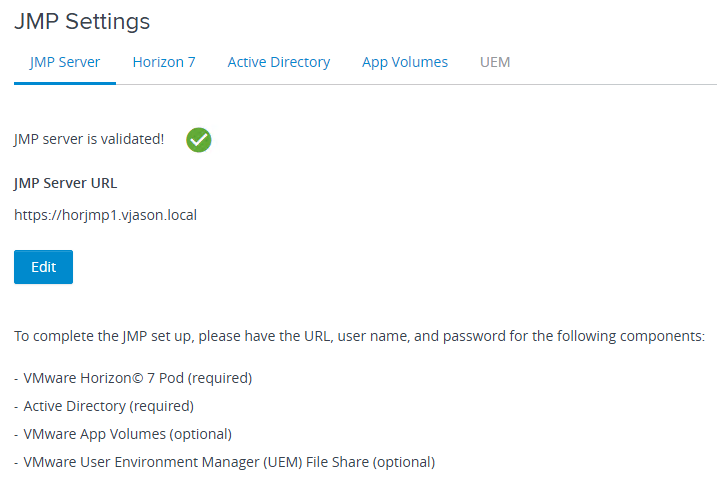
Note that other requirements are also displayed at this time; we will configure those next.
- Click on the Horizon 7 tab, then click Add Credentials:
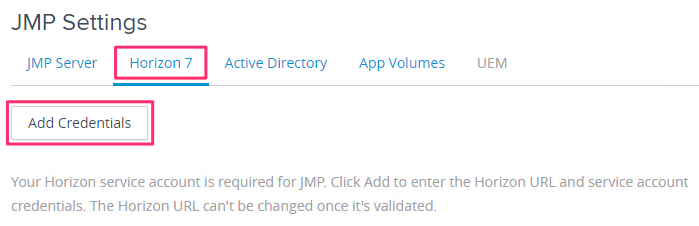
- Enter the Connection Server URL, Service Account User Name, Service Account Password, and Service Account Domain, as shown in the following screenshot and then click Save:

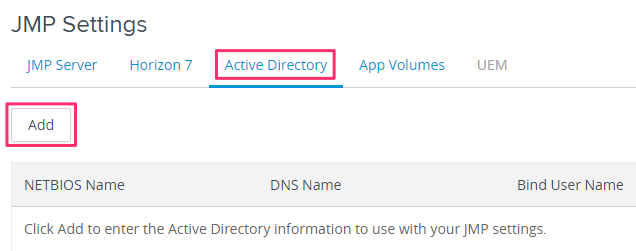
- Click on the Active Directory tab, then click Add:
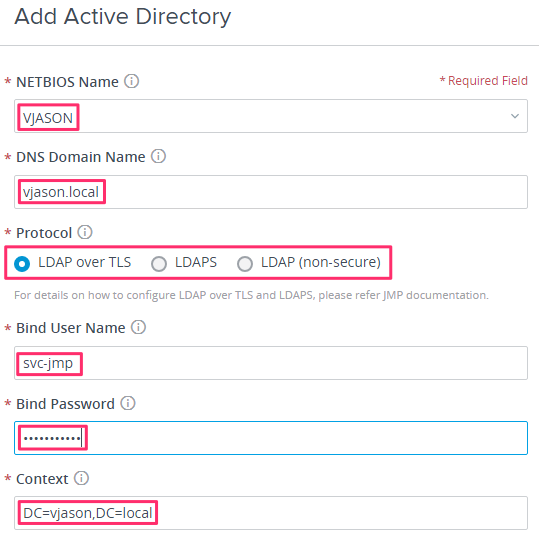
- Enter the domain NETBIOS Name, DNS Domain Name, Bind User Name (JMP service account), and Bind Password; click on the radio checkbox for the Protocol to use when connecting to your domain controllers; edit the Context if needed (default is entire domain) as shown in the following screenshot; and then click Save:
- Click on the App Volumes tab, then click Add:

- Enter an identifying Name for the App Volumes instance, the App Volumes Server URL, the Service Account User Name, Service Account Password, and Service Account Domain, as shown in the following screenshot and then click Save:

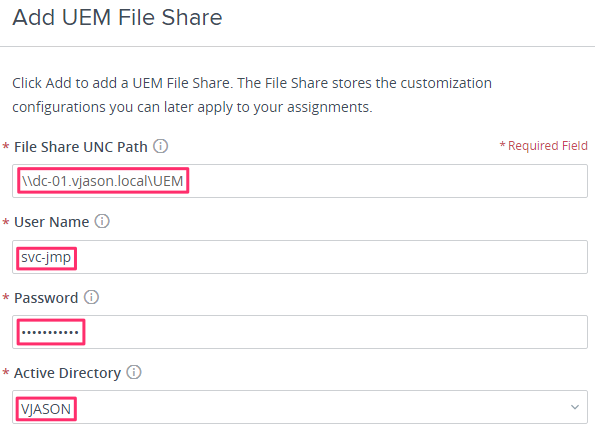
- Click on the UEM tab, then click Add:

- Enter the UEM Configuration File Share UNC Path, User Name (JMP service account), Password, and Active Directory NETBIOS domain name, as shown in the following screenshot, and then click Save:
The JMP Server is now integrated with our Horizon pod, App Volumes Manager, and User Environment Manager. In the next section, we will create a JMP Assignment, which allows us to assign all of these resources to a user or group using a single wizard.