Once the installation of the first Horizon Connection Server has completed, we need to log in to the Horizon Administrator Console. The console URL will be in the format https://Connection Server FQDN/admin. You must use lowercase letters when typing admin.
By default, the installation process creates a self-signed SSL certificate to encrypt connections to the Horizon Connection Server. While the server will function with this default self-signed certificate installed, it is recommended you replace the default certificate with one from a trusted internal or commercial certificate authority. Until the default certificate is replaced, Horizon clients will be notified about the untrusted certificate each time they connect. In addition, the Horizon Administrator console will display an informational error. Chapter 16, Managing Horizon SSL Certificates, will provide the process used to replace the default SSL certificates for all Horizon components.
Complete the following steps to configure the first Horizon Connection Server:
- Log in to the Horizon Administrator console using an AD account that was granted administrative permissions during the installation process. The following screenshot shows the login page for our sample Horizon Connection Server, which was accessed at the URL: https://horcon1.vjason.local/admin.
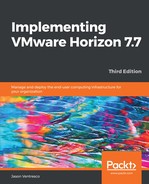
- Upon successful login to the first Horizon Connection Server that was installed, the dashboard will open to the Product Licensing and Usage window in the View Configuration page as shown in the following screenshot. Click on the Edit License... button to open the Edit License window:
- Enter the 25-character license key, including the dashes, and click on OK to complete the license entry.
- Open the Event Configuration window in the View Configuration page within the console. Click on Edit… in the Event Configuration page to open the Edit Event Database window.
- Fill in the information for the Horizon event database configuration including Database server, Database type, Port, Database name, User name, Password, and optionally the Table prefix. The Table prefix field is used to identify this Horizon installation within the database itself, and would be used when sharing the database among multiple Horizon Pods. The following screenshot shows the database configuration for our sample server. Click on OK once all the information has been provided, and Horizon will complete the database configuration assuming the necessary privileges have been granted as outlined earlier in this chapter:

The console Event Configuration page also allows us to customize how events are displayed in the Horizon Administrator console. The VMware Horizon Documentation page (https://docs.vmware.com/en/VMware-Horizon-7/index.html) provides detailed information about these settings, which can be changed at any time.
- Navigate to View Configuration | Servers to bring up the vCenter Servers tab of the Servers window. Click on Add… to open the Add vCenter Server window.
- In the Add vCenter Server | vCenter Server Information window, fill in the information required to link the vCenter Server that we will be using for desktops to our Horizon Connection Server. The information required includes the vCenter Server address in a fully qualified domain name (FQDN) format, the Horizon vCenter AD user name that we created earlier in this chapter in the format domain-nameuser-name, and the password for the account. Click on Next> when the required information has been provided. The following screenshot shows the completed screen for our sample server:
The vCenter Server Information window also allows us to specify advanced options such whether or not this vCenter Server is hosted on VMware Cloud on AWS, and new limits for number of concurrent vCenter tasks our Horizon Connection Server can initiate. The VMware Horizon documentation (https://docs.vmware.com/en/VMware-Horizon-7/index.html) provides detailed information about these settings, which can be changed at any time.

- Horizon Connection Server will attempt to verify the SSL certificate of the vCenter Server as part of the linking process. If the vCenter Server is still using the default self-signed certificate, a window will open and announce that the identity of the specified vCenter Server cannot be verified. If this happens, click on View Certificate… to open the Certificate Information window, verify that the certificate information is correct, and click on Accept to move to the next window, View Composer.
- Chapter 3, Implementing Horizon Composer, will outline how to deploy VMware Horizon Composer. Since Composer is not yet installed, select the Do not use View Composer radio button and click on Next> to open the Storage window. Horizon Composer can be enabled within the Horizon Administrator console at any time after it has been installed.
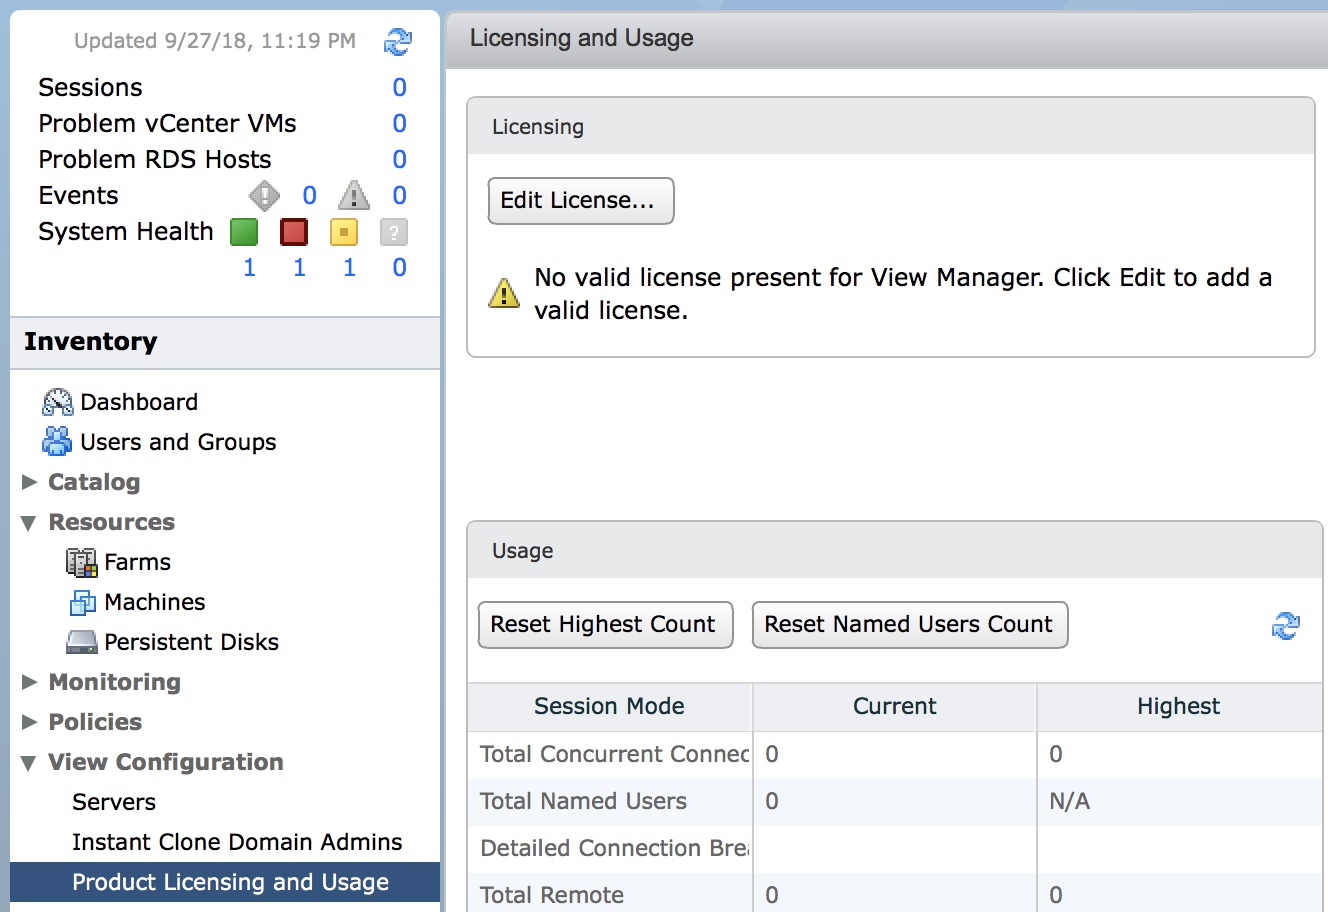
- The Add vCenter Server | Storage window is used to enable two different Horizon storage-related features. Click the Reclaim VM disk space checkbox, then the Enable View Storage Accelerator check box, set the Default host cache size: value to 2048, the maximum allowed, and then click Next >:
Reclaim VM disk space periodically scans the Horizon desktop VMDK files for blocks that are no longer in use and releases them to the storage array for reuse. This feature is particularly useful when using a storage platform that relies on deduplication to reduce array physical capacity requirements. However, running a reclaim operation can place significant stress on a storage array and should not be enabled without consulting the storage vendor beforehand. Horizon Storage Accelerator caches critical Horizon desktop data in RAM on the ESXi server, which can significantly reduce the amount of read IO that needs to be serviced by the storage array. Consult the VMware Horizon documentation (https://docs.vmware.com/en/VMware-Horizon-7/index.html) for detailed information about both of these features.
- The Ready to Complete window will provide a summary of the options chosen in the previous steps. Review the summary and click on Finish to complete the process and link the vCenter Server to the Horizon Connection Server.
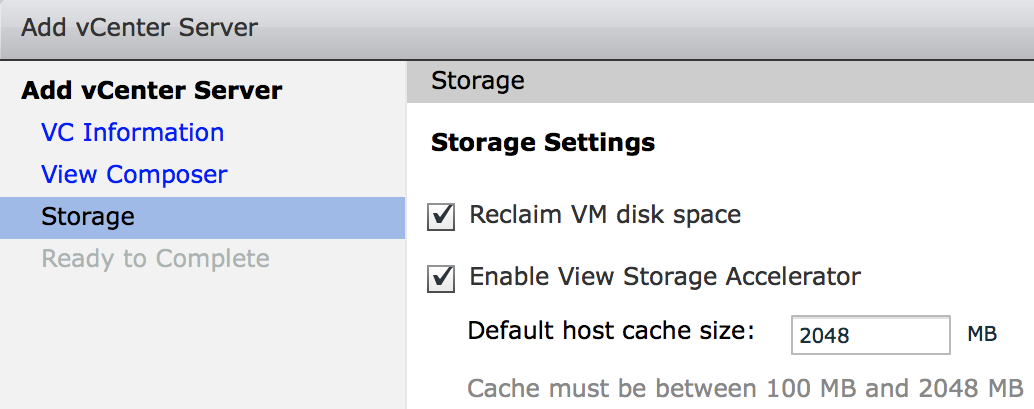
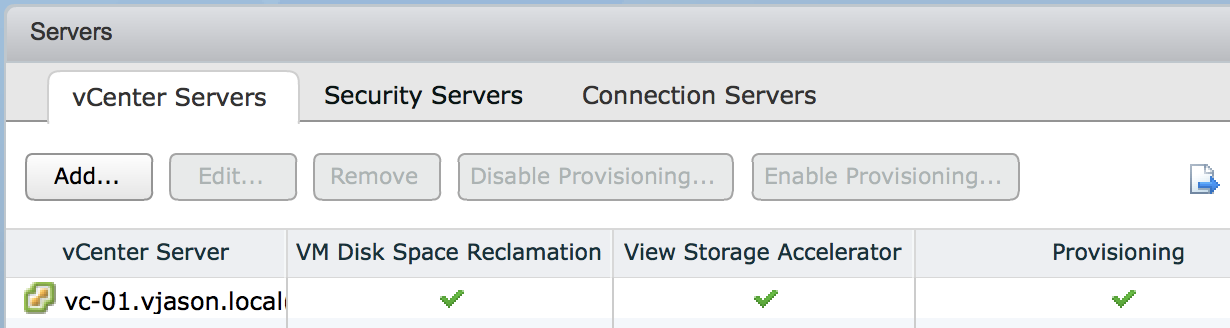
- The vCenter Server will now be displayed in the View Configuration | Servers | vCenter Servers window, as shown in the following screenshot:
- Repeat steps 6 through 11 as needed to link additional vCenter Servers.
At this point, the basic configuration of the Horizon Connection Server has been completed; if we had a virtual desktop image, we could deploy full-clone virtual desktops. However, before moving forward to the next step it is advisable to set up a second Horizon Connection Server; this one will be a replica of our first one. The Deploying a Horizon Replica Connection Server section will outline how to install a Horizon Replica Connection Server.