
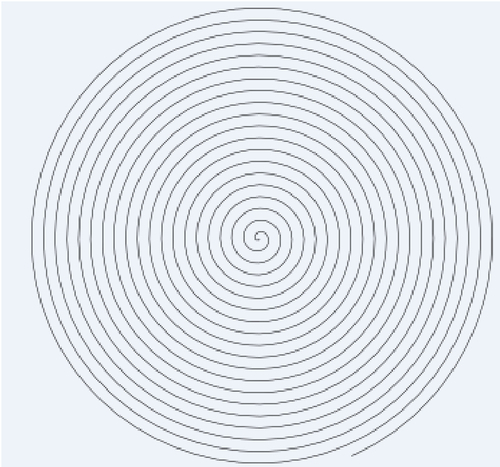
In this recipe, we will use the previous spiral. Therefore, it means that we also need Inkscape. The aim of this recipe is to export the whole vector graphic as a rendered bitmap with a low resolution. We will take advantage of anti-aliasing.
Anti-aliasing applies intermediate colors in order to eliminate the saw tooth look of pixelated lines. Therefore, we will use Inkscape default anti-aliasing feature to remove the saw tooth effect when rendering the SVG vector graphics to its bitmap representation in a specific resolution.
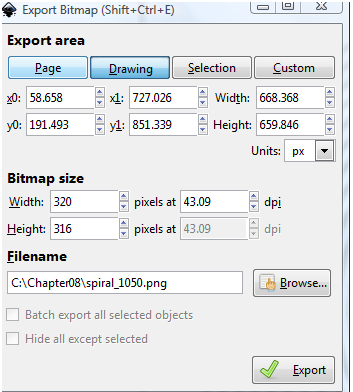
Start Inkscape software in order to work with an SVG and follow these steps in order to develop the activity:
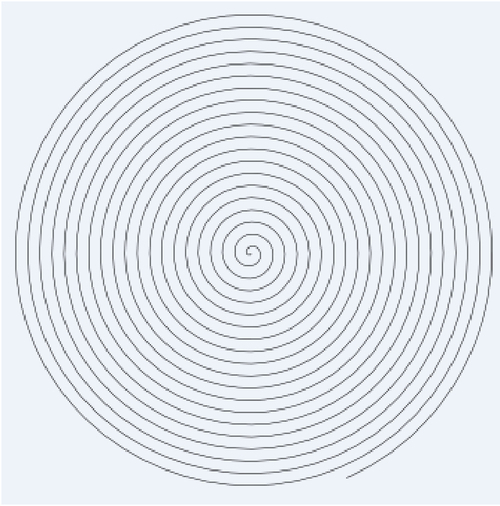
If we follow the previous steps, we get the rendered bitmap with anti-aliasing applied to it from the source SVG vector graphic. Inkscape applies anti-aliasing by default when we use the export bitmap feature. Therefore, the exported image will look smooth and clear with saw tooth effect reduced, as shown in the following screenshot:
- Chapter 7, Uploading images to Moodle