
As we mentioned at the beginning of this chapter, Sceneform is an Android Studio plugin that will help us display 3D models in an easier and faster way than OpenGL.
Sceneform also provides ARFragment and other UX resources that will automatically handle the AR session after asking for the camera permission and checking if ARCore is installed and updated, without us having to include these verifications in our code.
At the time of writing this book, the Sceneform Tools were still in Beta mode. If you encounter any problems when following these steps, please head to their GitHub page (https://github.com/google-ar/sceneform-android-sdk) for more information.
To import Sceneform into your project, follow these steps:
- Open File|Settings.
- In the Plugins tab, search for Google Sceneform Tools (Beta). At the time of writing this book, the current version is v1.13.0:

Google Sceneform Tools plugin
- Install it and press Restart IDE on the top right to activate the changes:
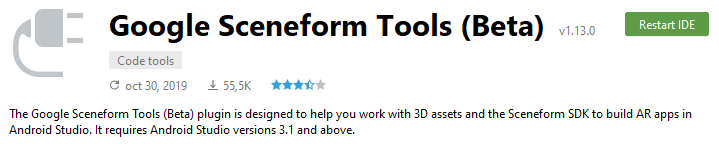
Restart IDE button
- Once installed, open your app's build.gradle file and add the following compile options inside the android section. If we don't, when building our ModelRenderable, errors will appear. This is only necessary if minSdkVersion < 26 and we set the minimum to 24 (Android 7.0) when creating the project:
android {
    ...
    compileOptions {
        sourceCompatibility JavaVersion.VERSION_1_8
        targetCompatibility JavaVersion.VERSION_1_8
    }
}
- In the same file, inside the dependencies brackets, we are going to add the following implementation line to include Sceneform in our project:
dependencies {
    ...
    implementation 'com.google.ar.sceneform.ux:sceneform-ux:1.13.0'
    ...
}
- Your app's build.gradle file should now look similar to this:

The app's build.gradle file with the new lines added to it
- Now, to use ARFragment in your app, open the activity_main.xml file in the res/layout folder and select Text mode at the bottom tabs of the view. By doing this, you can modify the elements in the text:
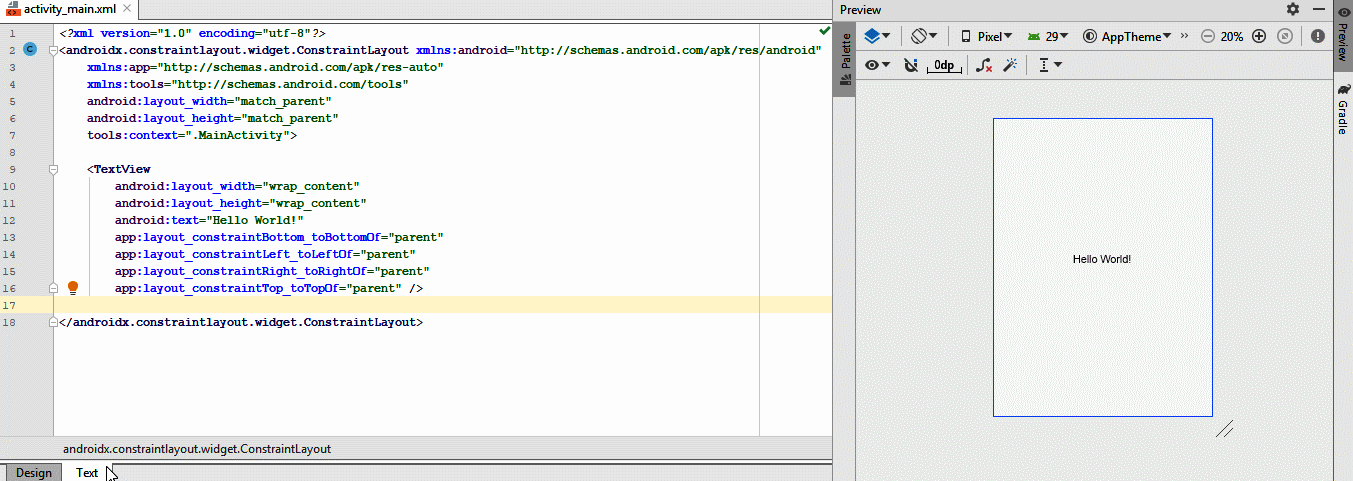
The activity_main.xml file's text view and visual preview
- Remove the TextView block and add the following:
<fragment android:name="com.google.ar.sceneform.ux.ArFragment"
    android:id="@+id/ux_fragment"
    android:layout_width="match_parent"
    android:layout_height="match_parent" />
Sceneform is now ready to be used. Let's import our 3D model into the project.