
Once the SQL database configuration has been completed, you must create on the same server where the vCenter Server is installed, the ODBC DSN used by the vCenter Server to connect to the SQL Server instance that hosts the database.
Because vCenter Server requires a 64-bit Windows version, the DNS must also be configured using the 64-bit version. If not already installed, you should download and install the SQL Native Client on the vCenter Server to connect the SQL Server through the ODBC. SQL Native Client can be found also in the SQL Server installation medium.
To create the required ODBC DNS, follow this procedure:
- Open the ODBC Data Source (64-bit) and select the System DSN tab.
- Click on the Add... button and select SQL Server Native Client from the drivers list. Click Finish.
- Enter name in the Name field (this value will be used during the vCenter Server installation to connect the database) and description in the Description field, then select the SQL Server where the database is stored. Click Next.
- Select the correct authentication type set in the SQL Server and click Next.
- Enable the Change the default database to option and select from the drop-down menu the vCenter Server database previously created. Click Next.
- Click Finish to continue.
- Click the Test Data Source... button to test the ODBC DSN connection with the SQL Server then click OK to save the configuration. The newly created System DSN is visible in the ODBC Data Source Administrator window:
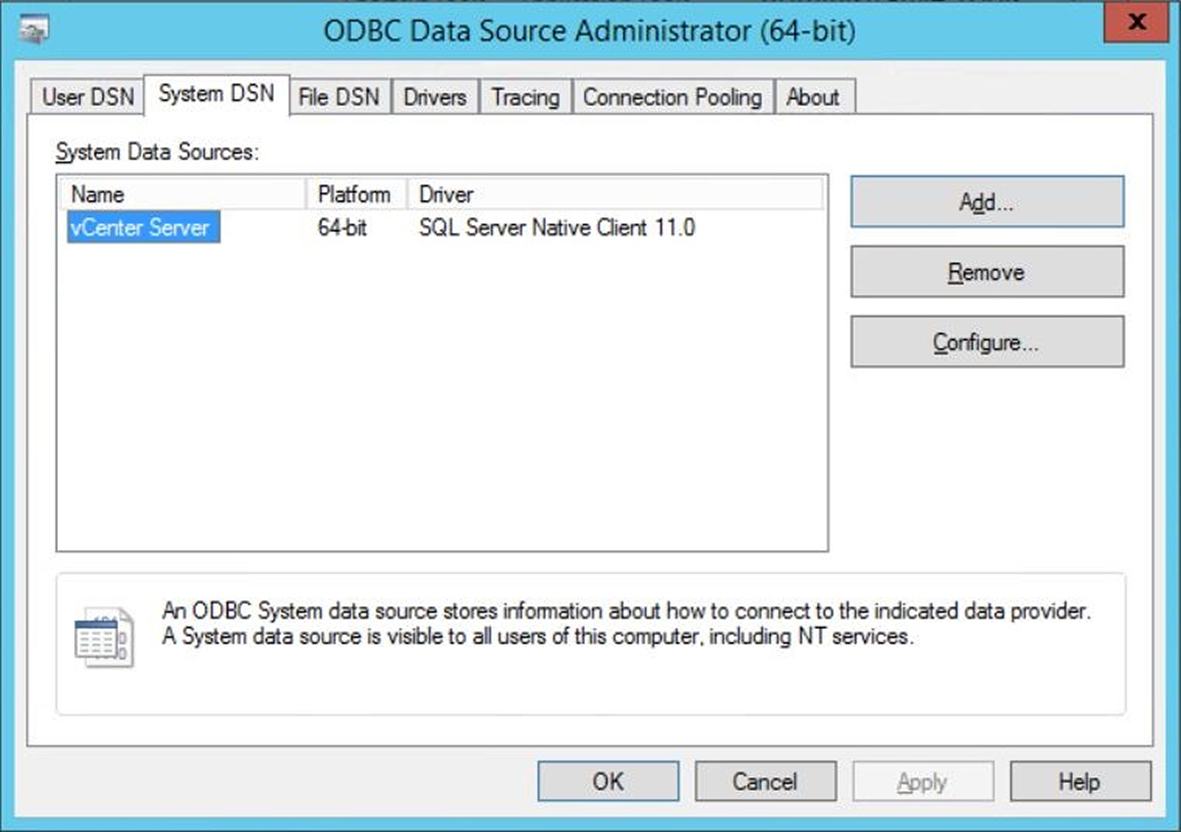
System DSN used to connect the vCenter Server to SQL Server instance
When the database and ODBC DSN have been configured, you are ready to proceed with vCenter Server installation.