
To assign permissions to AD users or groups to manage vCenter Server objects, you must join the PSC instance or the vCSA to the AD domain. This allows the AD users to log in to vCenter Server using the Windows session authentication Security Support Provider Interface (SSPI).
The procedure to join vCenter Server to an AD domain depends on how the vCSA and the PSC have been deployed:
- If you deployed the vCSA with an embedded PSC, you need to join the vCSA to the AD domain
- If you deployed the vCSA with an external PSC, you need to join the PSC to the AD domain
The use of a Read-Only Domain Controller (RODC) in an AD domain to join a PSC or a vCSA with an embedded PSC is not supported. Only a writable DC must be used to join the AD domain.
To join an external PSC to the AD, follow these steps:
- From the vSphere Web Client, log in to the PSC using the [email protected] account.
- Under Certificates, select the Appliance Settings option, then click the Manage tab on the right side. Click the Join button to enter the details to join the AD.
- Enter the domain to join in the Domain field and, optionally, the Organizational unit. Specify the AD username in UPN format ([email protected]) with the privileges to join the PSC and the password. Click OK to confirm.
- When the process completes, the joined domain is listed in the Domain field and a new Leave button is displayed:
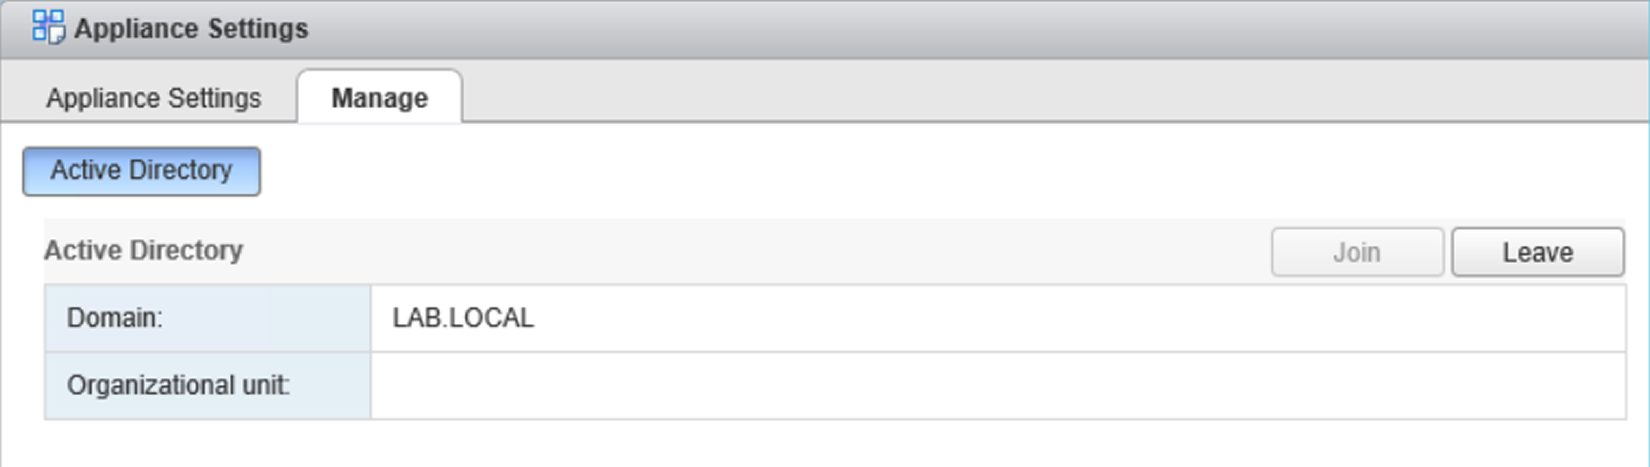
Joining the PSC to an AD domain, authenticated domain users or groups can manage vCenter Server objects
- You need to reboot the node to enable the changes. Since a command to reboot the node is not available from the PSC GUI, you can use the command line to manually restart the service:
- SSH the PSC and log in as root, then run the shell command to enable the shell.
- Change the directory to /bin using the cd /bin command.
- Restart the service responsible for the VMware Identity Management Service by running the following command:
service-control --stop vmware-sts-idmd
4. When the service has stopped, start the service again with the following command:
service-control --start vmware-sts-idmd
- When the node has been rebooted, navigate to Configuration | Identity Sources to add the AD domain. Click Add to open the Add identity source wizard.
- Select the Active Directory (Integrated Windows Authentication) option and enter the joined FQDN domain name if it's not displayed automatically.
- Select the Use machine account option to use the local machine account as Service Principal Name (SPN). If you expect to rename the machine, don’t use this option, because it will break the authentication process. Click OK to confirm the specified AD domain as the new Identity Source.
- In the Identity Sources tab, the joined AD domain is now displayed. Now you can assign permissions to user/group members of the AD domain:
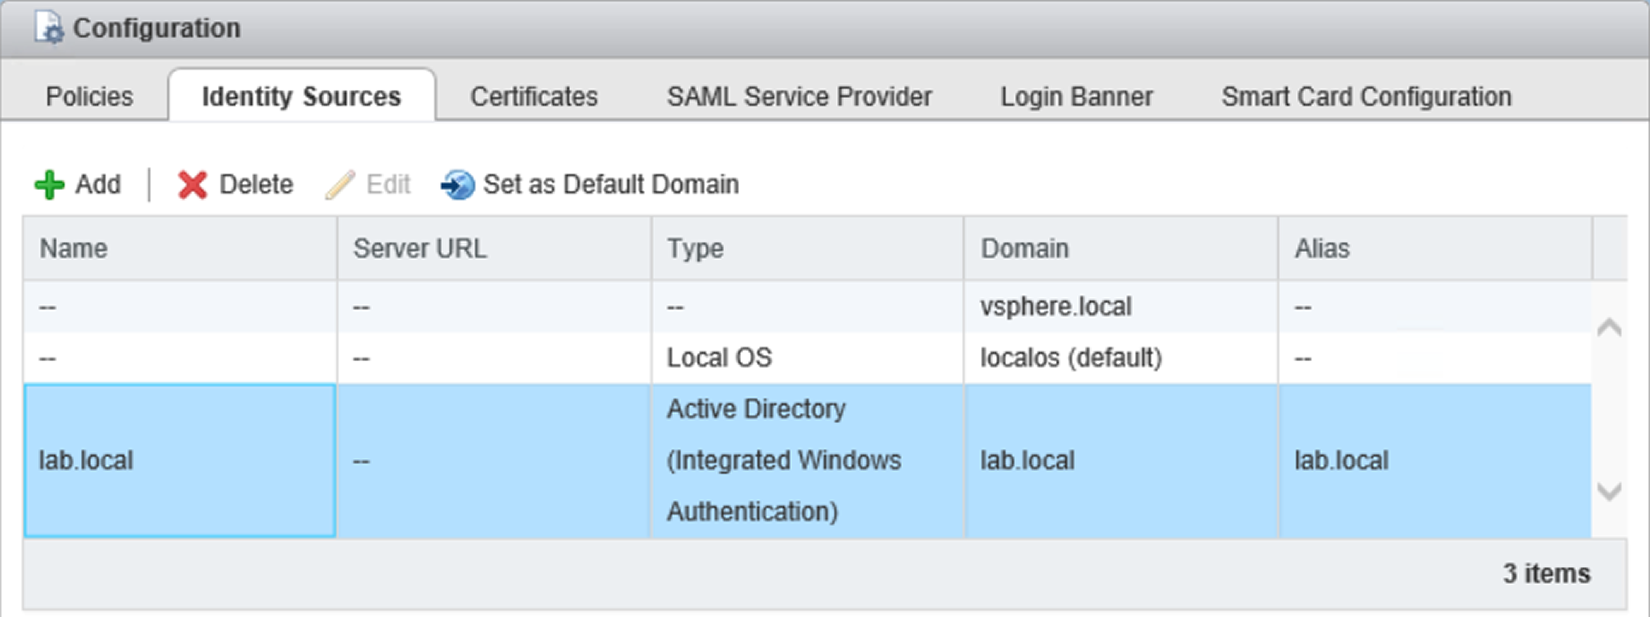
Specify the Identity Sources to assign permissions to AD users or groups
You can select the added AD domain and click on Set as Default Domain icon to make the new identity source the default domain.