In the near future, customers of Skype for Business Online will be migrated to Microsoft Teams and this chapter will show you how to implement and manage Skype for Business Online while it's still supported.
Skype for Business Online is the easiest product to implement if you use a cloud-only scenario. Go to: https://portal.office.com/Domains/AddDomainWizard.aspx?Scenario=AdvancedSetup.
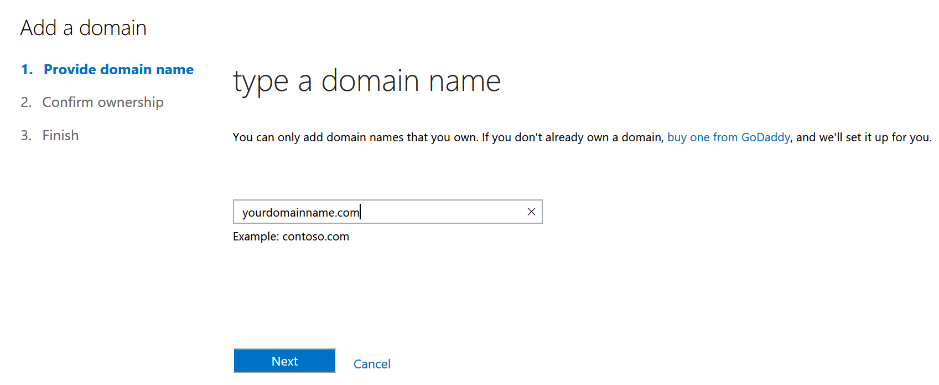
To implement Skype for Business Online, first you will need to set up your domains:
- Provide a domain name as shown in the following screenshot:
- The next step is to confirm the ownership.
- Follow the instructions to validate your domain name:
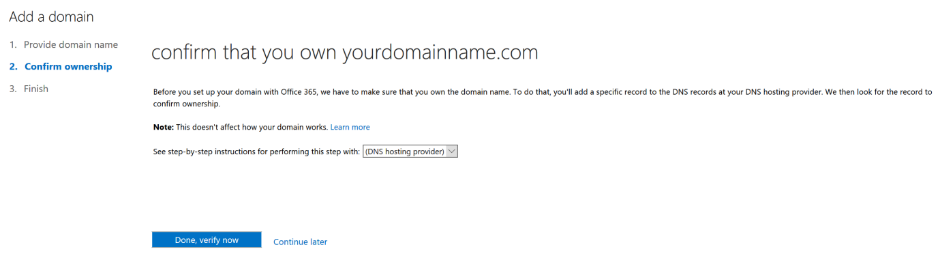
To confirm the ownership of your domain, you will need to create a record on your public DNS:
-
- If you do not have access to your public DNS, or it is under the responsibility of another team, you will need to ask the team responsible to create the DNS record to validate your domain as proof that you are the owner.
- When you receive the DNS record from the team or external DNS provider, you can go back to the Office 365 portal and click on the Done, verify now button.
- Microsoft will need to validate that you are the owner of the domain name. To accomplish this, it is necessary to create the record, as shown in the following table:
To validate the domain, you only need to create one of the following DNS records.
|
Record type (choose one) |
Alias or hostname |
Destination or points to address |
TTL |
|
TXT |
@ or yourdomainname.com |
MS=ms123456789 |
1 hour |
|
MX |
@ or yourdomainname.com |
ms123456789.msv1.invalid.outlook.com |
1 hour |
If you have access to your public DNS infrastructure or DNS provider, you can create the DNS record asked by the Office 365 portal.
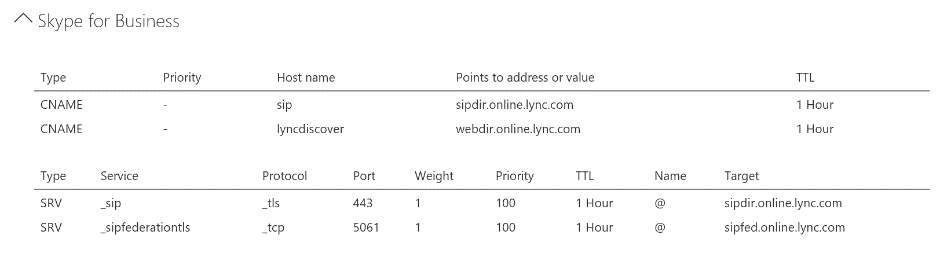
- After having registered the domain, follow the instructions to add the DNS records required for Skype for Business, as shown in the following screenshot:
After validating your domain, you just need to add a license to the users within your domain name and Skype for Business Online is all set.
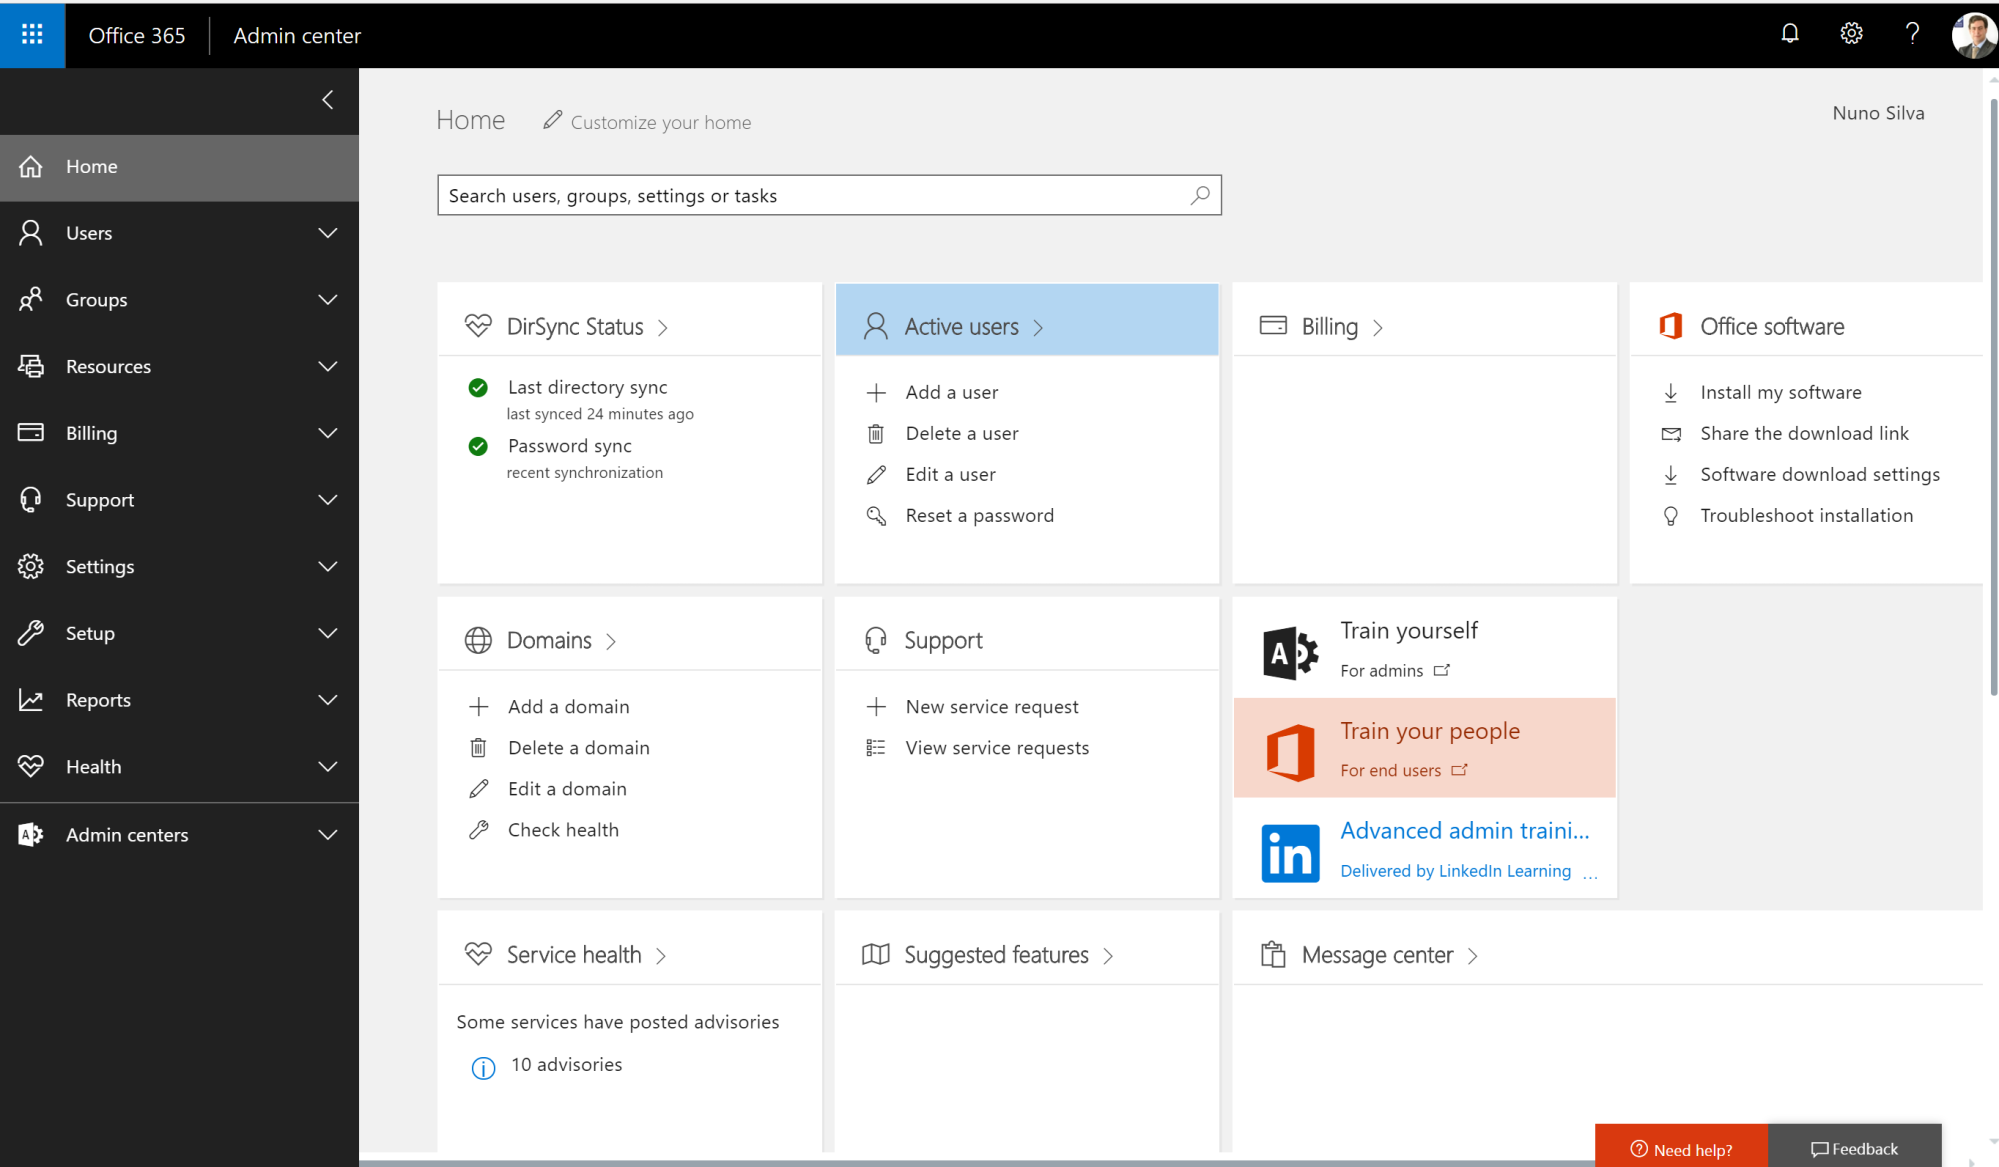
- Go to the Office 365 portal http://portal.office.com and then to the Admin section as shown in the following screenshot:

- Go to the Users section and create a user and provide the Skype for Business License.
- In the Active users pane, you will find the Add a user option. Click on it as shown in the following screenshot:
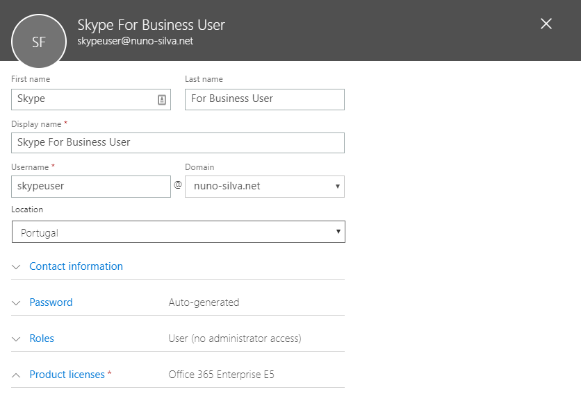
- Fill in the First name, Last name, Display name, and Username fields and select the domain and location as shown in the following screenshot:
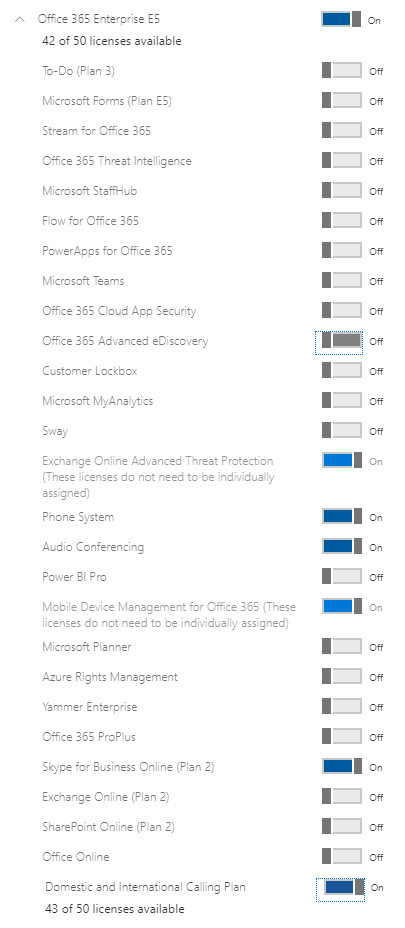
- Now we need to select the Skype for Business license. We should only select Skype for Business features, as shown in the following screenshot and select as shown in the following screenshot:
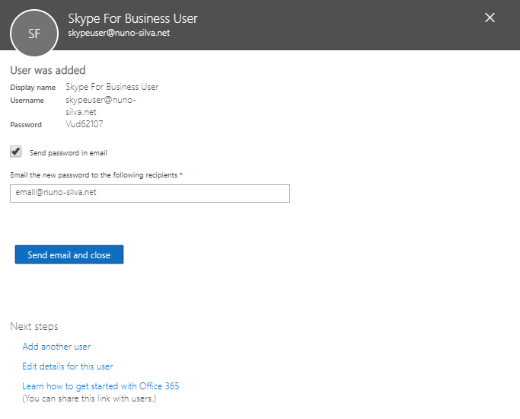
- After the user is created, the Office 365 portal shows the information about the result of the operation:
- Now let's log in with the user by going to http://portal.office.com and filling in the username:
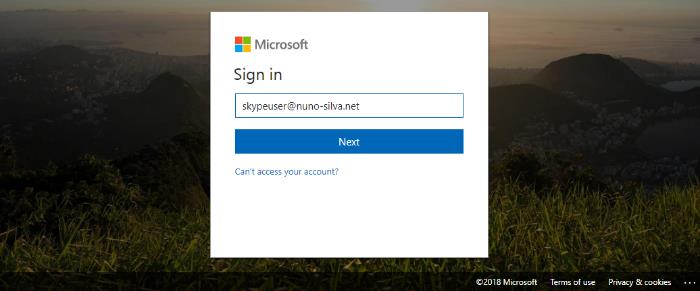
- Click the Next button, fill in the password, and click on the Sign in button:

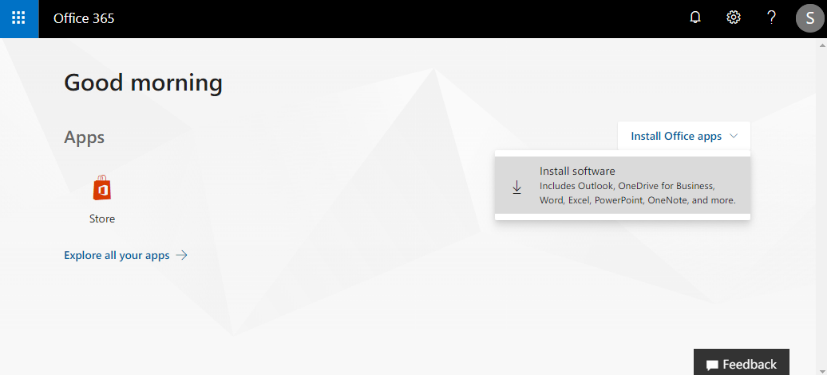
- Since the user only has a Skype for Business license, you must install the Skype for Business client on your desktop. In the Office 365 portal, select the Install Office apps drop-down:
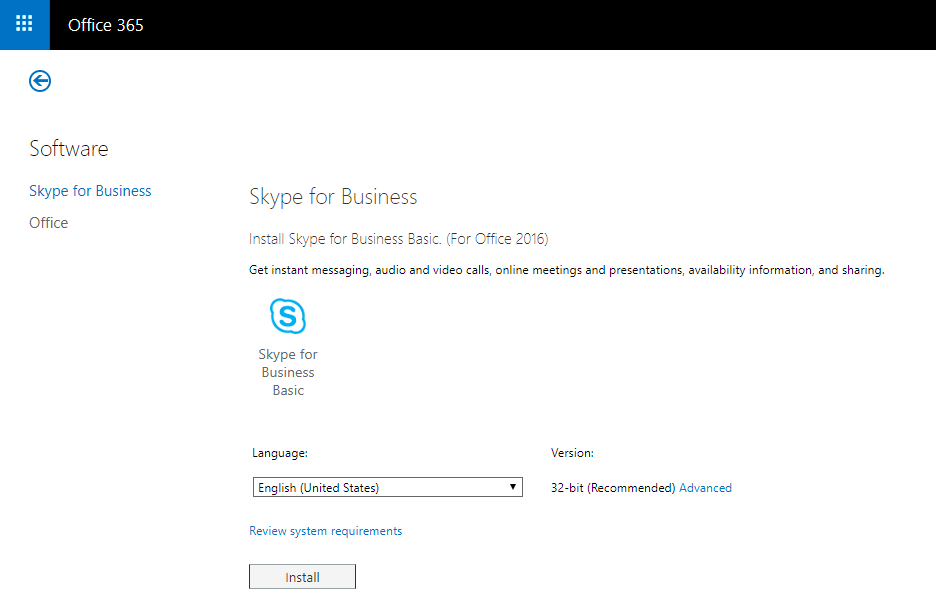
- Select the version required and click on the Install button:
- After installing the Skype for Business client and the user has logged in, he/she can start using the service:
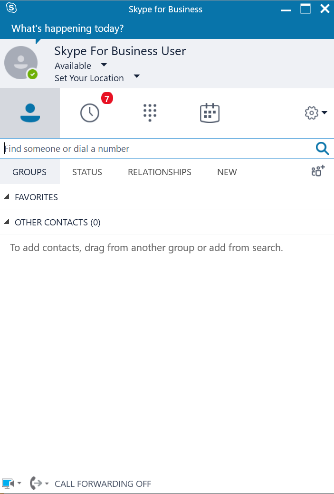
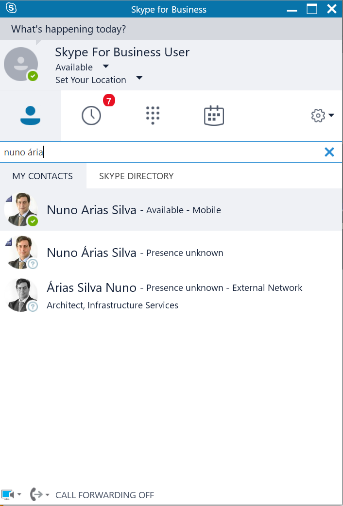
- The user can now search for a contact and start a conversation: