Additionally, you also have the ability to provision accounts with PowerShell, leveraging the Office 365 PowerShell module. To create user accounts in Office 365 PowerShell, you must specify values for a set of properties:
|
Property name |
Required? |
Description |
|
DisplayName |
Yes |
The display name of the user |
|
UserPrincipalName |
Yes |
The login name |
|
FirstName |
No |
The first name of the user |
|
LastName |
No |
The last name of the user |
|
LicenseAssignment |
No |
The license plan for the user To check which license plans are available in your tenant, you can use the Get-MsolAccountSku command. For more information, see View licenses and services with Office 365 PowerShell at https://docs.microsoft.com/en-us/office365/enterprise/powershell/view-licenses-and-services-with-office-365-powershell. |
|
Password |
No |
The password for the user. |
|
UsageLocation |
No |
The country where the user resides. This field is used to select the location where the user uses Office 365 the most. |
For more information on creating user accounts with Office 365 PowerShell, visit https://technet.microsoft.com/library/mt628067.aspx.
To create users using PowerShell, you need to connect to Office 365. The article at https://technet.microsoft.com/en-us/library/dn975125.aspx explains how to connect to Office 365 using PowerShell.
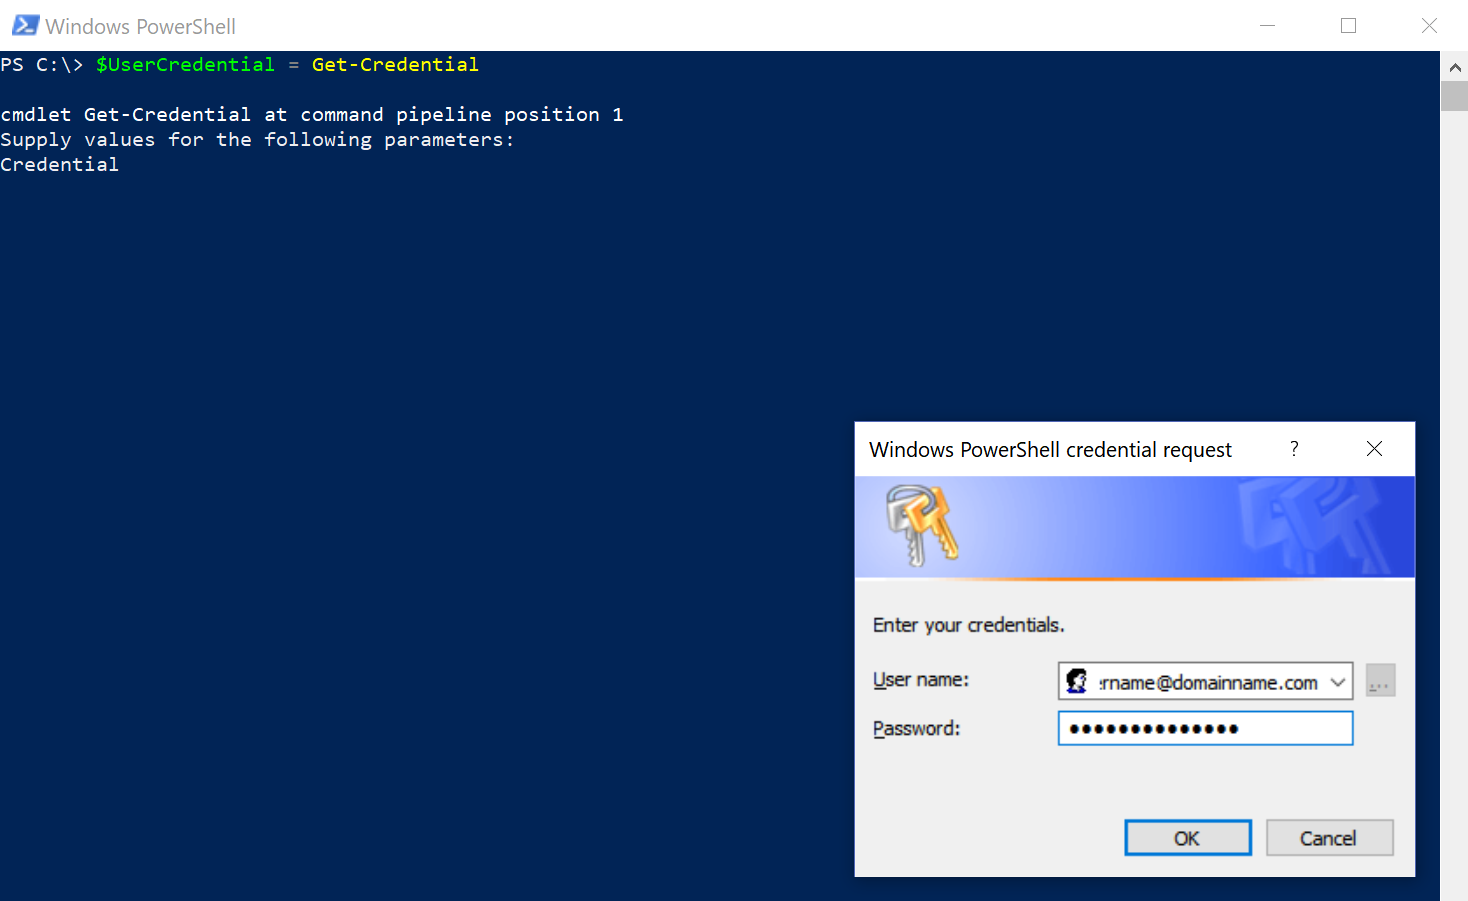
After you install the PowerShell module to connect to Office 365, you can just open PowerShell and use the following commands:
$UserCredential = Get-Credential
Connect-MsolService -Credential $UserCredential
The screenshot of the preceding command is as follows:
After connecting, you can create a user with the following command, as shown in the following screenshot:
new-msoluser -UserPrincipalName [email protected] -DisplayName "Office 365 User" -FirstName "User" -LastName "365" -UsageLocation "PT" -LicenseAssignment "NunoSilva:ENTERPRISEPREMIUM"
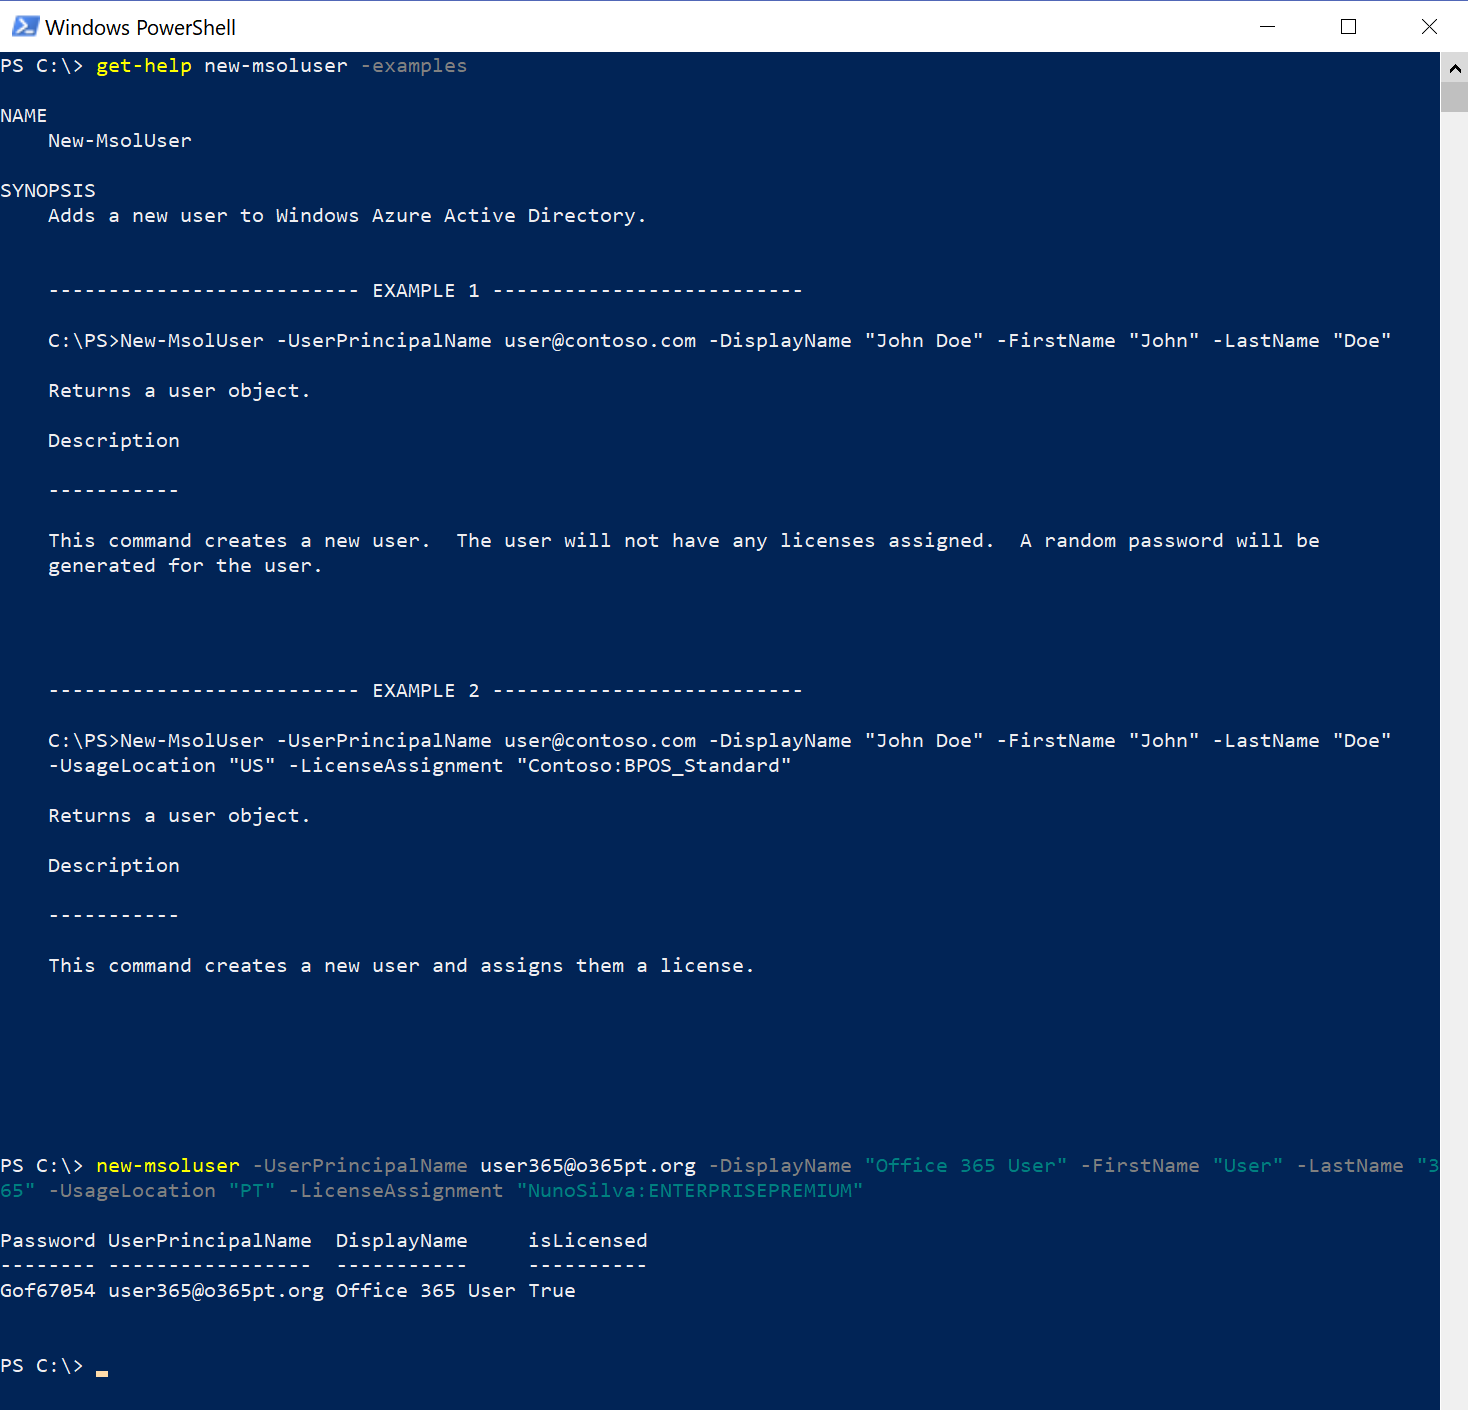
The output of the command will tell you the password, the UPN, the display name, and whether it is licensed.
After creating the user, you can use the following command to view all the information about the user, as shown in the following image.
Get-MsolUser -UserPrincipalName [email protected] | FL

When the user is created, a temporary password is generated for the user. By default, the user is required to change it at first login.
Now you can go to the Office 365 portal and try to log in as the user.
Go to http://portal.office.com and log in with the username provided:

Enter the temporary password of the user:

The Office 365 portal will ask you to change the password at first login, as shown in the following screenshot:
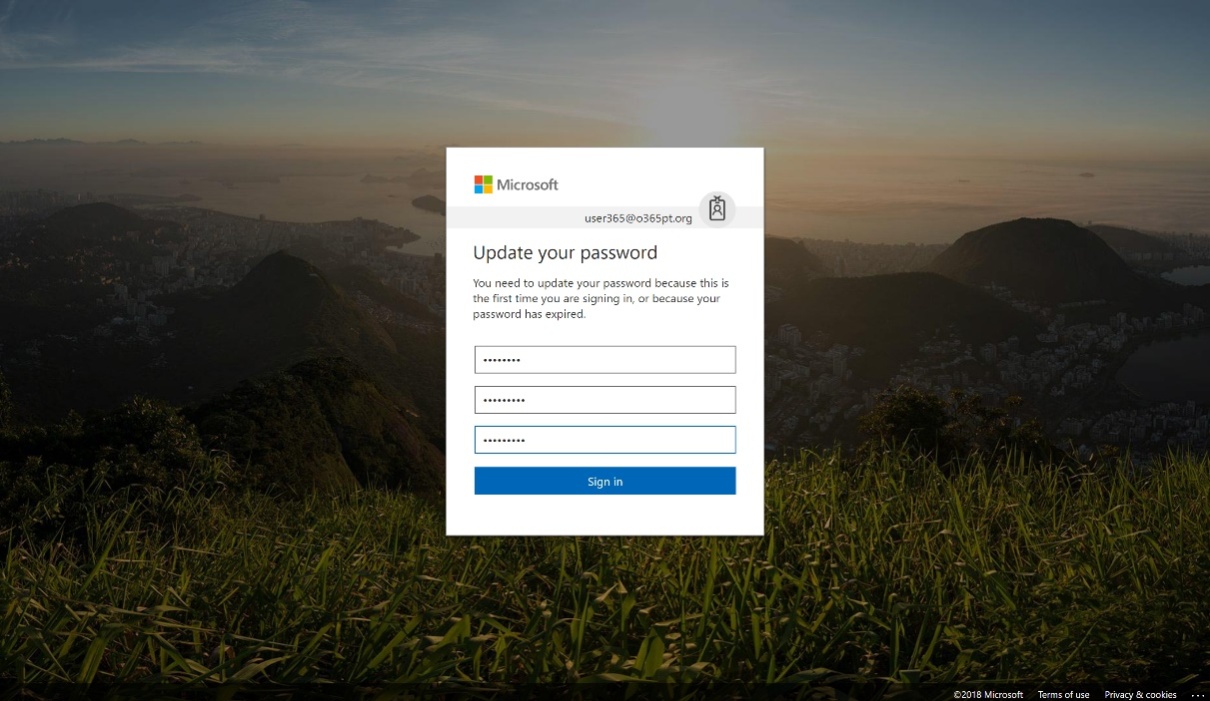
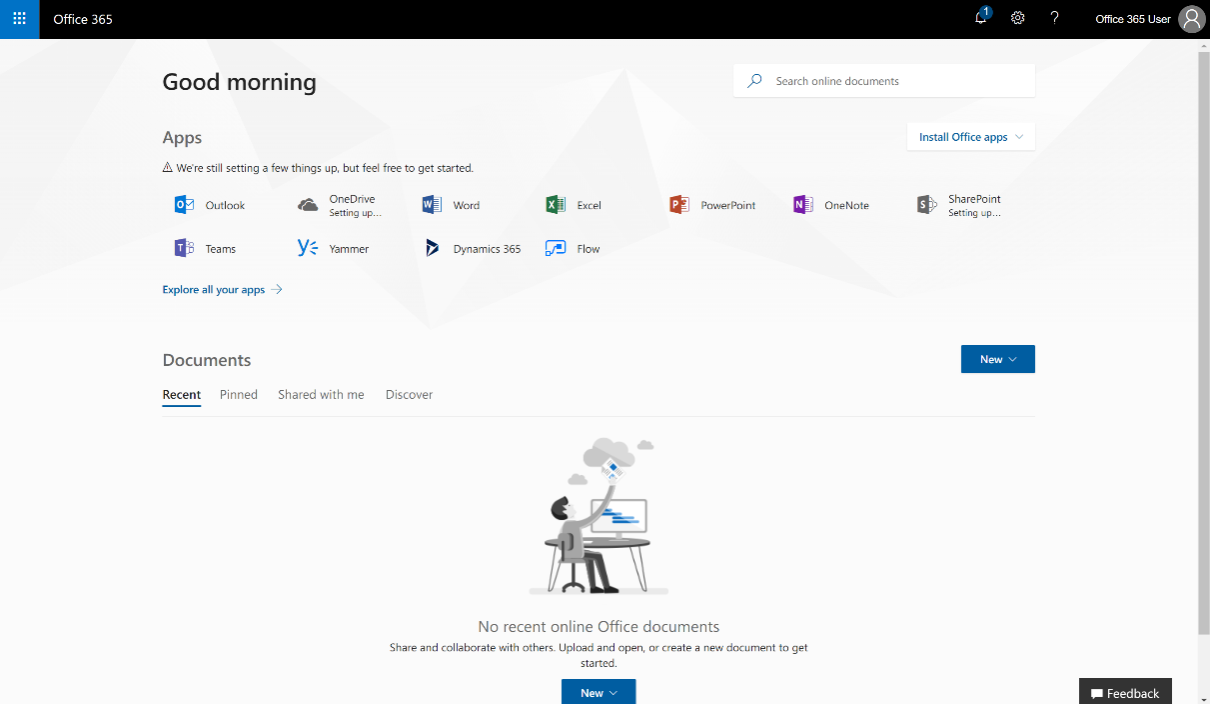
After providing the new password and confirmation, click Sign in and you will then be logged in:
Some services are not immediately configured, and it will take a few minutes for everything to be set up. You can see in the following image that almost all services are available to the user from the start:
The user can now start working. To test it out, click on Outlook to go to the email part of Office 365.
When you first log in to Outlook, it will present you with the following screens. Follow the instructions described in the images:
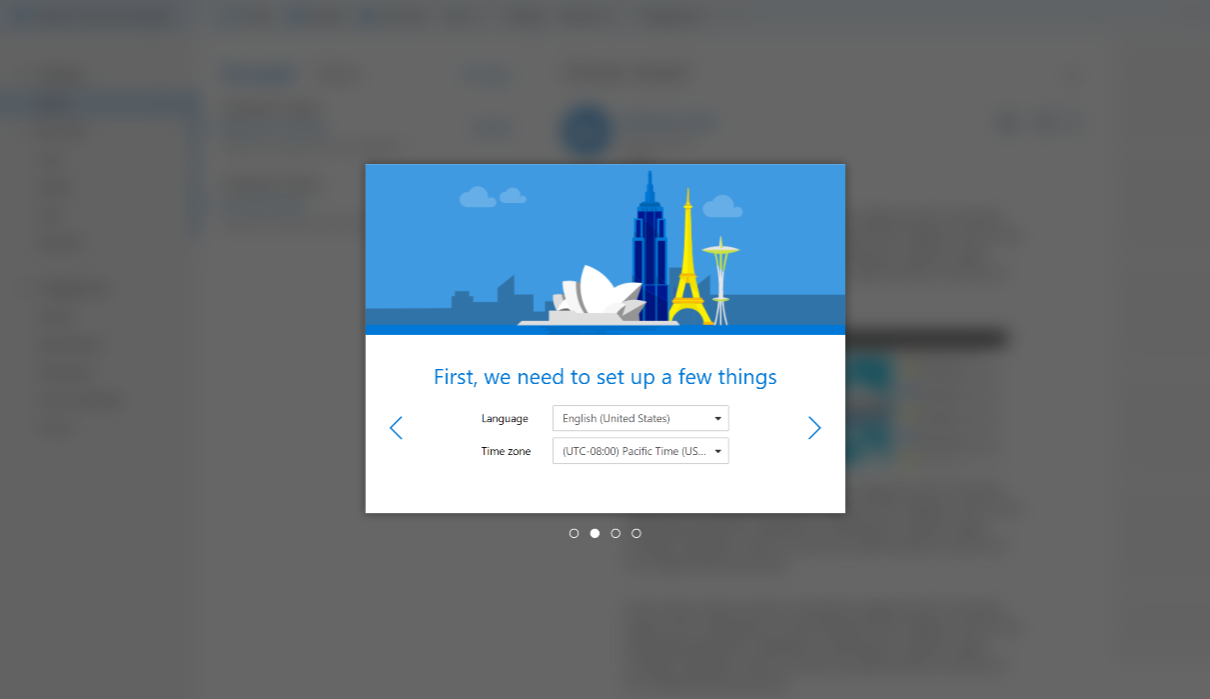
The next screen will help you select the preferred language and time zone:
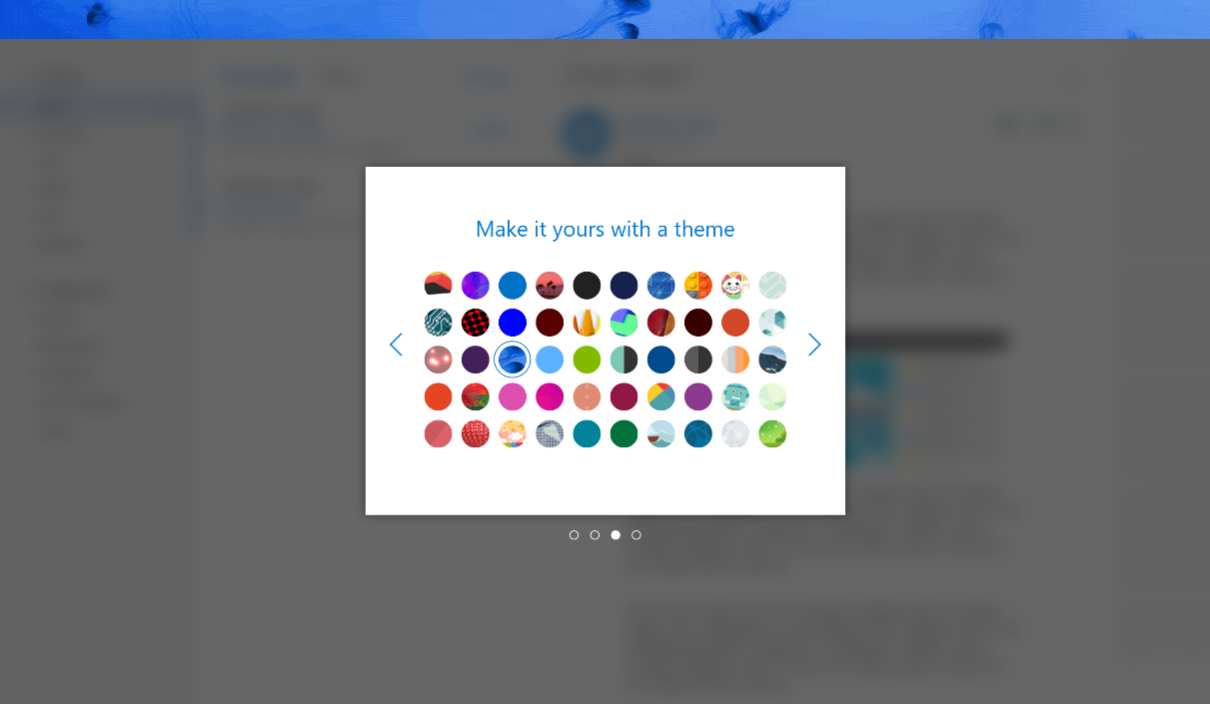
You can select a theme of your choice, as shown in the following screenshot:
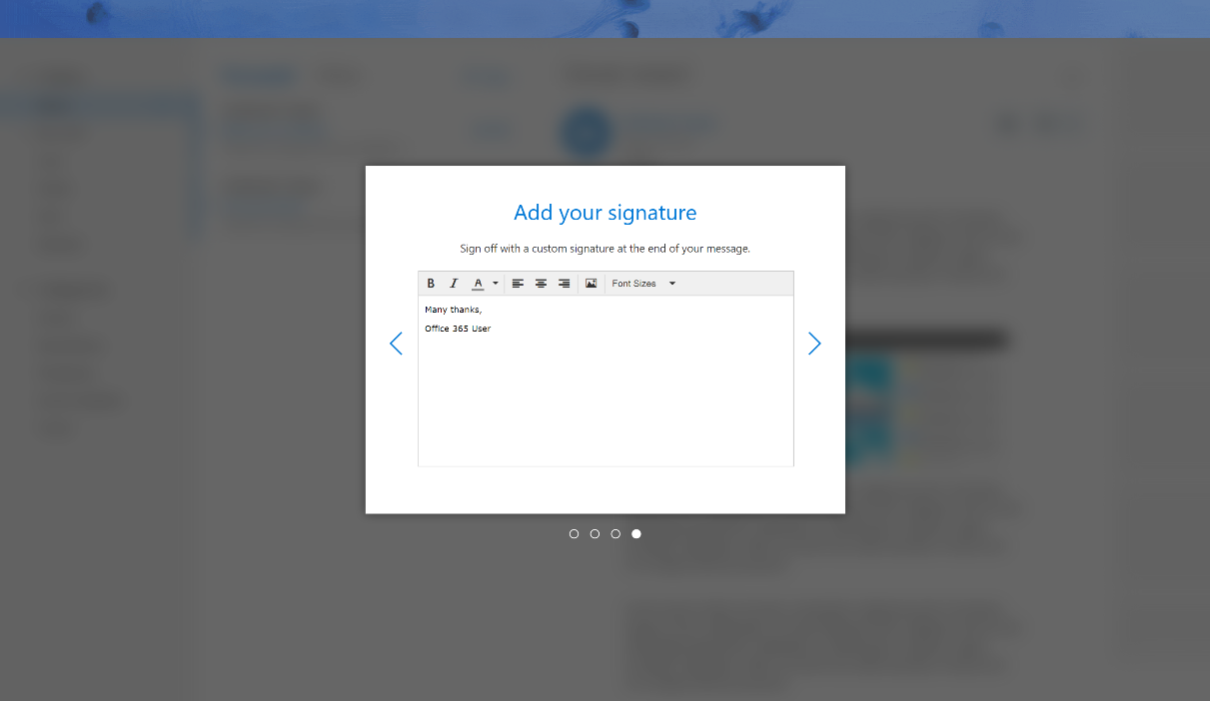
You can customize your signature, as shown in the following screenshot:
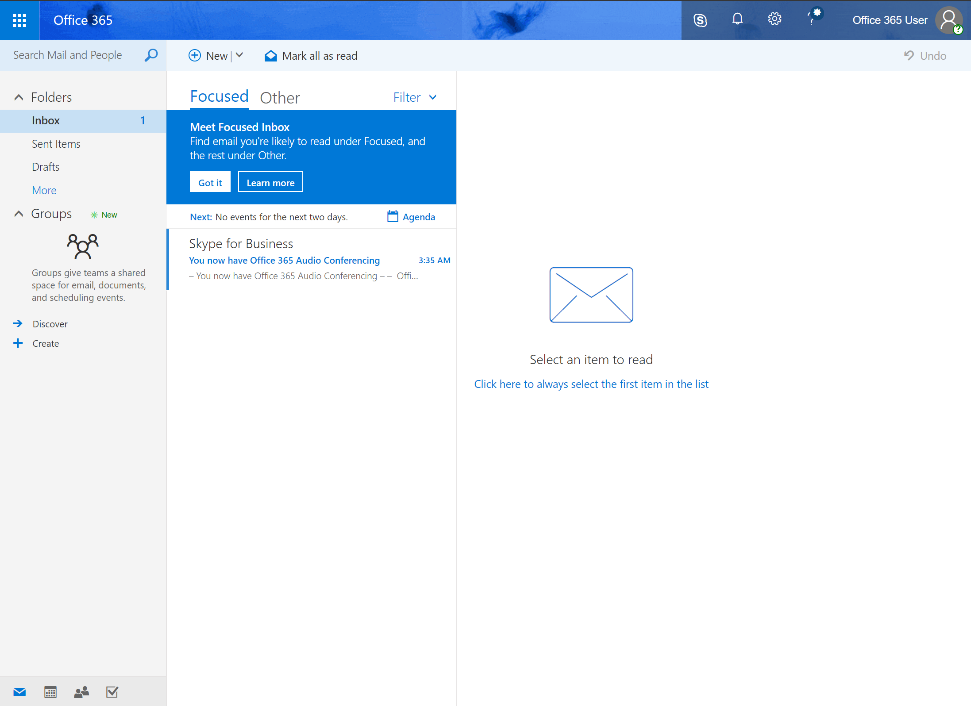
Your new email address is finally set up!

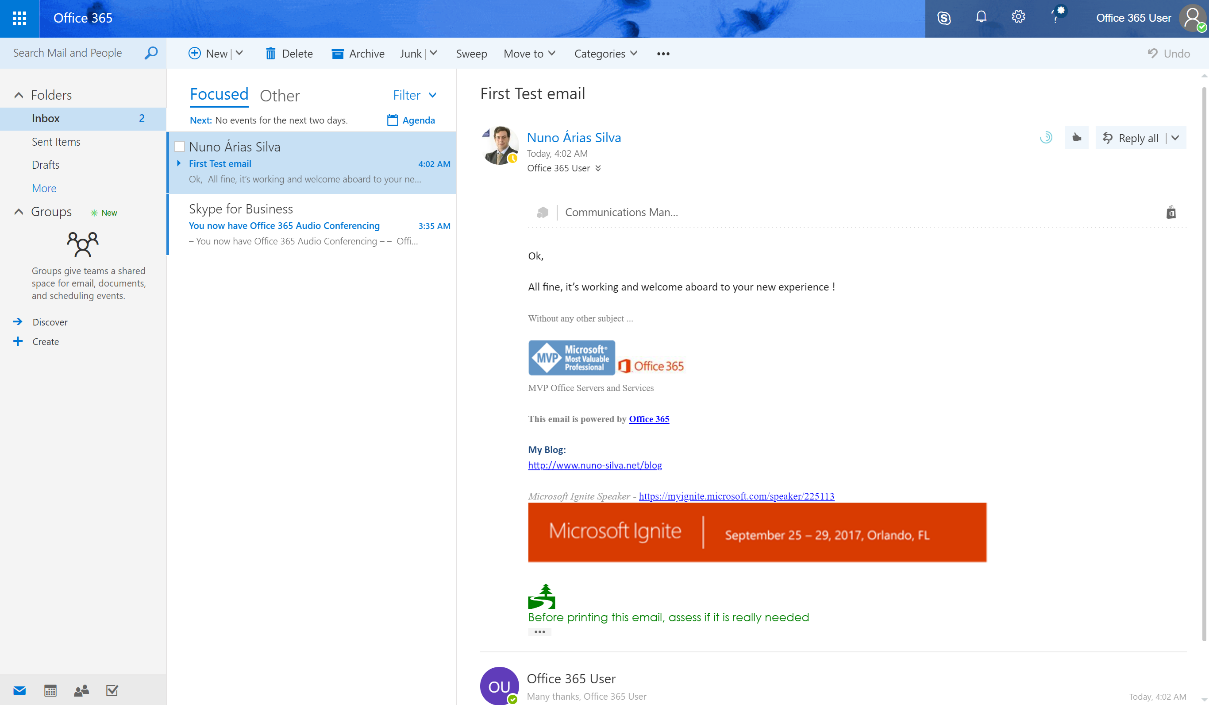
After the first steps are completed, the user is ready to send and receive emails:
The user can now create new email messages using the New button. The right side of the screen will then show an empty email message for the user to add the recipient, subject, and content, as shown in the following image. After composing your email, just click Send:
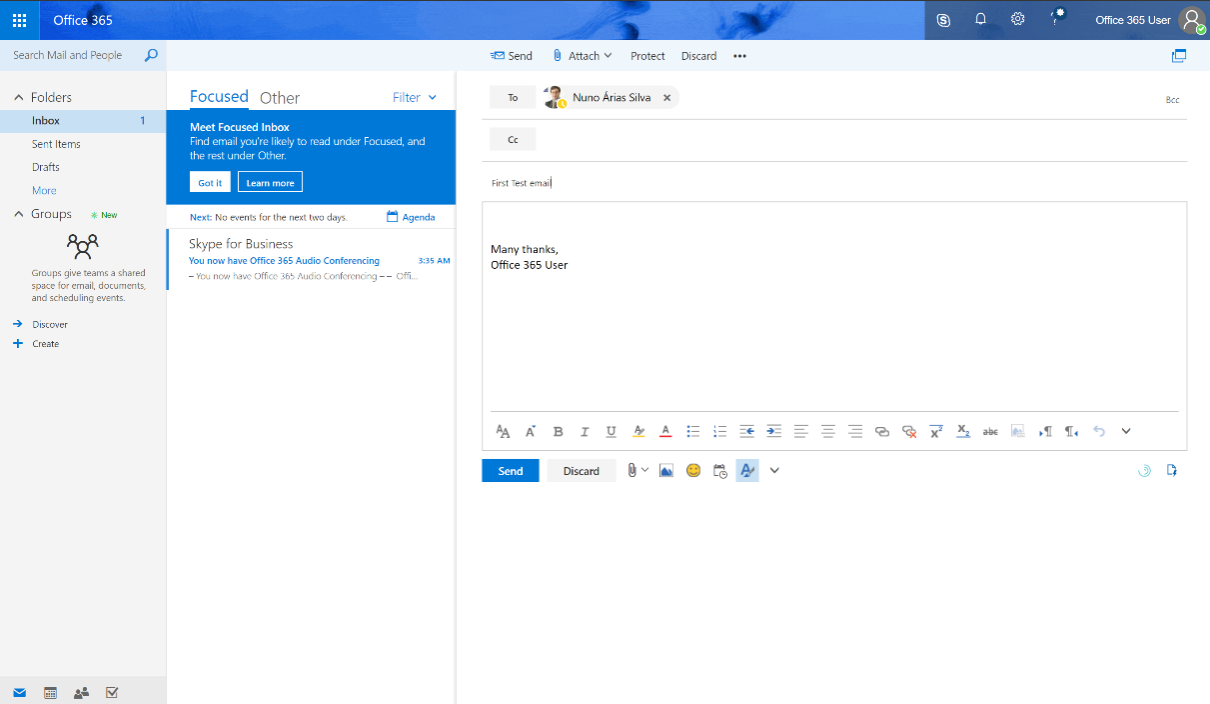
This is the first step of a new user's experience of the Office 365 world: