
In every organization, it is advised that you create a separate, nonproduction Office 365 tenant to achieve several objectives, such as the following:
- Experiment with new releases
- Develop new concepts
- Learn more
- Create lab and development initiatives
- Test prior to going into production
To create an Office 365 tenant, go to https://products.office.com/en/try and select the desired Office 365 plan. You will see how to create an Office 365 E3 trial by going to http://go.microsoft.com/fwlink/p/?LinkID=403802:
- At the start of the process, the following screen will appear:
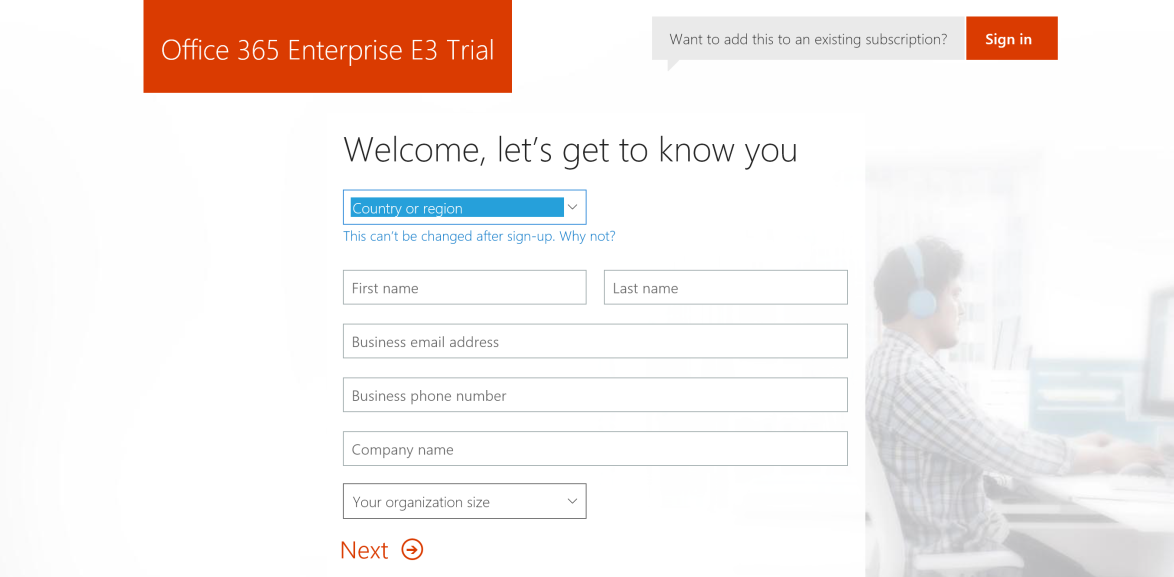
- At this step you need to fill out all the requested data fields, as shown in the following screenshot. Once you have filled all the data fields, click on Next:
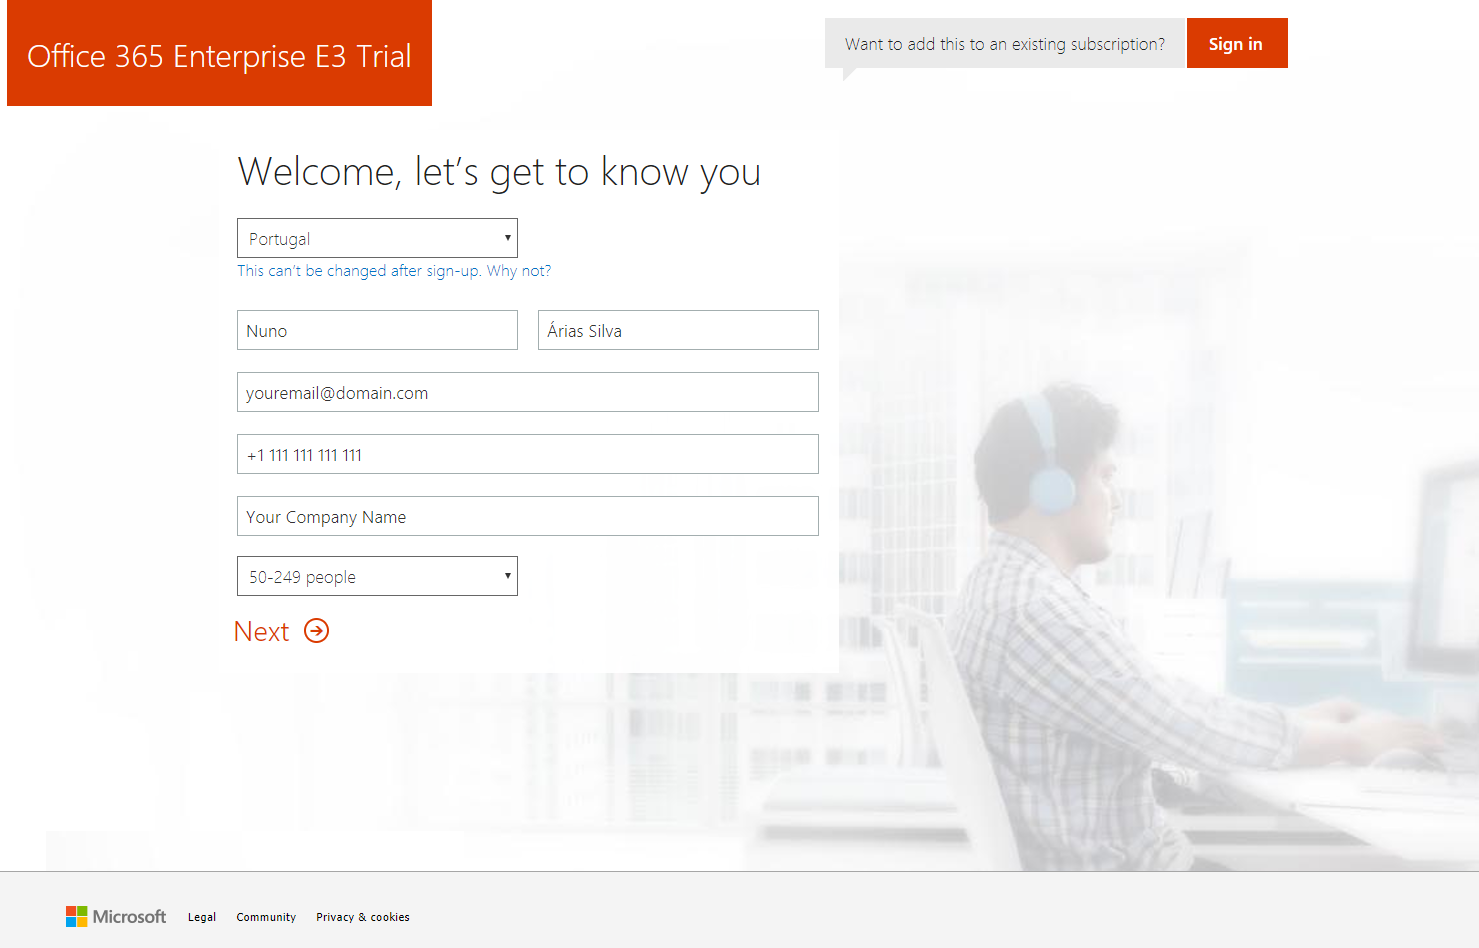
When you select your country, the Office 365 service will create the tenant in the datacenters of your region. At the time of creation, the place where your tenant will reside can't be changed, and if you need to change the region, you will have to perform a migration.
- Now fill in the required details, as shown in the following screenshot:
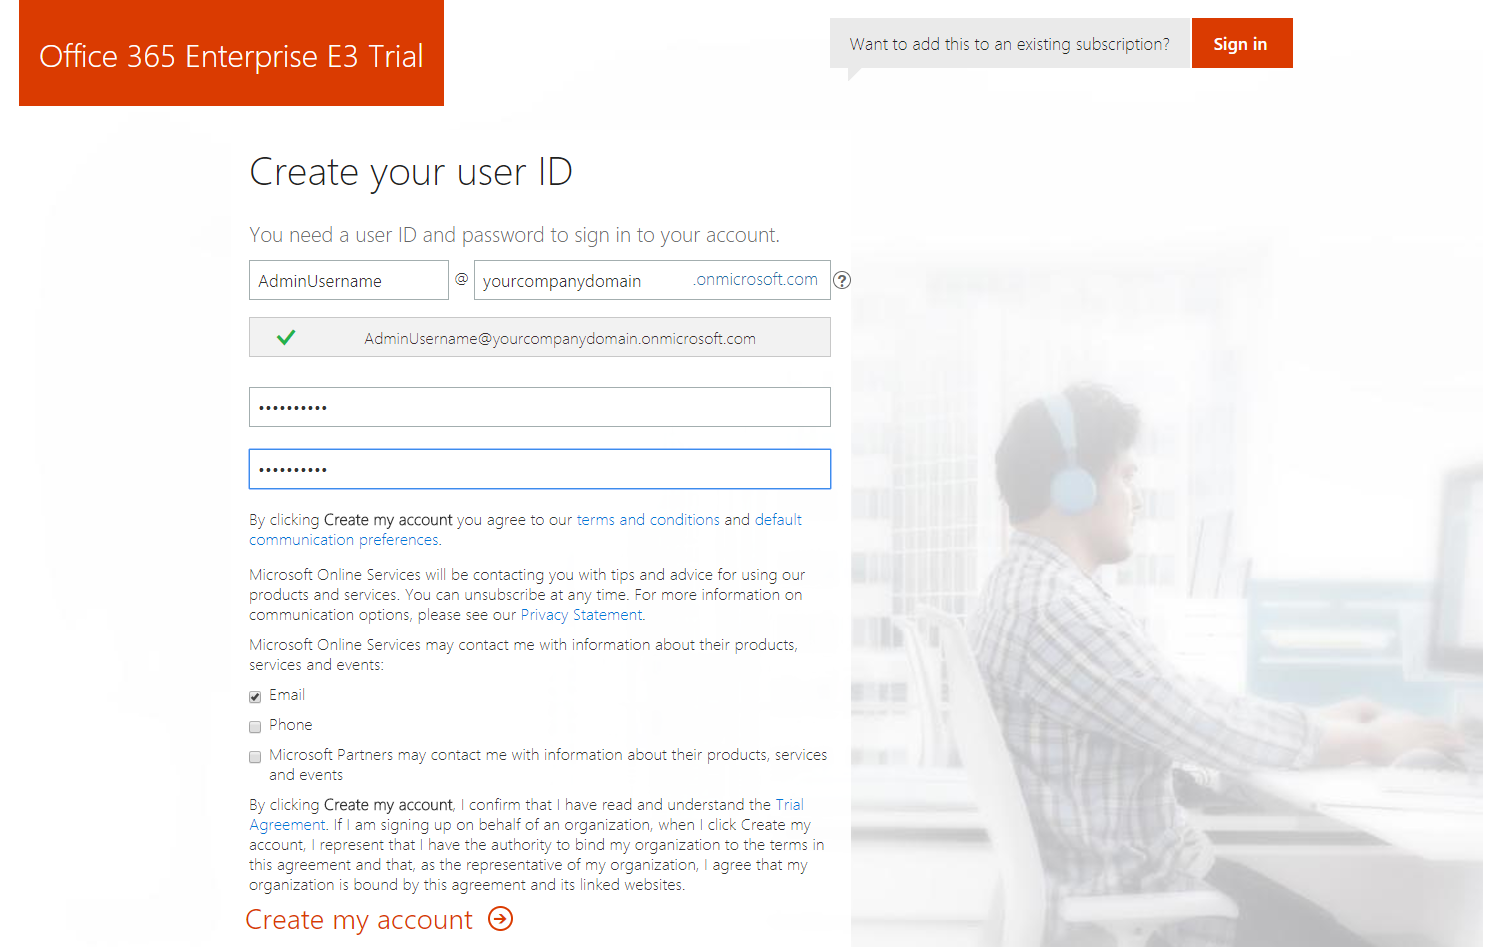
- It is advised that you create an admin account that is used only for Office 365. Select a username that is different from any other user within your on-premises system or email system within your organization.
After you choose a tenant name, such as yourcompanydomain.onmicrosoft.com, you won't be able to change it anymore, because Microsoft uses this name to differentiate tenants from each other. It will remain your tenant's name hereafter, without the possibility of being changed. This tenant name is used, for example, to access SharePoint Online, proxy addresses for Exchange mailboxes, OneDrive, and so on.
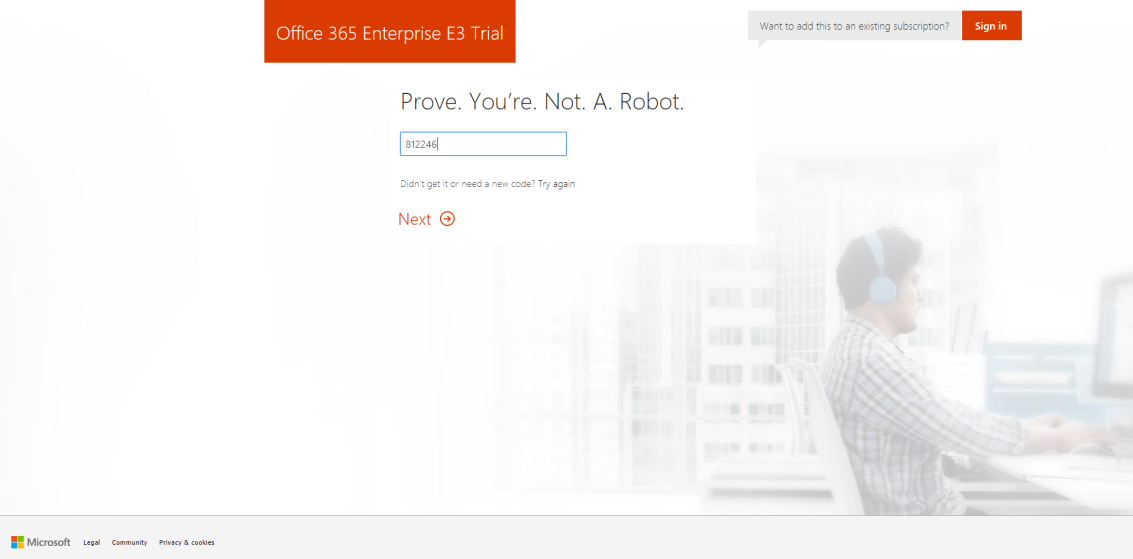
- In the next screen you will be asked to prove that it is not an automated system that is creating the tenant, to avoid the mass creation of tenants:
- Select either the Text me or Call me option, and you will receive a confirmation code. I have received the following code to confirm that I'm not a robot:
- After you click Next, Office 365 starts creating your tenant, and will request that you wait for a few minutes, as shown in the following screenshot:
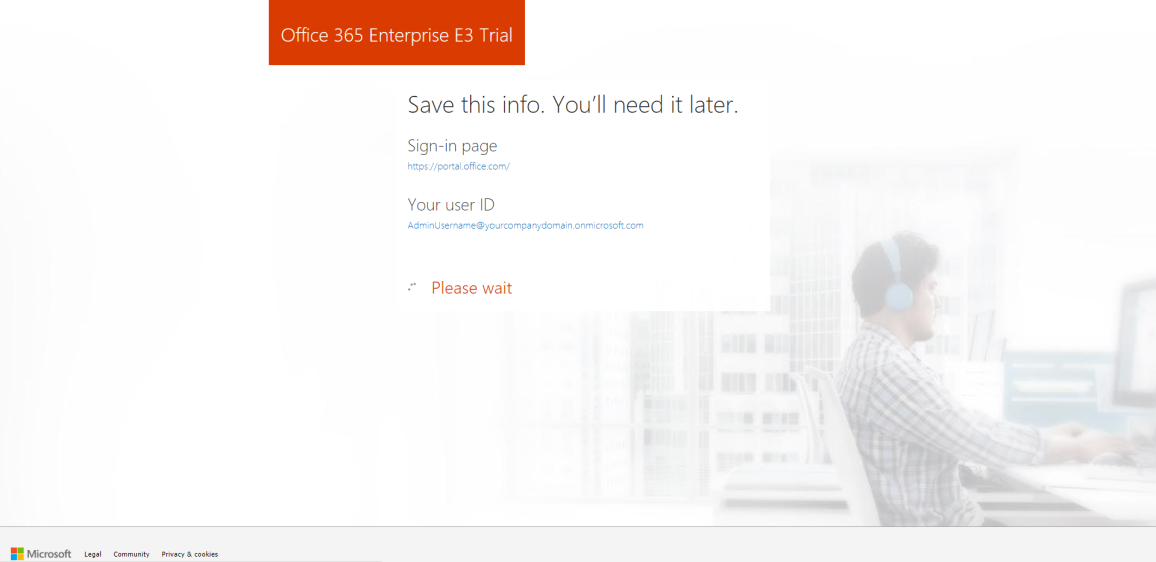
- After the creation of the Office 365 tenant, it will ask you to save the URL of the Office 365 portal (http://portal.office.com) and your user ID.
- After you click on the You're ready to go... option, the Office 365 tenant is created:
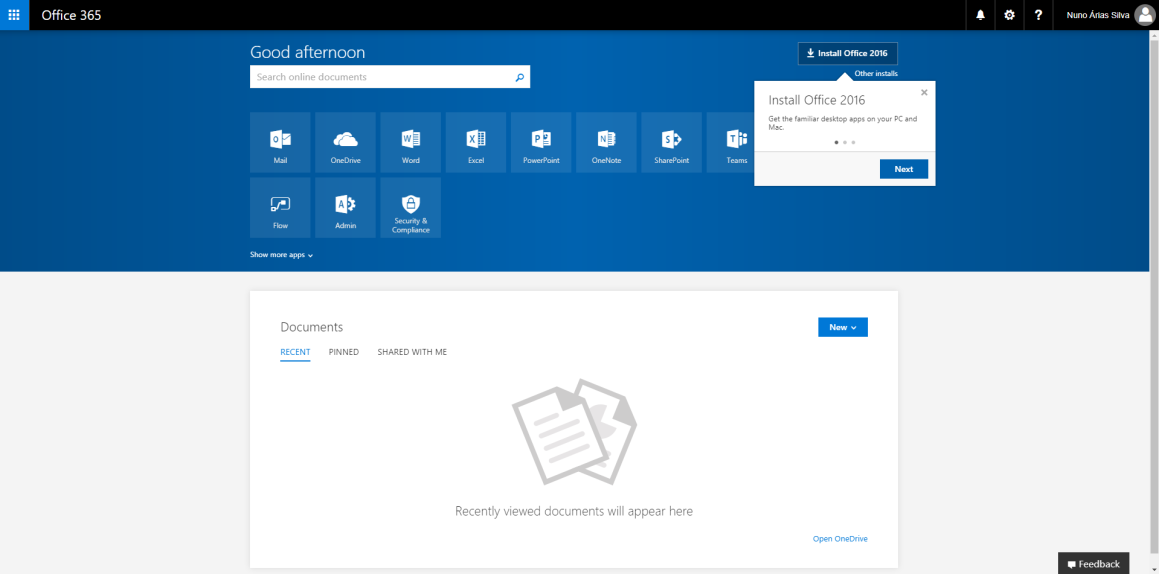
You can now start using Office 365. Since it is a trial version, you will have 25 user licenses available to use during the period of a month.
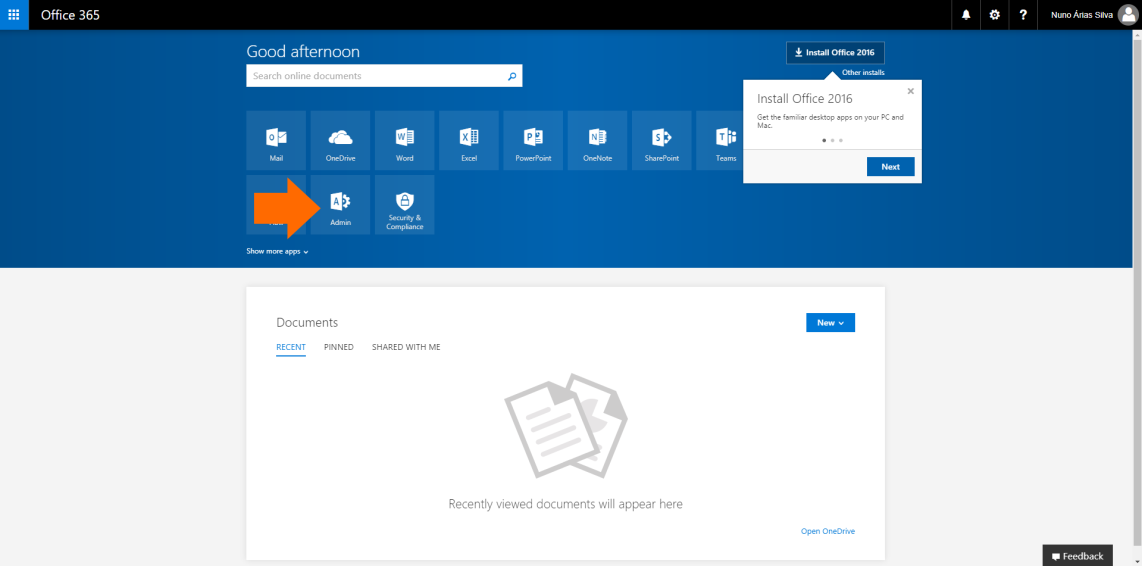
- You can now start by going to the Admin center and clicking on Admin to learn more as shown in the following screenshot:
- The following is the view of the Office 365 Admin center, where you have access to the Admin centers of all other services:
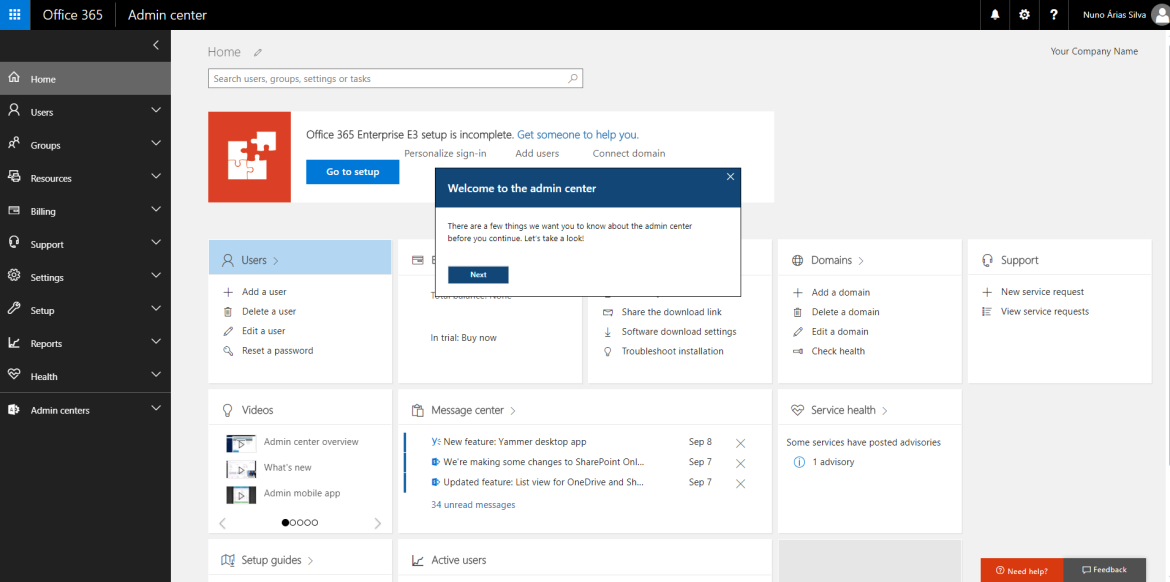
In the Admin center, you can do the following:
-
- Search for users, groups, settings, or tasks using the search box
- Navigate to the Admin centers, using the menu
- Access the homepage of the Admin centers to find the most-used and common tasks
This part of the evaluation is the phase in which you, as an administrator, create the Office 365 tenant and prepare for the deployment phase.