
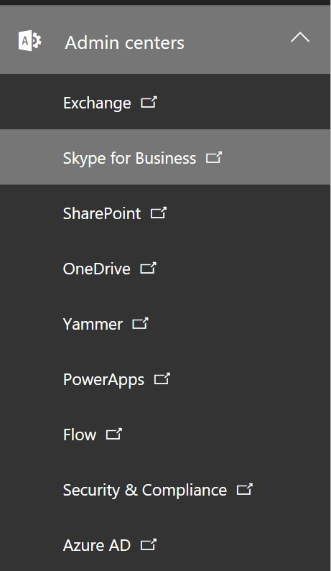
To administer the Skype for Business cloud-only scenario, from the admin section of Office 365, go to the Skype for Business admin center as shown in the following screenshot:
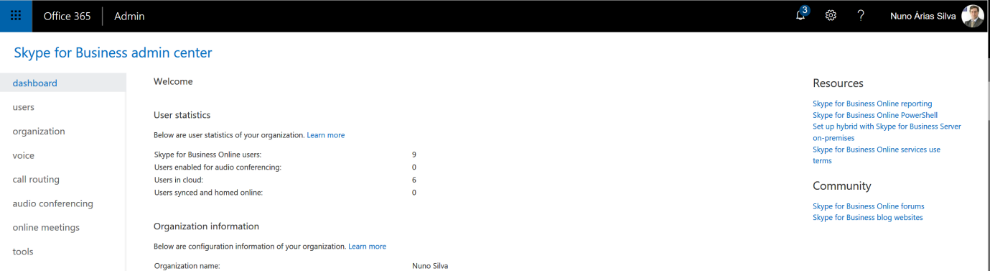
After entering the admin center of Skype for Business, you will have access to the following dashboard:
We can see in the following screenshots, the various options are as follows:
- users: For Skype for Business user, you can set the following options:
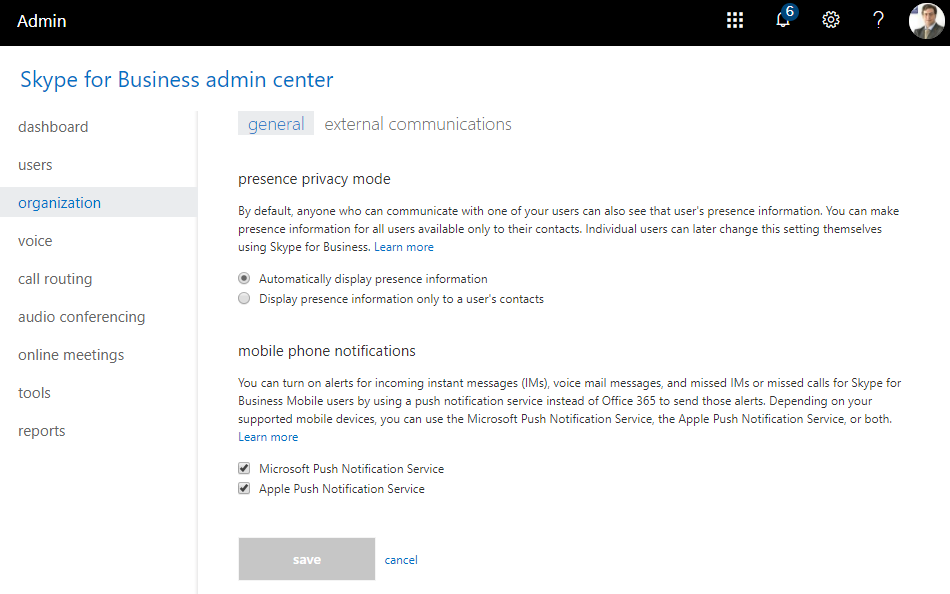
- general: The following screenshot displays the general options that the users can select the Skype for Business features:
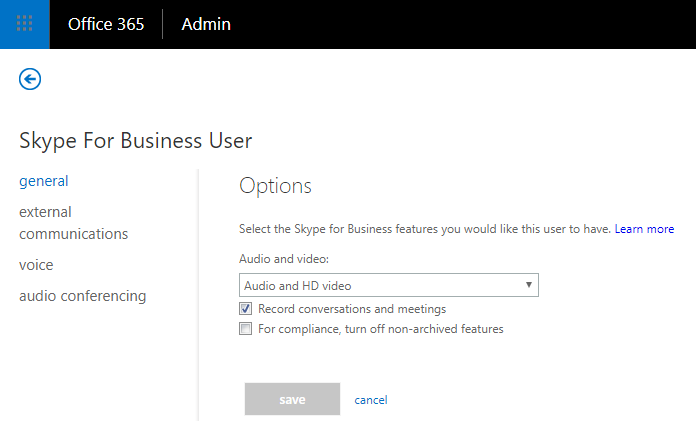
-
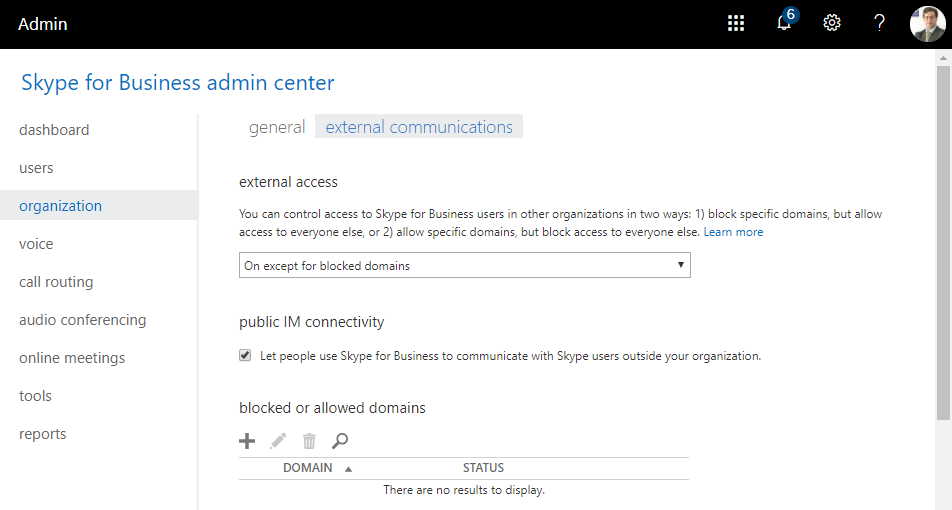
- external communications: The following screenshot displays the external communications options where the users can choose people outside the organization they can communicate with:
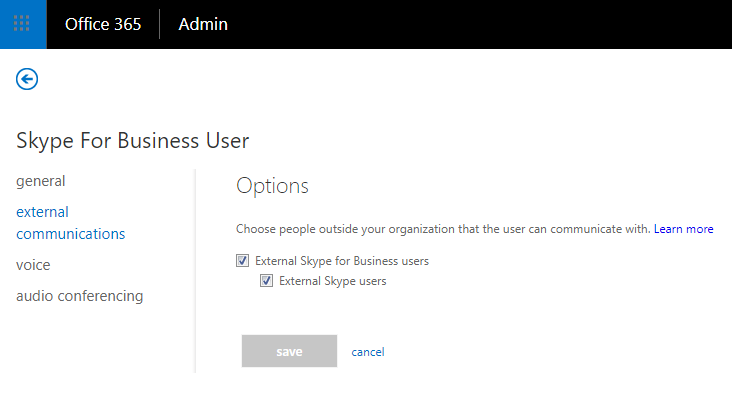
-
- voice: The following screenshot displays the voice options:
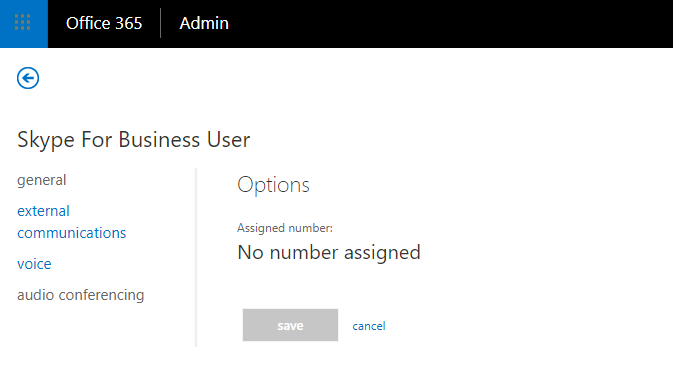
-
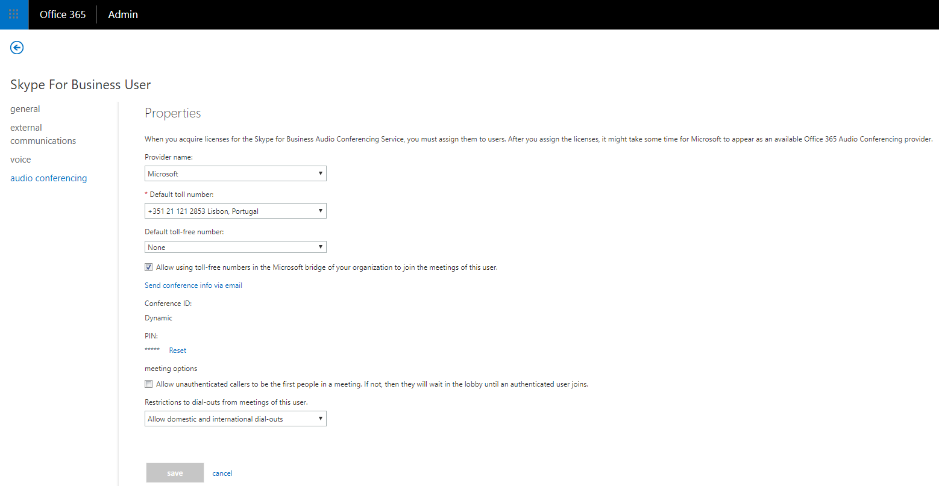
- audio conferencing: The following screenshot displays the audio conferencing options where the users can acquire the licenses for the Skype for Business audio conferencing service and so on:
- organization: In the organization section, we can see several options as shown in the general tab:
The external communications tab is where you can configure the external access:
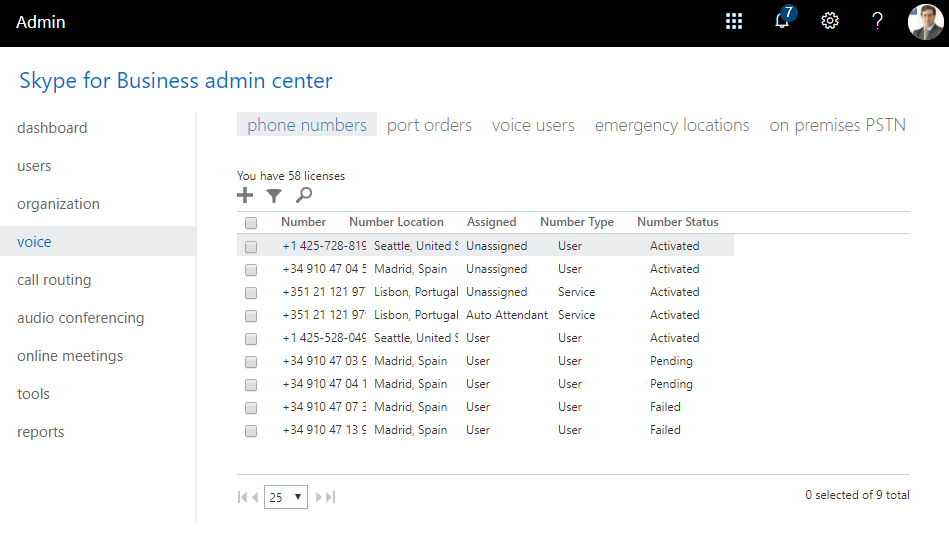
- voice: In the voice section, we have the configuration of the phone numbers, port orders, voice users, emergency locations, and on premises PSTN tabs:
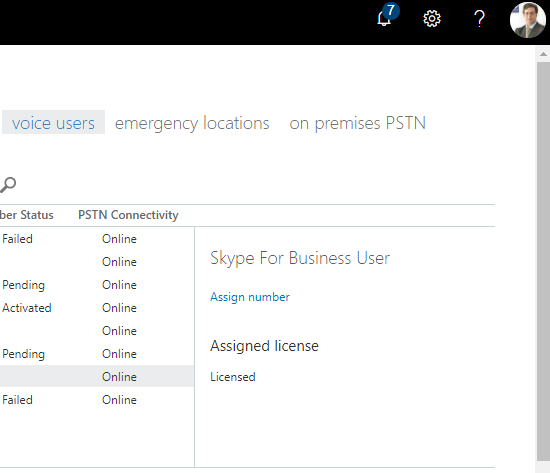
We can go to voice users, select a user, and assign it a number. Click on the Assign number link, as shown in the following screenshot:
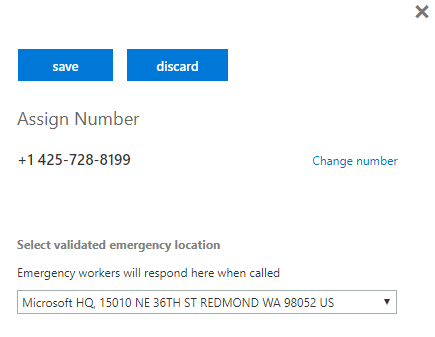
Now you can select a number and emergency location and click on the save button:
Now the user can start using the number as shown in the following screenshot:

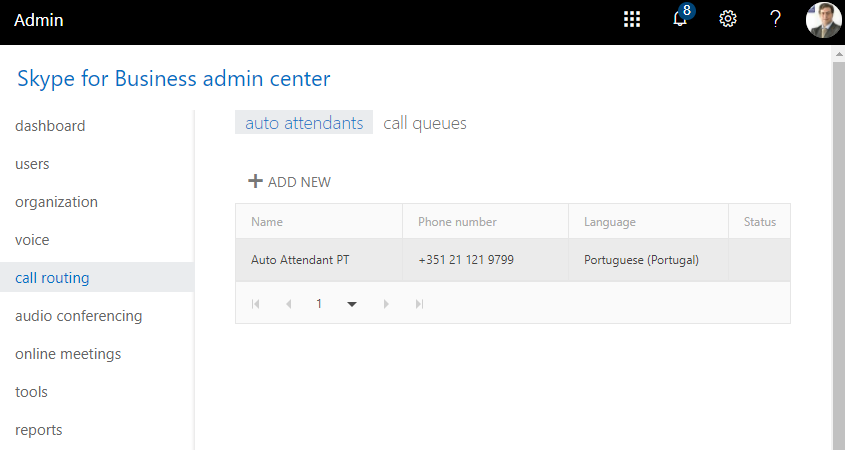
- call routing: In the call routing section, you can configure the auto attendants and call queues options:
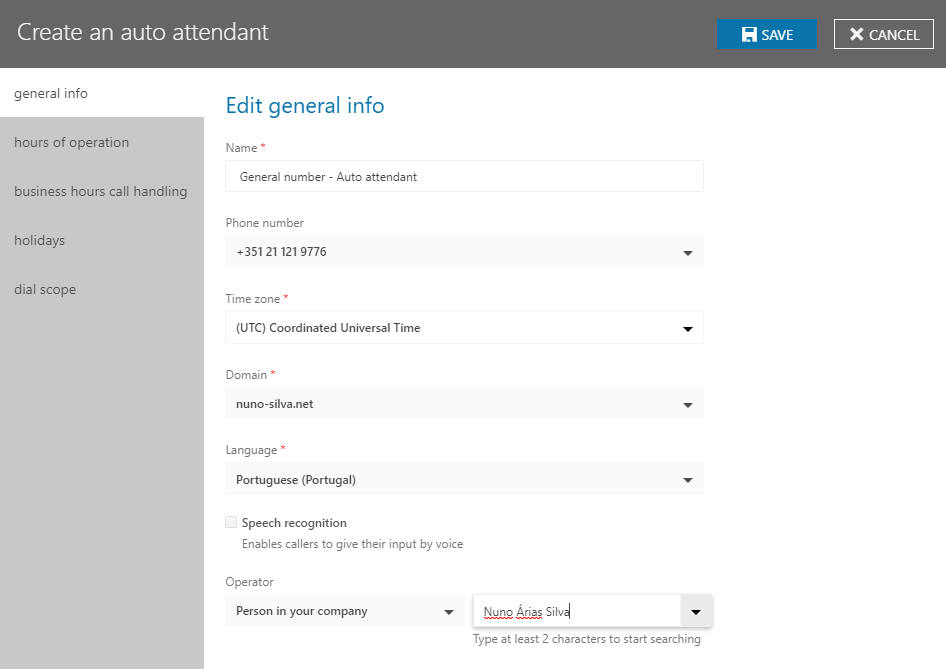
To create an auto attendant, click on the Add new button and fill in the general information as shown in the following screenshot:
Select the hours of operation as follows:

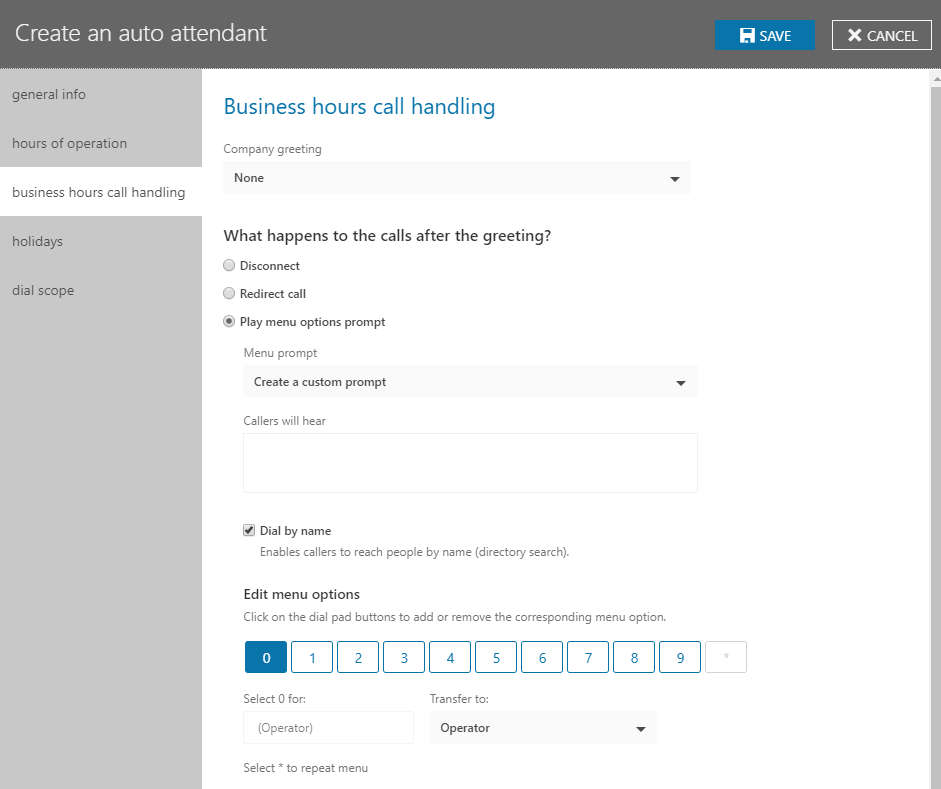
Select the options required in the Business hours call handling section:
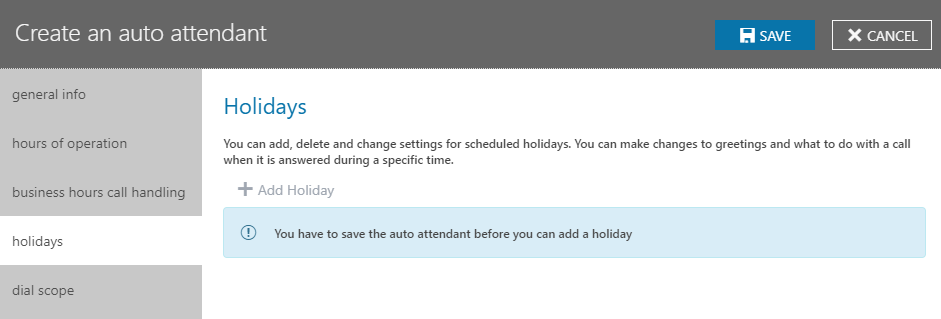
Specify the holidays as shown in the following screenshot:
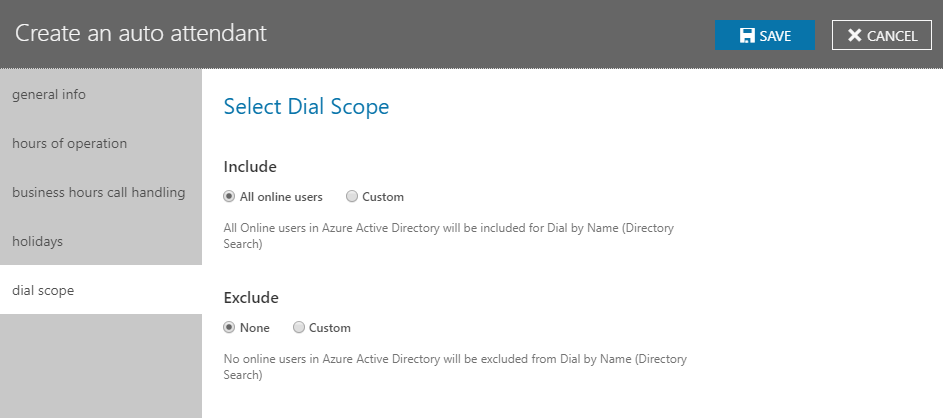
Select the dial scope option and click on the Save button:
While the auto attendant is being created, do not close the screen:

After the creation, we can test, edit, or delete the auto attendant:

If you are using the Skype for Business Client, when you click on the Test button, it will pop up the ability to do the call. Click on Click to call:

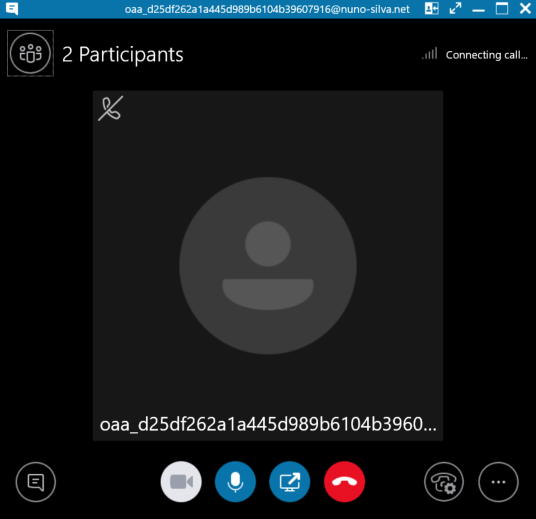
And, as we can see in the following screenshot, the call is connecting:
After you call, you can confirm that the auto attendant is working:

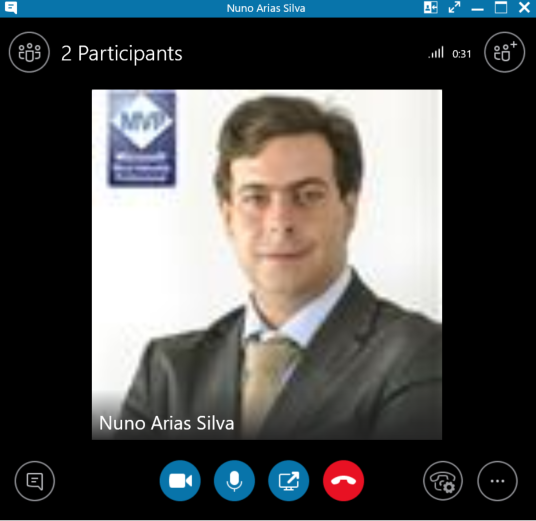
After the auto attendant greets you, it will transfer the call to the user, as shown in the following screenshot:

Then the user can answer the call:
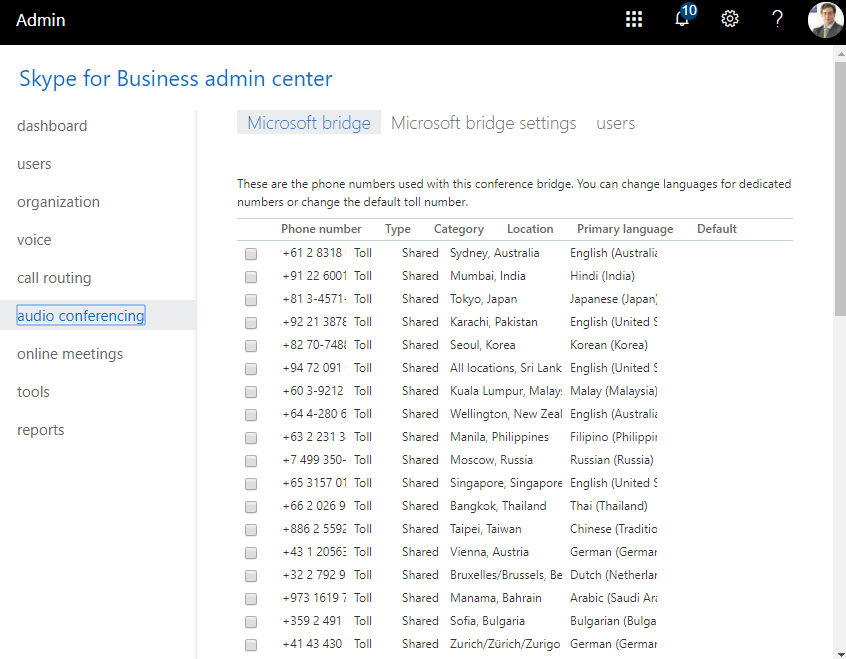
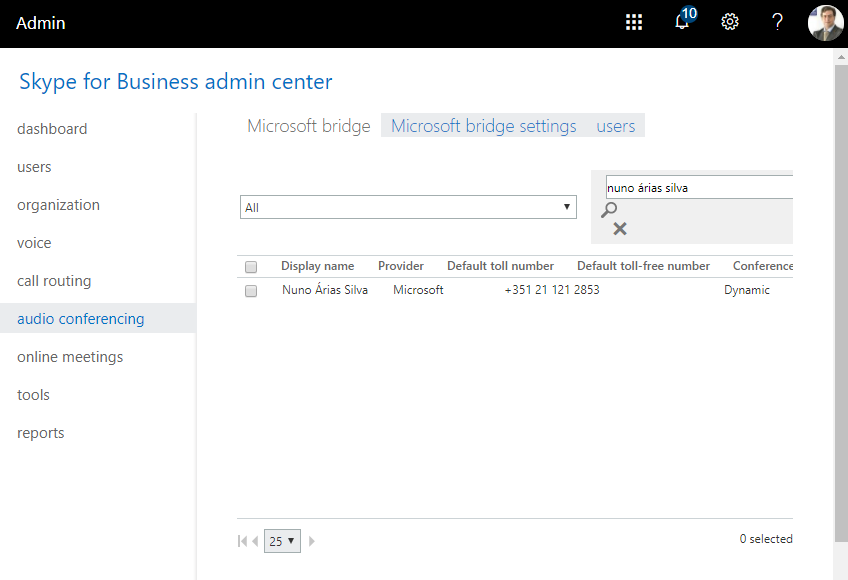
- audio conferencing: In the admin portal, we can also use the Microsoft bridge tab on audio conferencing section:
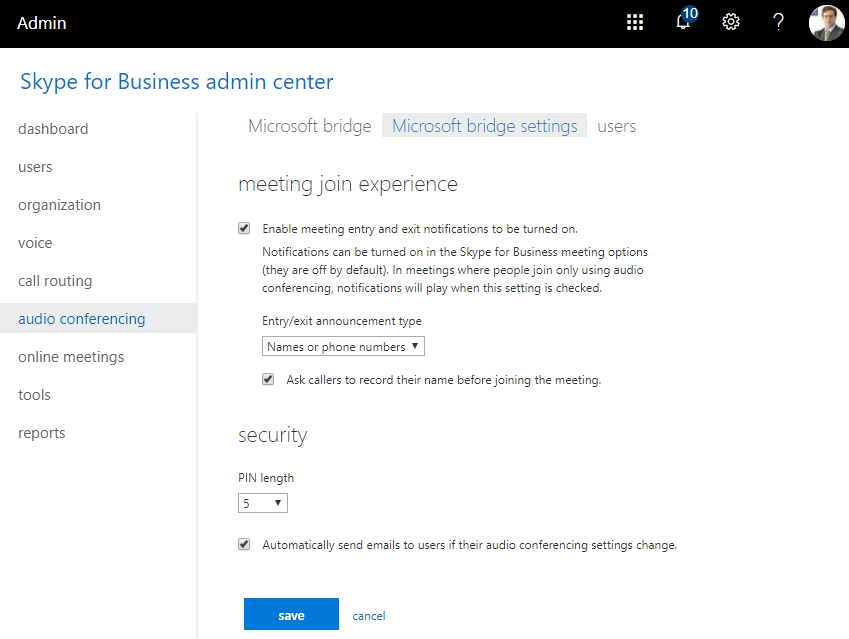
You can also set your Microsoft bridge settings options:
You can search for a user and change their settings:
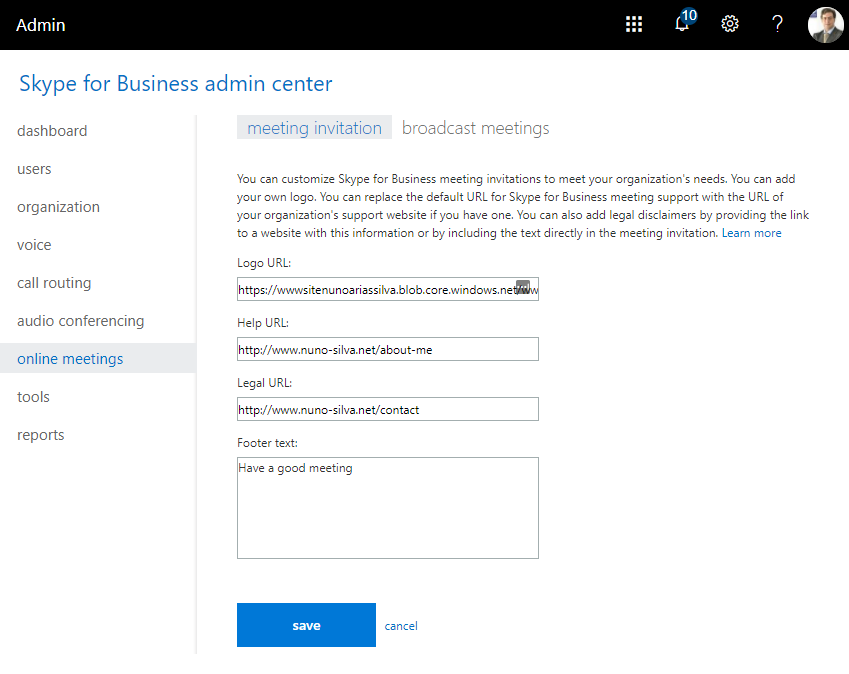
- online meetings: In this section, you can set meeting invitation information as shown in the following screenshot:
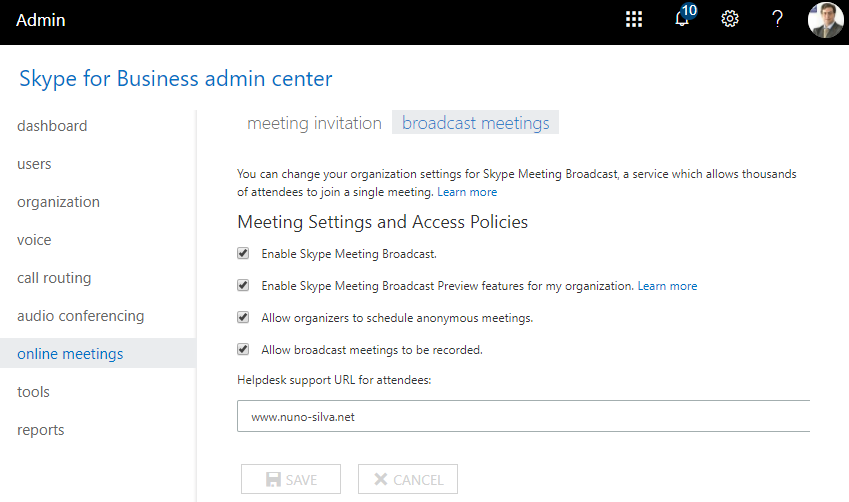
In the broadcast meetings tab, you can set the settings for this service:
- tools: In this section will help you troubleshoot and provide useful tools for implementation:

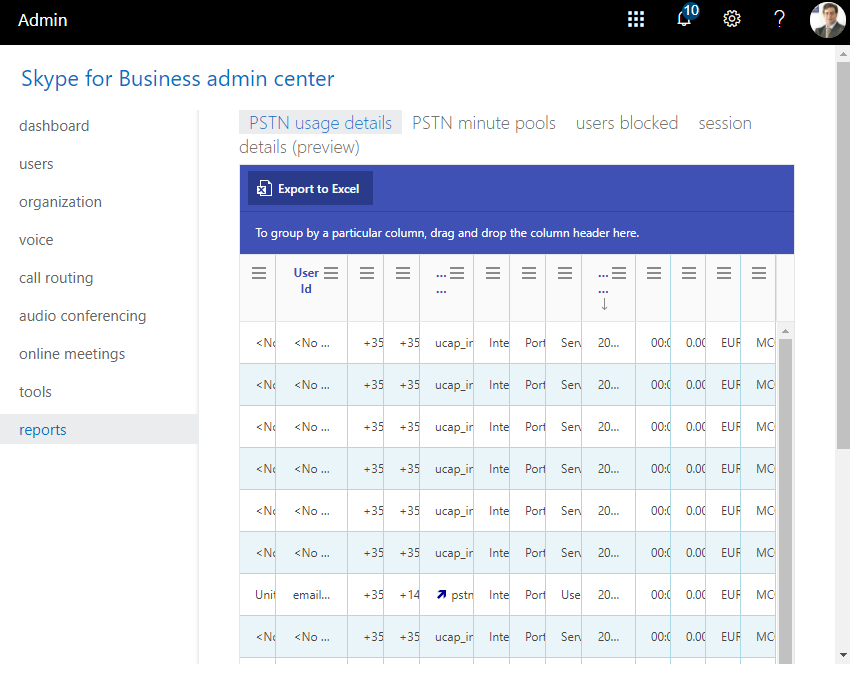
- reports: In this section, you have the PSTN usage details:
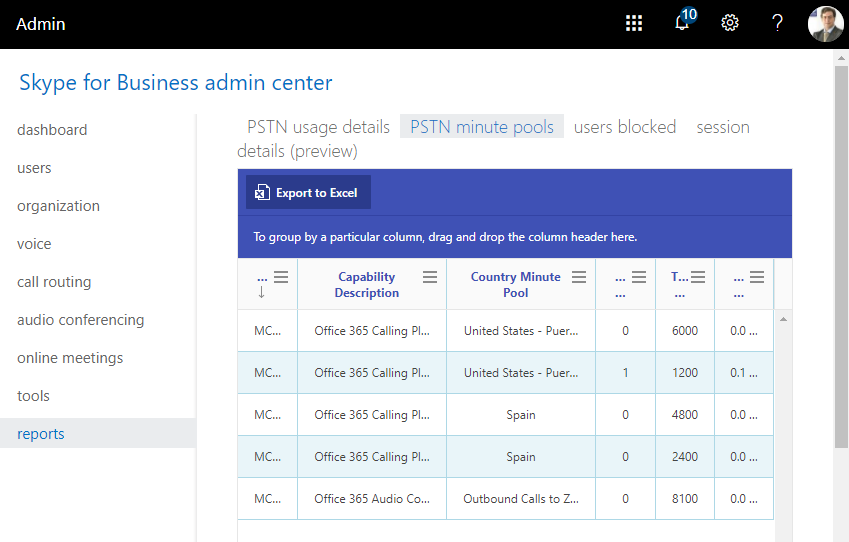
The following screenshot shows the PSTN minute pools details:
The following screenshot displays the blocked users details:

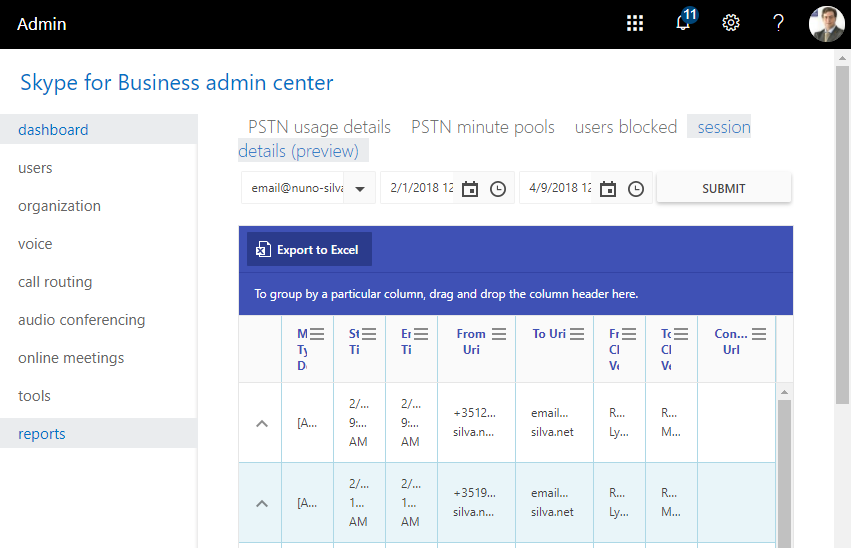
The following screenshot displays the various session details:
To see the complete admin help, visit the link at https://support.office.com/en-us/article/Skype-for-Business-Online-in-Office-365-–-Admin-Help-4307bdbf-6097-458d-9a6a-048112695c59.