We generally use the Channel Mixer (as an adjustment layer) to convert the individual color channels in an image to grayscale values. The most important settings to make are:
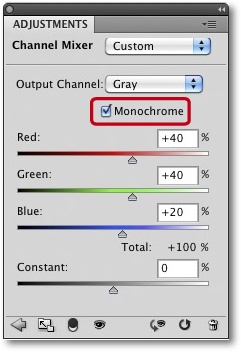
Activate the Monochrome option (Figure 10-2). The sliders are then automatically set to +40, +40, and +20. These are the default conversion values.
Then use the individual RGB sliders to determine how much each channel contributes to the resulting grayscale image. A good rule of thumb is to set the values so that they total 100%. More than 100% results in a brighter image, and less makes the result darker. As of CS4, Photoshop automatically displays the total at bottom right of the dialog window.
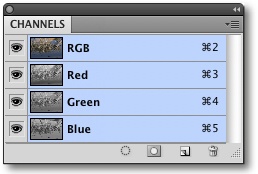
Check the individual channels using the Channels panel before starting work in the Channel Mixer. ![]() -clicking on a channel activates that channel and deactivates the others.
-clicking on a channel activates that channel and deactivates the others.
We find it easiest to judge images if the individual channels are set to a black-and-white view. We often find that a single channel actually contains just about the complete monochrome image that we are looking for.
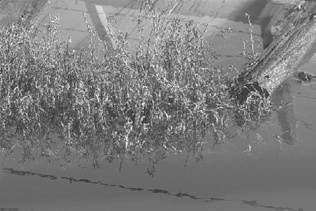
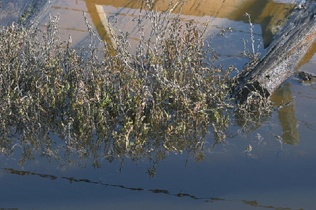
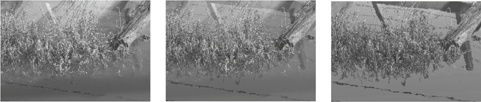
Let’s take a look at our example (Figure 10-4) and its accompanying Channels panel in Figure 10-3 and Figure 10-5:
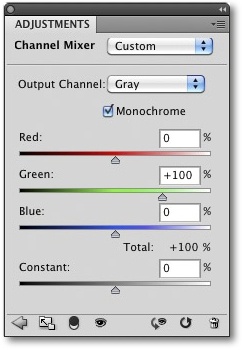
To select the entire green channel, all we have to do is set the green slider to 100% in the Channel Mixer (Figure 10-6). The result then looks like Figure 10-7. However, it is rare that all important image elements are present in a single channel. Most images require the use of all three channels and some additional corrections. 60% red and 40% green is a good starting point, and you can use the Constant slider to alter the overall image brightness. The red and blue channels are nearly always noisier than the green channel.
Once we have closed the Channel Mixer dialog, our black-and-white image (which is still actually an RGB image) can then be fine-tuned (e.g., using layer masks). It is often useful to brighten shadows and darken highlights to tease more detail out of an image (see The Shadows/Highlights Tool and Correcting Images Using Brush Techniques).