
![]()
THE BRUSH TOOL is probably the most versatile of all the drawing tools, especially when combined with a pressure-sensitive tablet. Drawing with the Brush tool is essentially drawing with shapes. It’s the tool that feels the most natural due to the support of pressure sensitivity and tilt features.
![]()
Wacom makes a series of popular tablets that work great with Flash. Wacom tablets can work in conjunction with your existing mouse, or replace your mouse completely. Many digital designers use a tablet with any number of graphics editors including Adobe Photoshop and Adobe Illustrator.
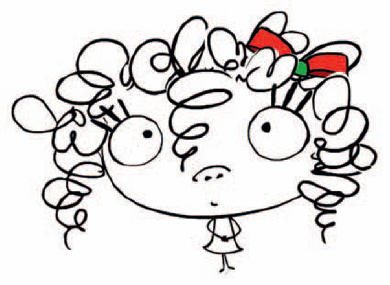
When to use the Brush tool is really a matter of style and preference. For this character, I wanted to achieve a loose, hand-drawn feel, so the brush was a perfect choice.

1 The first adjustment you will want to make when using the Brush tool ![]() will be the amount of smoothing you want applied. This option appears as a hot text slider in the Properties panel when the Brush tool is selected. The right amount of smoothing to use depends on personal preference. The higher the number, the smoother the line (and vice versa). For this character, we’ll choose a low amount of smoothing to maintain an organic quality to the line work.
will be the amount of smoothing you want applied. This option appears as a hot text slider in the Properties panel when the Brush tool is selected. The right amount of smoothing to use depends on personal preference. The higher the number, the smoother the line (and vice versa). For this character, we’ll choose a low amount of smoothing to maintain an organic quality to the line work.
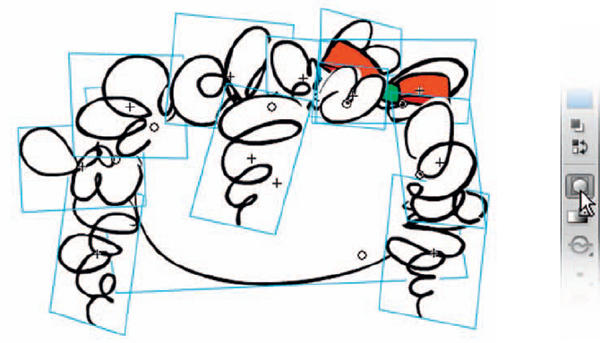
2 Always design your characters with the intended purpose in mind: animation. Form follows function and the animation style can often dictate how a character is designed. If you are a perfectionist like me, you’ll want the hair to look as much like individual curls as possible. To do this, avoid designing the hair as one large flat object. Instead, draw individual sections of curls to keep them as separate objects so they can be moved independently of each other. Turn on Object Drawing mode (subselection of the Brush tool). Object Drawing mode allows you to draw shapes as separate objects. These objects can be drawn over each other without them being merged together. You can select each Object Drawing with the Selection tool ![]() and then convert each one to a symbol.
and then convert each one to a symbol.

3 To remain consistent with the loose drawing style, you may want to add a fill color that bleeds outside of the outlines a little. There are several ways to achieve this by painting on a new layer below the outline art or setting the brush to “Paint Behind” and painting on the same layer. If you turned on Object Drawing mode ![]() , then each object you draw will reside safely in a container.
, then each object you draw will reside safely in a container.
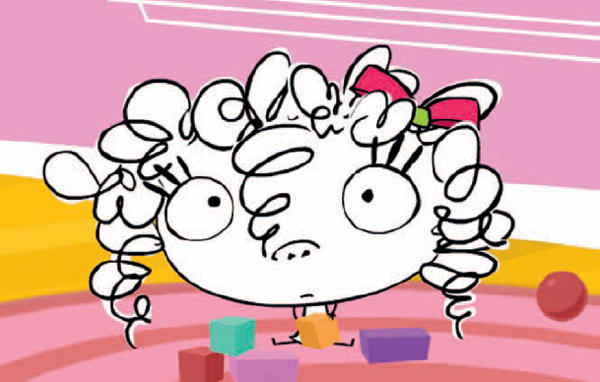
4 The final result represents the loose hand-drawn style we were after. The line quality feels natural and reflects the imperfections the human hand is capable of. We are not trying to achieve a slick design style here, but rather to convey a looser line quality representative of hand-drawn artwork. This style lends itself well to a child character as the integrity of the line is similar to how a real child would draw.

Hot Tip
Experiment with different stage magnifications when drawing. I prefer to draw on a larger scale and with the stage magnified about 400%. The result is typically a smoother line quality.
![]()