
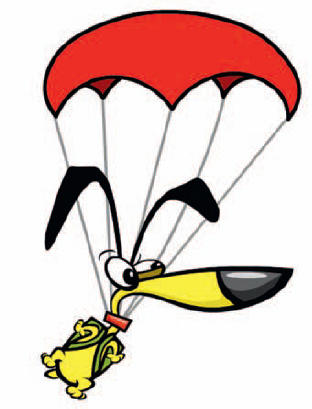
IF YOU PLAYED with Lego building blocks when you were a kid, you may find this drawing style familiar (or at least intuitive). You’ll use several basic shapes and then connect them together. This technique requires breaking down each body part of the character into basic building blocks using the Rectangle and Oval tools. It’s a fast and efficient way to simplify the character into manageable sections while achieving a very professional cartoon style.
Here, we will use shapes to cut in to other shapes. This is a very useful technique for cutting holes out of objects as well as altering the edges of shapes. Of course these techniques can be applied to background elements as well.
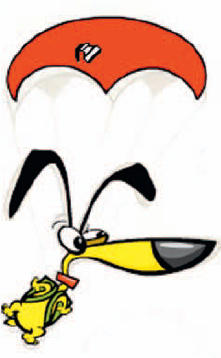
The key here is using simple shapes to build complex images suitable for Flash style animation, which we will get to in later chapters.
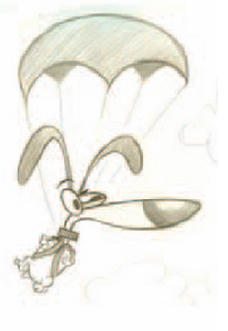
1 Here is my original pencil sketch that I have scanned and saved as a JPG file. I prefer to start with pencil on paper because I simply like the feel of this medium and the results are always a little more, shall we say, artistic.

2 After importing the scanned image, insert a blank keyframe on frame 2 and turn on the Onionskin tool. This allows us to trace the image in a new frame while using the original image as a reference.
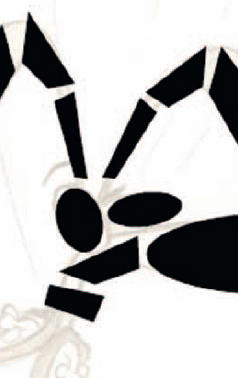
3 Using the Oval ![]() and Rectangle
and Rectangle ![]() tools allows us to quickly achieve the basic forms of our character. The Selection tool is great for pushing and pulling these basic fills into custom shapes based on our sketch.
tools allows us to quickly achieve the basic forms of our character. The Selection tool is great for pushing and pulling these basic fills into custom shapes based on our sketch.
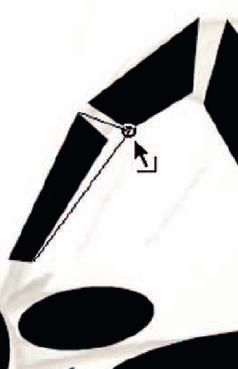
4 Turn on the Snap option (magnet icon), and drag corners to each other so they snap together. This process is not unlike those Lego building blocks you played with when you were a kid.
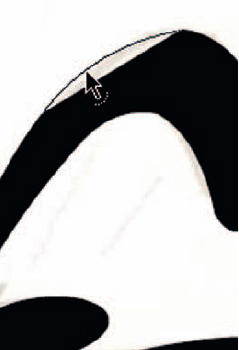
5 Next, click and drag the sides of your shapes to push and pull them into curves. This is a fun process as your character really starts to take shape.
6 To achieve the black outline, select the shape, copy it using ![]()
![]()
![]()
![]() and paste it in place using
and paste it in place using ![]()
![]()
![]()
![]()
![]()
![]() . While it’s still selected, select a different color from the Mixer panel and scale it about 80% smaller.
. While it’s still selected, select a different color from the Mixer panel and scale it about 80% smaller.
7 The original shape is still present underneath your new shape. The trick is to position the new shape off-center from the original to achieve an outline with a varied weight.

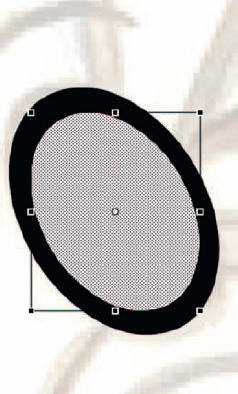
8 The parachute uses a slightly different technique I like to call “cutting in”. Let’s start with the Oval tool for the parachute’s basic shape.

9 You can cut into this shape using different colored shapes such as this blue oval. position it over the area you want to cut into, deselect it, then select it and hit the Delete key ![]() .
.
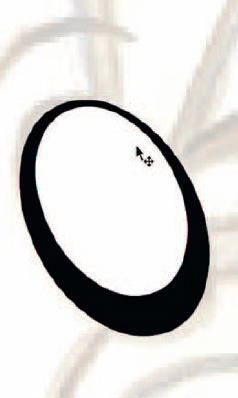
10 Once your shape is the way you want it, you can use the Ink Bottle tool ![]() to quickly add an outline to it.
to quickly add an outline to it.

Hot Tip
As you complete each individual section of your character, cut and paste them into new layers and lock them. This will prevent them from being inadvertently edited. Better yet, convert them to symbols while you are at it. I also recommend turning off Object Drawing mode for this type of workflow.
![]()