
Bone Tool (Inverse Kinematics)
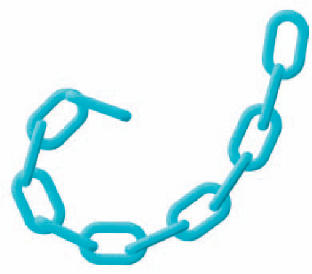
INVERSE KINEMATICS (iK) is an exciting new tool for animating an object or a series of objects in relation to each other using what is commonly referred to as an armature or a chain. This new tool is called the Bone tool in Adobe Flash CS4. Not unlike a marionette puppet, the Bone tool allows symbol instances and shape objects to move in a chain-like fashion. It made sense to me to introduce this feature using an actual chain example for simplicity’s sake.
I have included a folder named “CS4 Bone tool examples” on the source CD included in the back of this book. This folder contains several examples that showcase the Bone tool.
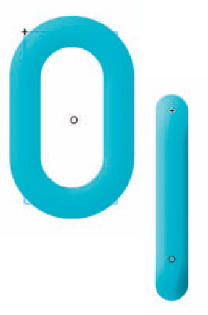
1 To create a chain you need 2 or more objects. Here I have created 2 simple chain graphics using the rectangle tool and a stroke color. They were converted to Movie Clips and have a Bevel filter applied to them for a touch of realism.
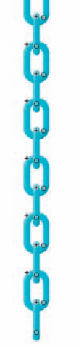
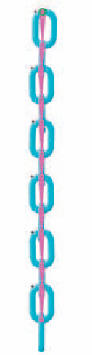
2 I have duplicated these 2 symbols several times and configured them to form a straight vertical chain. Now that the objects are configured, it is time to create the chain.
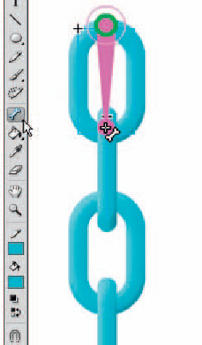
3 Select the Bone tool ![]() , and start with the top-most symbol. This will be the root or parent symbol. Drag from the top of this symbol to the top of the next symbol in the chain. A solid bone will be displayed between both objects.
, and start with the top-most symbol. This will be the root or parent symbol. Drag from the top of this symbol to the top of the next symbol in the chain. A solid bone will be displayed between both objects.
4 Repeat this procedure until all objects are linked together to form a chain. The exact location over the object where you release the mouse is where the bone will be attached. An object can have only one single attachment point.
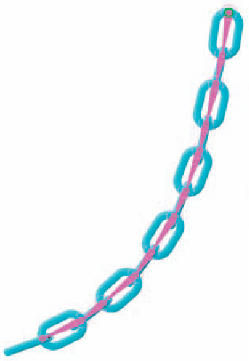
5 Click the last object in the chain (in this example it is the bottom-most chain link graphic) and drag it to the left. All the other links in the chain will follow in a realistic fashion.
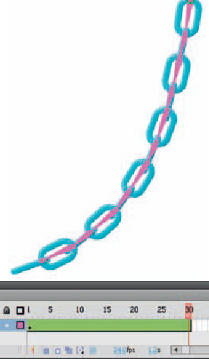
6 Insert some frames in the armature layer your chain now resides in. Position the playhead in the last frame.
7 Drag the chain again in the opposite direction. A 2nd keyframe has been automatically added. Now you can play back your animation and watch the chain move from left to right.
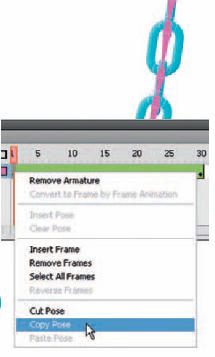
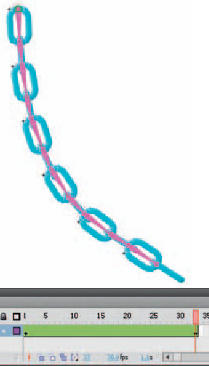
8 To create a seemless looping animation, right-click over the keyframe in frame 1 and select Copy Pose.
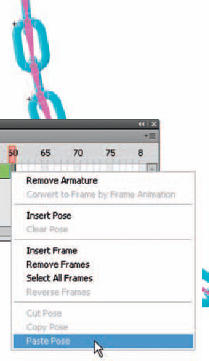
9 Insert more frames in the armature layer by clicking on an empty frame further down the timeline and pressing the F5 key. Right-click over the last frame in the span and select Paste Pose.

10 Select a frame in the span and select one of the easing presets from the drop-down menu in the Properties panel. Use the hot text slider to control the strength of the ease.


Hot Tip
You can apply different types of easing in between different sets of keyframes throughout the same span. Just select a frame in between a span, set the type and strength of the ease and repeat.
![]()
![]()
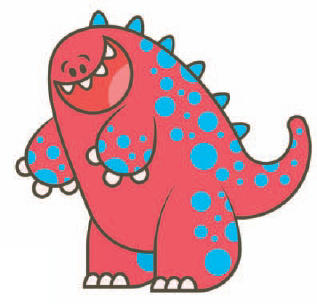
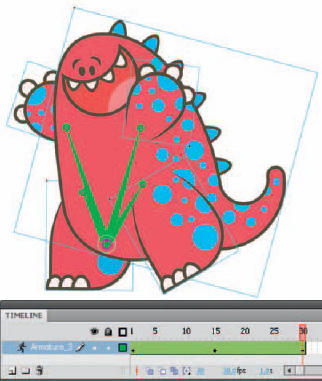
HOW DOES THE bone tool work with a character? Now we’re getting into some fun new territory with Flash CS4. Here’s a great character design from talented character designer Steven J. Tubbrit, founder of Sunchirp (http://sunchirp.blogspot.com).
This character is a perfect next step for learning about Inverse Kinematics. It is a relatively simple design with only a handful of moveable parts yet complex enough to keep our attention.
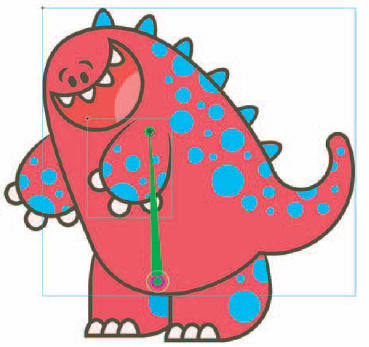
1 The first step is to convert all body parts to Graphic or Movie Clip symbols and arrange them roughly in their default positions. They can either be on the same layer or different layers. Using the Bone tool ![]() , click and drag from one symbol to another. The first symbol in the chain becomes the root (sometimes called the parent) symbol of the entire chain. It appears with a circle around the head of the bone.
, click and drag from one symbol to another. The first symbol in the chain becomes the root (sometimes called the parent) symbol of the entire chain. It appears with a circle around the head of the bone.
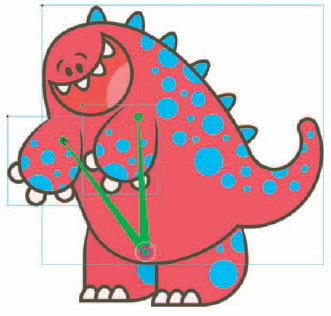
2 This armature is different from the previous “chain” in the previous example. Instead of linking one object after another, here it is best to link the next object from the same starting point as the root bone you made in step 1. The reason for this is because the body of the dragon is simply too large to link other body parts any other way. Each bone will need to originate from the same point.
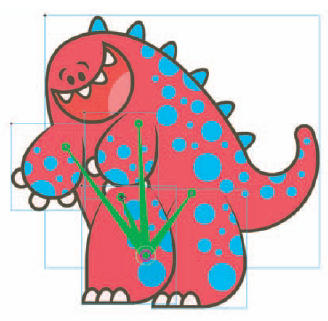
3 Repeat the process of linking body parts with the Bone tool by dragging from the same starting point. You’ll notice, as you link objects, they will swap depths with each other. You will have to stack them again in the right order after your armature is created.
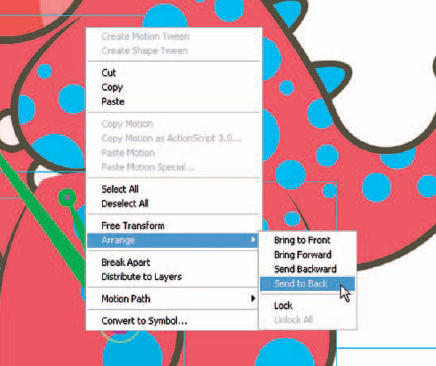
4 Simply select the object you want to arrange and right-click over it, and select Arrange and then the desired stacking order relative to the other symbols. Send to Back will place the object behind all other objects. Send Backward will position the object behind the next object directly below it.
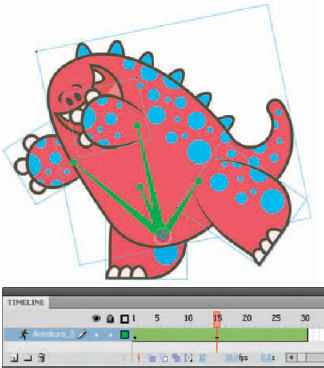
5 Click and drag any of the bones to manipulate your character. Position the playhead on a different frame and create a new pose by manipulating the armature.
6 Continue to position the playhead on different frames and adjust your character’s pose. When you play back the timeline you will see the character animate from pose to pose.
Hot Tip
You can add new objects to an armature even after the armature has been created. Start by placing the new object in its own layer. Drag a new bone to it from the original armature and Flash will move the instance to the pose layer of the armature.
![]()