
BONES ARE NOT LIMITED TO symbols. You can apply a bone armature to a single shape. The difference between symbols and shapes when working with the Bone tool is, you can add multiple bones to the interior of a single shape. This is different from symbols because you can have only one bone per instance. Once bones are added to the selection, Flash converts the shape and bones into an IK shape object and moves the object to a new pose layer. Once a shape is converted to an IK shape, it can no longer merge with other shapes outside the IK shape.
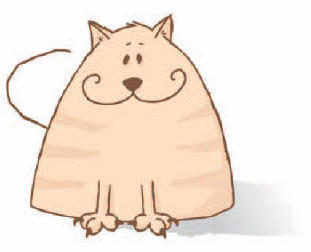
Manipulating a shape with an armature can produce more organic looking animation. Case in point, here I need to animate the tail of a cat waving back and forth. With the Bone tool I am able to quickly and easily produce a very natural and realistic looking tail-like motion.
![]()
1 Before applying a bone structure to the tail, it is best to start with the tail drawn without any curves. The reason is, if we start with a curved tail and apply the bone armature, then it becomes much more difficult to curve the tail in the opposite direction without the integrity of the shape becoming compromised. A straight position is neutral and can be easily manipulated in either direction. For this animation we will make the tail move from left to right in a whip-like fashion.
![]()
2 We want the tip of the tail to have the most flexibility and the bottom of the tail to be the most rigid. The root bone is the very first bone created in the chain and all subsequent bones are its children. Select the Bone ![]() tool and drag inside the tail shape from the very bottom in an upward direction. Once the root bone has been applied, Flash will automatically place the shape in a container called an IK shape object. This new object is automatically moved to a new pose layer.
tool and drag inside the tail shape from the very bottom in an upward direction. Once the root bone has been applied, Flash will automatically place the shape in a container called an IK shape object. This new object is automatically moved to a new pose layer.

3 Continue adding bones to the shape, working your way upwards until the entire armature spans the entire tail. What may be the most important detail of this technique is making each bone slightly shorter than the previous bone moving up the tail. The reason for this is to allow the tail to become more articulate towards the tip. If you were to create longer bones towards the tip, articulation would suffer and you would end up with severe 90 degree bends instead of several softer bends representing a more curvy tail overall.
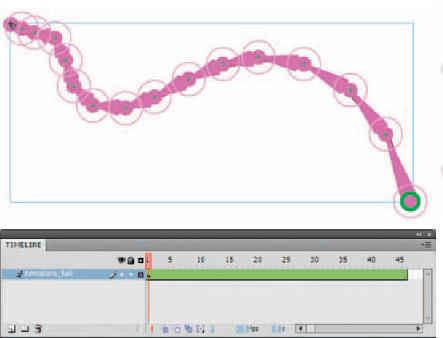
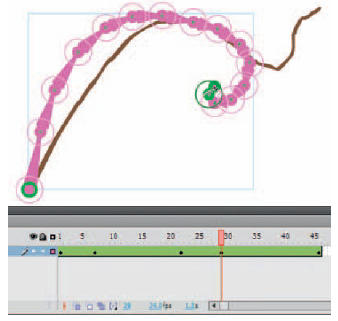
4 Once the armature is complete, position the tail in the desired starting shape in frame 1. Here I have grabbed the tip of the tail and articulated it into an “S” curve.
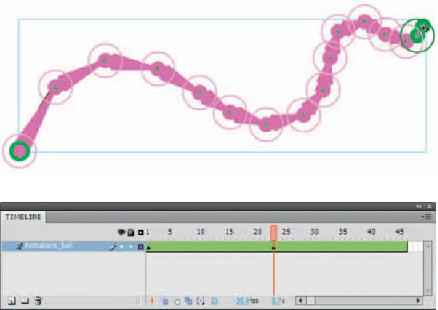
5 Insert several frames in the armature pose layer and then move the play head somewhere in the middle of the span. Articulate the tail in the opposite direction, simulating an “S” curve again. Use your best judgement as to how much curve you want your tail to have. There are no rules here when it comes to artistic license.
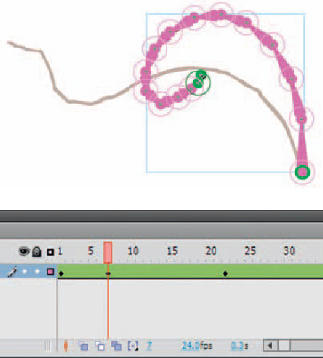
6 The key to creating a realistic wavy tail is to add a little secondary animation. Place the playhead a few frames after the initial starting pose and curl the tip of the tail in the opposite direction it is traveling in. This provides more of a “whip” effect as the tail begins to change direction.
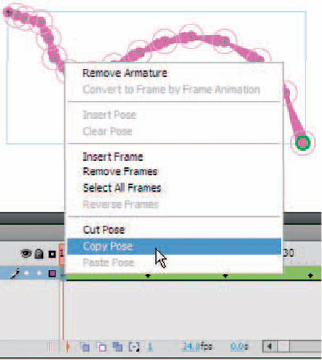
7 To make this tail loop seamlessly, ![]()
![]() + click frame 1 and then right-click over it. Select Copy Pose.
+ click frame 1 and then right-click over it. Select Copy Pose.


Hot Tip
Your can also add bones to shapes created in object Drawing mode.
![]()
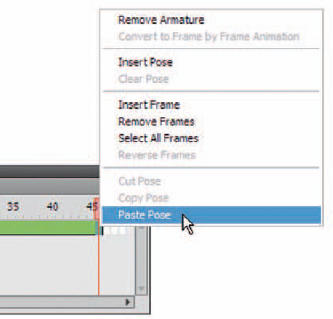
8 ![]()
![]() + click the last frame in the armature span and right-click again. This time select Paste Pose.
+ click the last frame in the armature span and right-click again. This time select Paste Pose.
9 Next, add the secondary animation as we did in step 6 by placing the playhead a few frames before the last frame and creating a more dramatic curve in the opposite direction the tail is moving.

10 Without easing, the tail feels too rigid and mechanical. Select any frame between the first 2 keyframes and from the Properties panel select an ease preset using the drop-down menu in the Ease category. To ease in and then out between these 2 keyframes, set the strength of the ease to a negative value using the hot text slider. Repeat this step for each keyframed pose.
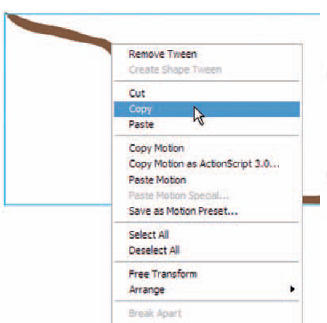
11 In most situations you could consider the animation complete. For all intents and purposes it is, but for this particular character I want to make sure the tail animation is as visible as possible. Therefore I want to Motion tweeen it back and forth along the X-axis. To do this, it is best to tween the entire tail animation inside a symbol. Right-click over the tail armature and select Copy.
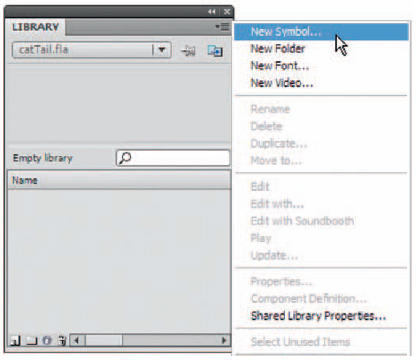
12 Create a new symbol in the Library using the drop-down menu in the upper right corner of the Library panel. The symbol can be a movie clip or a Graphic symbol but for this example I recommend Graphic behavior so you can see the animation inside the Flash authoring environment.

13 Once the symbol is created you will be inside this symbol and ready to add the armature you copied earlier. Right-click over the stage area and select Paste. The entire armature and its animation will now be nested inside your new symbol.
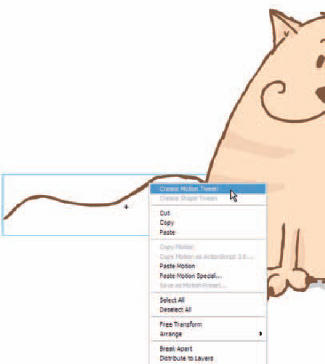
14 Navigate back to the main timeline and create a new layer below your character. Drag an instance of the symbol containing the animated tail to the stage and position it relative to the character. The tail animation starts with the tail pointing to the left, so favor the left side of the character when positioning the symbol. Right-click over the symbol and select Create Motion Tween.
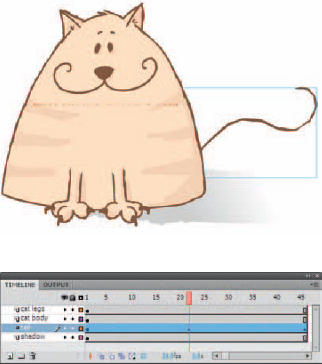
15 Scrub the timeline and watch the tail animation reach the half-way point where the tail is pointing to the right. Hold down ![]()
![]() and use the right arrow key to position the tail symbol towards the right side of the character. Copy the first frame of this Motion tween and paste it into the last frame creating a seamless loop. Now the tail is comprised of 2 simultaneous animations.
and use the right arrow key to position the tail symbol towards the right side of the character. Copy the first frame of this Motion tween and paste it into the last frame creating a seamless loop. Now the tail is comprised of 2 simultaneous animations.
Hot Tip
The last few steps were necessary only because of the design of the character’s torso. It may not be necessary to nest your animation and Motion tween it behind your character but I felt this was a perfect example of how nesting animations can solve a lot of design challenges.
![]()