

THERE ARE USUALLY several ways to go about creating the same animations and effects in Flash. Animated on the timeline or dynamically generated animation using ActionScript, allows us to work within our own comfort zones. A simple iris transition is an example of an effect that could be done several different ways. I personally wouldn’t know where to begin coding this kind of animation, but give me a timeline and some keyframes and I am in my element. Using a mask for this example provides us with even more options; we can easily control the direction and focus of the iris itself, where it starts and where it ends. This can be a nice touch to your storytelling if you want to focus the viewer’s attention to a very specific area of the screen.
1First step is to create a simple circle using the Oval tool ![]() . The fill color is insignificant. Hold down
. The fill color is insignificant. Hold down ![]() while dragging to constrain its proportions. Do not convert this shape to a symbol, but rather convert the layer to a Mask layer.
while dragging to constrain its proportions. Do not convert this shape to a symbol, but rather convert the layer to a Mask layer.
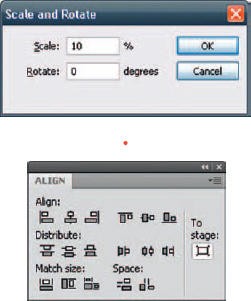
2 In frame 1, scale this circle as small as possible.Open the Scale and Rotate panel using ![]()
![]()
![]()
![]()
![]()
![]() , type in a percentage and click OK. Use the Align panel using
, type in a percentage and click OK. Use the Align panel using ![]()
![]()
![]()
![]() to center the circle to the stage.
to center the circle to the stage.
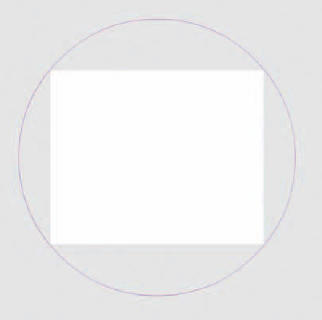
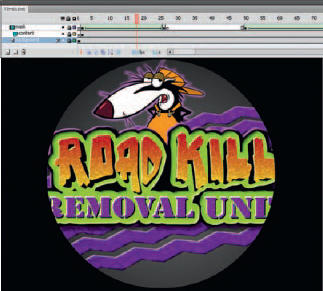
3Create a keyframe a few frames down your timeline in the same mask layer. Scale the circle so that it covers the stage completely. Convert the shape to outlines so you can see the stage underneath it. Apply a shape tween so the circle grows from small to large, filling the stage completely.
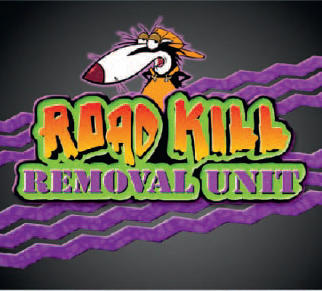
4Add a new layer and drag it over the mask layer so it becomes linked to it as a “masked” layer. This is the layer where your content will reside. If your content requires multiple layers, then make sure they are all masked or move all content into a new symbol and drag an instance of the symbol to the masked layer.
5Create a new layer (not masked) below all the other layers and create a black rectangle the size and shape of the stage. The color can be anything you choose, but black typically works well for this type of effect. At this stage you can reverse the animated mask by copying keyframes in reverse order and applying another shape tween.
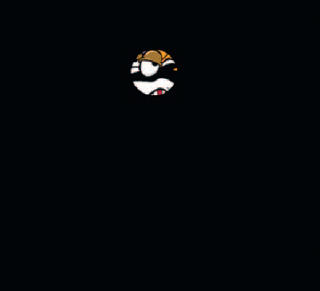
6Since you are creating the iris effect with an animated mask, you can easily control what area of the stage the iris focuses on. In the last keyframe, position the circle in the last frame over the character’s eye. When the animation plays, the iris will animate and close in on the eye – a typical technique used in several cartoons.

Hot Tip
Feel free to experiment with colors other than black. Sometimes radial gradients can add some fun depth to this transition effect. It is easy to substitute different colors or textures by changing the background layer art to whatever you want.
![]()