
BEFORE FLASH 8 introduced filter effects, advanced bitmap effects meant having to spend time outside of Flash editing several duplicates of the original image. Depending on the desired effect(s), several different versions of the same image would have to be created and imported into Flash. With Flash CS3 and now CS4, this process became much easier. Using only one single bitmap image and the Adjust Color filter, you can create some striking color effects with minimal time and effort. The advantages of using this filter technique include smaller file sizes and faster results that can be mixed with any of the other filters.

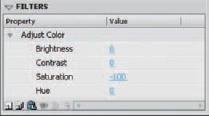
1 To convert a full color image to gray scale, slide the Saturation slider all the way to the left.

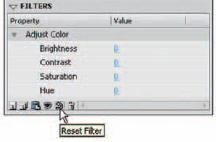
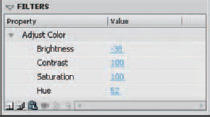
2 Click the Reset button in the Filters panel to return each color setting to “0”.


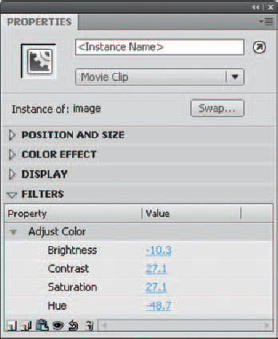
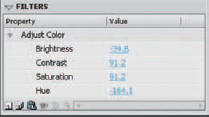
3 To adjust the overall color hue of your image, use the Hue slider. Here the Contrast and Saturation have been slightly adjusted as well.
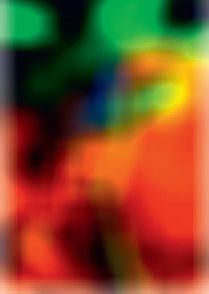
1 The imported image here has been blurred and adjusted using the Blur and Adjust Color filters.
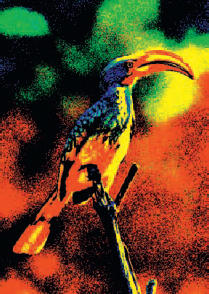
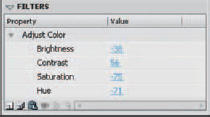
2 Here the Saturation and Hue have been increased as well as the Contrast.
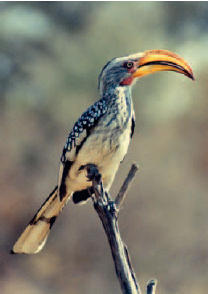
3 Here’s the original image without any filtered effects.
4 Each of these color adjustments can be keyframed and motion tweened to create smooth color transitions.

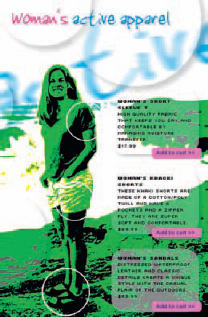
5 Any of these color effects can be visually effective when introducing images for a variety of uses.

6 You can also add some basic ActionScript to control color changes when the user rolls over various menu buttons.

Hot Tip
You can copy a filter effect by clicking on the “Copy Filter” button in the Filter panel. Then you can paste it to another Movie Clip instance elsewhere in your Flash document.
![]()