
NO FLASH ANIMATION BOOK is complete without a topic involving fire. How many times have you ever wanted to animate fire and had no idea how to even approach it? The first technique that comes to mind for animating flames is shape tweening. It just seems like the appropriate choice because of the nature of fire and how flames dance and flicker. But in my experience, shape tweening doesn’t seem to ever produce realistic results. Often, the shapes “implode” or simply morph in all the wrong ways. The effect of fire is simply not achievable using tweens.
Motion tweens are not an option for the obvious reason that they can only be applied to instances of symbols.
ActionScript might be a solution, but if you are like me, your scripting skills are not up to the challenge of producing fire from within the Actions panel.
Don’t be frightened by what I am about to say, but frame by frame is the best option for animating fire. Don’t be fooled, it’s not that hard or time-consuming.

1 Start by making several overlapping rectangles (with no stroke outline). Don’t concern yourself with color at this stage of the process; any color will do.

2 Use the Selection tool ![]() to pull edges to create peaks.
to pull edges to create peaks.

3 Fire is naturally unpredictable. Avoid repetition with your shapes.
4 Try to incorporate some shapes with “S”-shaped curves for some added realism.

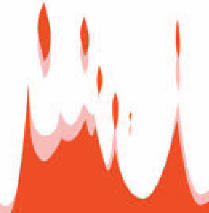
5 Ultimately your flames in frame 1 should look something like this. Try to alternate the direction of each flame. Fire is random and travels in unpredictable ways.

6 Insert a keyframe (F6) on frame 2, turn on Onionskin and begin editing the next frame by pulling each point higher and lower.

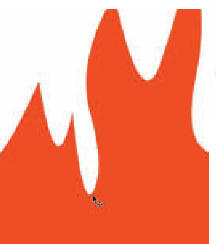
7 “Punch” holes in the flames by drawing different colored shapes and deleting them. Fire is not solid; it will break up as it rises into the air.
8 Continue to create keyframes and edit the shape of your flames in each one by pulling and pushing with the Selection tool.

9 Create a Linear gradient using bright red and bright yellow as the two colors.
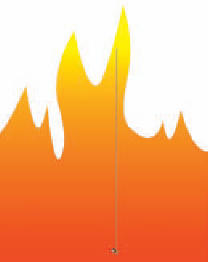
10 In each keyframe, select all and drag the Bucket tool vertically inside your flames to fill them. The gradient will follow the direction you drag in.
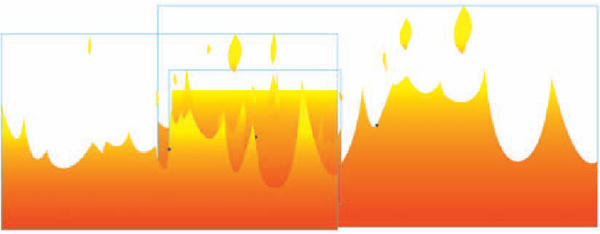
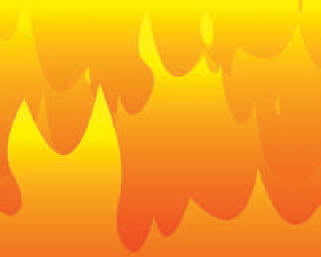
11 Copy all frames of your animation and paste them into a new Graphic symbol. Add three new layers to the main timeline and drag instances of this symbol to each of them. Delete your original layer. Select one of the instances and flip it horizontally. Scale two of the instances so they are much wider than the stage. Position them off-center from the stage while leaving one of the instances at its original size and position. Create a background shape with the same linear gradient to make it look like the entire scene is ablaze.

Hot Tip
Art imitates life, and there’s no substitute for studying the flames of a real fire. Just as Disney’s animators went to Africa to study real animals in preparation for production of The Lion King, you should also study from life as much as possible. Although your budget may not allow for world travel, something like fire is a bit more accessible.
![]()