
Contributed by Laith Bahrani
THE MOST COMMON technique I use to make a character or an object appear as if it’s drawing itself into the scene is purely frame-by-frame animation anyone can achieve. Although the effect can be quite labor intensive, it can also be visually effective if you want to achieve a very organic hand-drawn effect. The basic principle involves starting with a finished drawing, and then over a series of keyframes, cutting away bits of the drawing with the Lasso tool. You will work backwards starting on what will eventually be the end keyframe of the animation. When you play back the animation from frame 1, the drawing will appear to draw itself. The same effect can be achieved by using a mask to reveal the character or object. I find this works best on areas of color as opposed to lines. Let’s look at how you can incorporate both techniques to animate a chicken character to appear to draw itself.
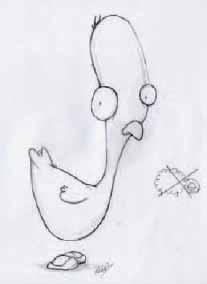
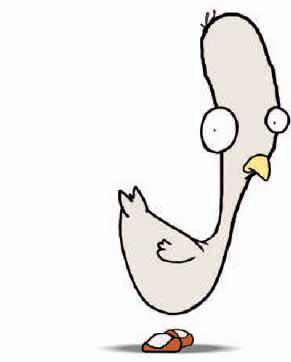
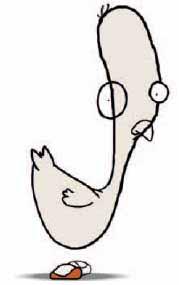
1 The first step to animating the chicken character is to spend decades studying and sketching this wonderful species of bird. As you can see I skipped this part and just scanned in the first chicken I drew. Resize the scanned sketch into a workable and desirable size in Photoshop and then import it into Flash.
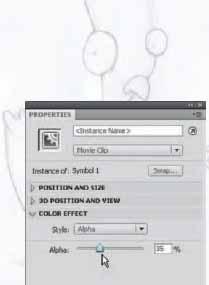
2 With the scanned sketch imported and on the stage, convert it to a movie clip. This will be the drawing guide and this is how I do a lot of my characters. Adjust the alpha of this “guide” to about 50% so the contrast of the lines you draw over it will be clearer.

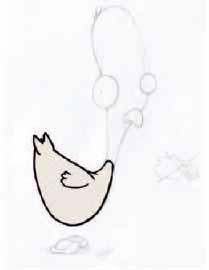
3 Build the chicken character up in layers, keeping individual parts on separate layers. The techniques of splitting a character up are fairly universal and logical – head/body/ arms/legs/eyes/mouth (or in this case beak). Create a new layer (above the guide) and, using the Paintbrush tool, draw the outline of the chicken’s body.
4 When you’ve drawn the body outline, fill it with a color. Next click on the filled color area to select it, cut it using ![]()
![]()
![]()
![]() , create a new layer underneath the outline, and paste the fill using
, create a new layer underneath the outline, and paste the fill using ![]()
![]()
![]()
![]()
![]()
![]() . Create one more layer, above the others, and draw the wing as an outline only. This gives you three layers for the body: one for the outline and one for the fill and wing.
. Create one more layer, above the others, and draw the wing as an outline only. This gives you three layers for the body: one for the outline and one for the fill and wing.
5 Create the head and other parts in the same manner. Add a new layer for each new body – errr – chicken part, keeping them all separate. Remember to cut and paste each color fill to individual layers as well. If you are familiar with character animation, then you are already used to working with multiple layers and layer folders.

6 Now lock all the layers, then unlock just the body outline layer; doing this helps ensure you only work on the appropriate area. Insert a keyframe in frame 2. Select the Lasso tool ![]() and cut away a small portion of the line.
and cut away a small portion of the line.

7 Repeat this procedure of adding keyframes and removing small portions of your line work until they are completely removed. Select the entire range of keyframes, right-click over them and select “Reverse Frames” from the context menu. Repeat this process for all other outline layers.
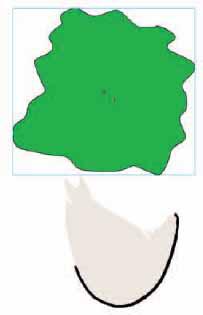
8 To create the effect of each color fill being “drawn” in, add a new layer above the body layer and convert it to a mask layer. In this layer create an irregular shape and convert it to a symbol.
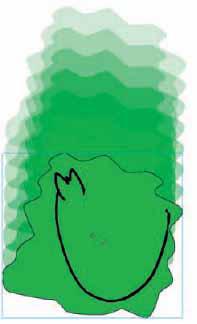
9 Insert a keyframe in the mask layer in a frame at the end of your timeline. Position the symbol containing your shape so it completely covers your fill color for the chicken’s body. Apply a motion tween to animate the mask so it “reveals” this color fill.
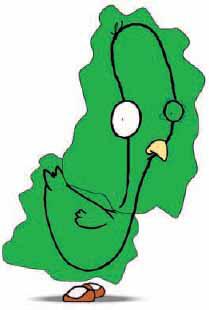
10 Add a mask layer and create new mask shapes for each color fill. Motion tween each one into position to reveal each chicken part. Lock all layers or publish your movie to see your animation effect.

Hot Tip
Instead of using the Lasso tool to select and delete a small portion of your line work, you may want to try using the Eraser tool or the pressure-sensitive eraser on the opposite end of your stylus (if you have one). In terms of style and pacing it’s worth keeping in mind that if you cut big pieces away at each keyframe the line will appear quickly and could look a bit jumpy.
![]()