

STYLE WILL ALMOST ALWAYS DICTATE the animation technique. Often the client will request a specific artistic style based on a pre-existing logo or company identity. The challenge here is to be consistent, not only with the artwork but also with the animation style. A realistic smoke animation would look nice but not match the client’s style preference. It’s time to be inventive and to create a smoke animation that is stylized, yet simple and effective. Oh, and the client needs it yesterday.

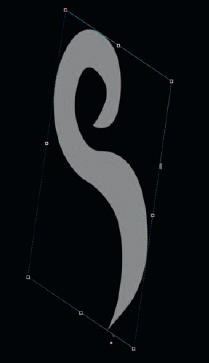
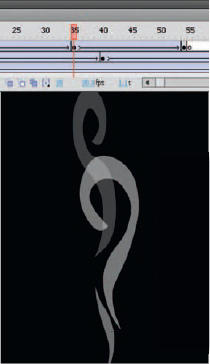
1 The easiest way to start is with the final shape you will want as your stylized smoke shape. This shape can be drawn with any of Flash’s drawing tools. I recommend no outlines stroke.

2 Insert a keyframe (F6) in frame 2 and, with the Lasso tool, select a small section at the top end of the smoke shape and delete it.

3 Repeat the process of inserting a keyframe and selecting a small section of your shape and deleting it. Use your keyboard shortcuts to make this task faster and easier.

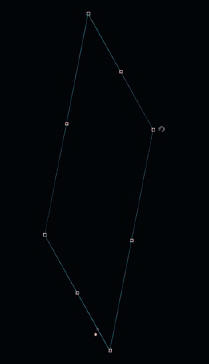
4 Toggle between F6 and the Delete key while selecting sections of your shape until it has been completely removed from your stage.
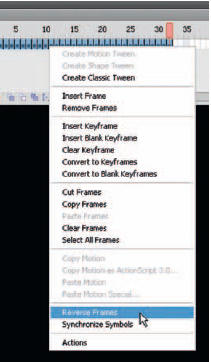
5 Select the entire range of keyframes and then right-click over them to bring up the context menu. Select Reverse Frames. This will reveal your shape when you play back your animation.
6 Copy and paste all frames into a Graphic symbol so it can be re- used later. Create a second keyframe down the timeline and, with the Free Transform tool, skew it and move it up about 30 pixels.
7 Create a third keyframe further down the timeline and adjust the alpha to 0% so it fades out. Apply another motion tween and maybe a little more skewing.
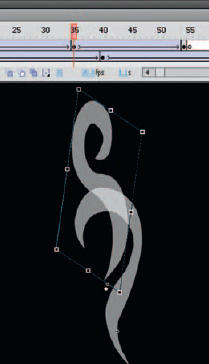
8 Add another layer and drag an instance of the same symbol (containing your animated shape) to the stage. Flip it horizontally and repeat steps 6 and 7.
9 Add a third layer and repeat steps 6 and 7 again. Play back your animation frequently and adjust the amount of skewing, tweening and the overall timing as necessary.
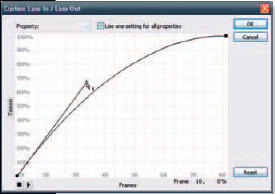
10 You may want to apply a bit of easing out to the symbols as they fade away. Although it may not be necessary, it might just add that final touch to your overall effect.

Hot Tip
As you work through this example, you may realize at some point that you are creating a pretty sophisticated frame-by-frame animation sequence that looks like it was made by the hand of a very experienced animator. That’s our little secret. You may choose to use the Eraser tool instead of the Lasso tool and avoid having to use the Delete key entirely. If you have a pressure-sensitive tablet and a stylus with an eraser on one end, you may have the fastest way to pull off this technique.
![]()