
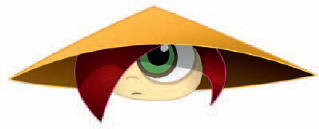
LET’S APPLY THE same technique, as explained in the previous example, to a more sophisticated character. This character is comprised of several individual objects, all of which were designed and composed with this animation technique in mind. The spacial relationship of each object to each other is important as they will all need to move, skew and scale together, but at varied amounts. The effect is based on the whole being greater than the sum of its parts. There’s nothing overly sophisticated about creating this technique but the result can look very complex on the surface.

1 The first step is to make sure all objects have been converted to symbols and you have edited their center point to your desired location (check out the “Hinging body parts” topic on page 122). For this technique to be successful, it’s often useful to design your characters in three-quarter view as opposed to a profile view or facing us directly.
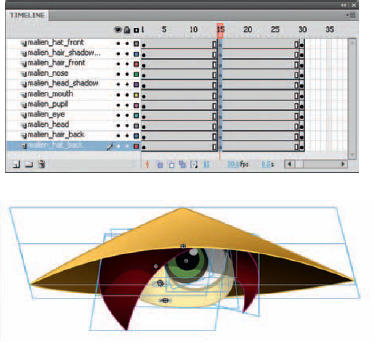
2 If you want to create a seamless loop by making the head eventually return to this same exact position, select a frame (across all layers) somewhere down the timeline and add a keyframe (F6). It pays to think ahead because you have avoided having to copy and paste the keyframes from frame 1 later. Select another frame (across all layers) an equal distance between your first and last keyframes.
3 This middle frame is where you will edit your character. Start by using the Free Transform tool ![]() to skew the symbol instances. Here I have skewed the hat, which is comprised of two separate symbols, a front and a back. Selecting and skewing them together insures that they remain aligned which each other. It’s helpful to lock all other layers temporarily while you do this.
to skew the symbol instances. Here I have skewed the hat, which is comprised of two separate symbols, a front and a back. Selecting and skewing them together insures that they remain aligned which each other. It’s helpful to lock all other layers temporarily while you do this.

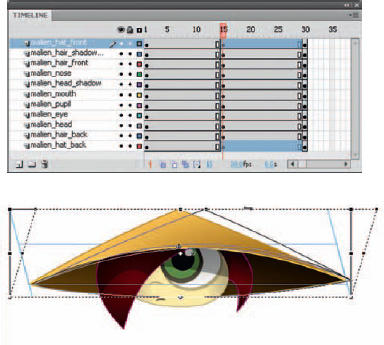
4 Next, skew the hair to the right from its bottom edge. Since you want to convey this object coming around the front of the character’s face, move it over to the right and scale it horizontally to make it slightly wider than it is in the first frame. This creates the illusion that it is moving not only across the face, but also slightly towards us as well.
5 Repeat this process for each object, combining various amounts of skewing, scaling and positioning. The smaller symbol representing the hair on the right side is the only symbol, in this example, that gets positioned to the left. Moving it behind the head emphasizes the illusion that the head is a sphere that objects can seemingly “wrap” around.
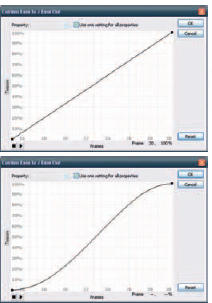
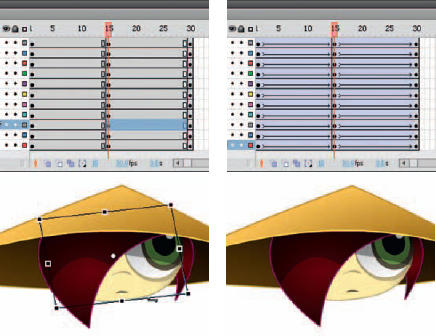
6 The final touch is to add easing using the Custom Ease panel. The straight path represents no easing. The “S”-shaped path represents easing in and out within a single tween.

Hot Tip
Character design is critical for this effect to be successful. Keep it simple and stylized because the more anatomically correct your character is, the harder it will be to animate in this style.
![]()