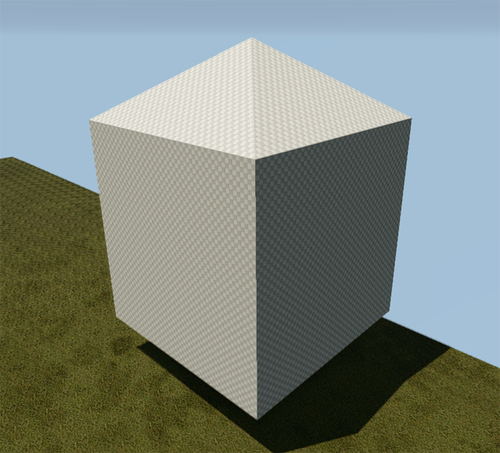
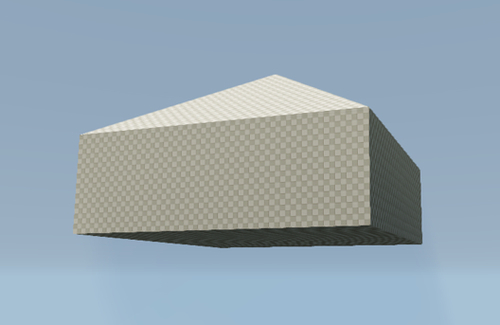
The next step is modifying your solids to what you want them to portray. We will be exploring the possibilities of both editing the solids as well as setting them up to be exported for an external 3D application, such as 3DS Max.
For those who are familiar with DCC tools, such as 3DS Max or Maya, Editing Mode should look very familiar. It allows you to modify the shape of the solid by changing the location of vertices, edges, faces, and polygons. For those who are unfamiliar with it, we will now demonstrate how to turn this Cube into a very simplistic house-like structure:
- Start by selecting your object and clicking Editing Mode.
- Change the Selection Type to Polygon.
- Select the top side of the cube.
- Under the Sub Object Edit roll out, select Face [Split].
- Change your Selection Type from Polygon to Vertex.
- Select the top most Vertex (it should be the newly created one in the centre of the face that was split) and drag it up a little on the Z Axis, so that the total height of the Solid is now 40 meters.

- Change your Selection Type back to Polygon.
- Select the bottom face and move it up to the point where the total height of the solid is now 20 meters:

- Place the solid back onto the ground.
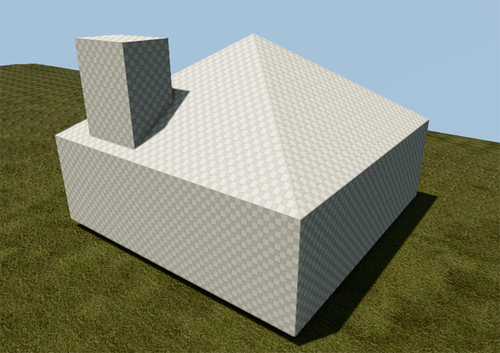
You may copy solids and place them anywhere on your level as they too follow the same basic object placement methods used in the Editor. You may also create additional solids that clip through the faces of other solids without interfering with the physics of either solid. This allows you to stack multiple basic shapes of the solids to form the very basic shapes required for an object, or form elaborate structures. Now, let's create one by making a very basic chimney for the house we created:
Even after creating multiple solids and perhaps just stacking them on top of each other for a shape that you want, it won't combine them into a single mesh for the artists to look at within their DCC. To do this, first we need to merge the objects into a single mesh:
- Select both the solids.
- In the Solid Parameters rollout, click the Misc [Merge] button.
These are some ways you can export your solid to directly port over to a DCC toolkit.
To export the selected geometry placed inside the Editor, click on File | Export selected geometry to .OBJ. This allows you to export the newly merged solid for an artist to take and remake it into a real game asset, all the while keeping to the dimensions you've made from the Solids tool.
If any of your solids were rotated/scaled, you may wish to reset the XForm before exporting the Geometry. This makes sure that all of the transformations on the solid are zeroed out and reset to the world coordinates. If this step is not taken before the Export, you may find that the object will be misaligned when opened with an external DCC.

