Third-party drivers are packaged as vSphere Installation Bundles (VIBs). A VIB file is similar to a ZIP archive, in that it is a single file that includes an archive of the driver files, an XML descriptor file, and a signature file. VIB files have the .vib file extension.
The required drivers can be installed after ESXi has been installed using the esxcli command:
esxcli software vib install -v <path to vib package>
When installing from a bundle or ZIP file, the following esxcli command can be used:
esxcli software vib install -d <full path to vib zip bundle>
A custom ESXi image can also be created by using the Image Builder tools that are included with PowerCLI. PowerCLI can be downloaded from https://www.vmware.com/support/developer/PowerCLI/. Custom ESXi images can be used when deploying hosts using VMware Auto Deploy, or custom images can be exported to an ISO to be used for installation or upgrades. Perform the following steps to create a custom EXSi image:
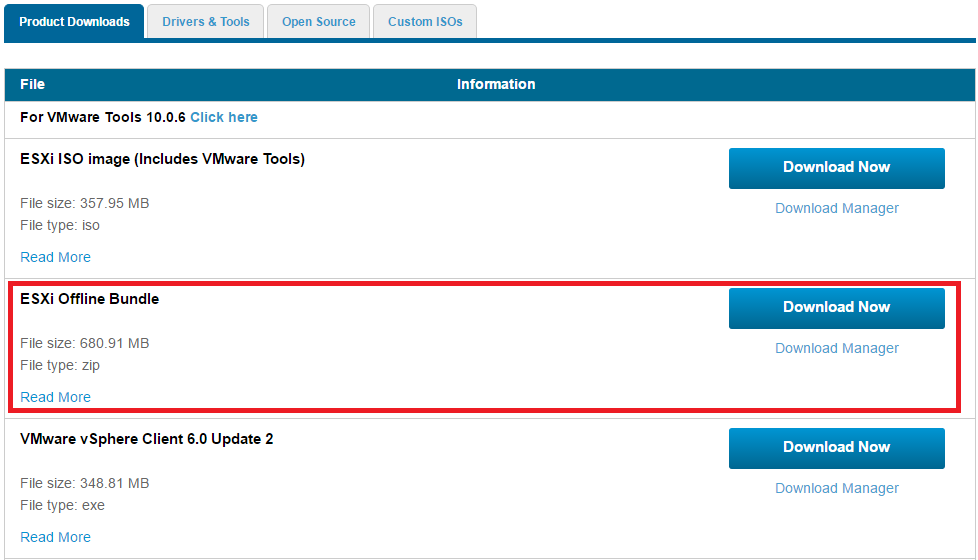
- Download the ESXi Offline Bundle from the My VMware portal. The following screenshot displays the ESXi Offline Bundle download link on the My VMware portal:
- Download the required third-party VIB files. This example uses the drivers of QLogic FC-FCoE, which were downloaded from the My VMware portal, as shown in the following screenshot:

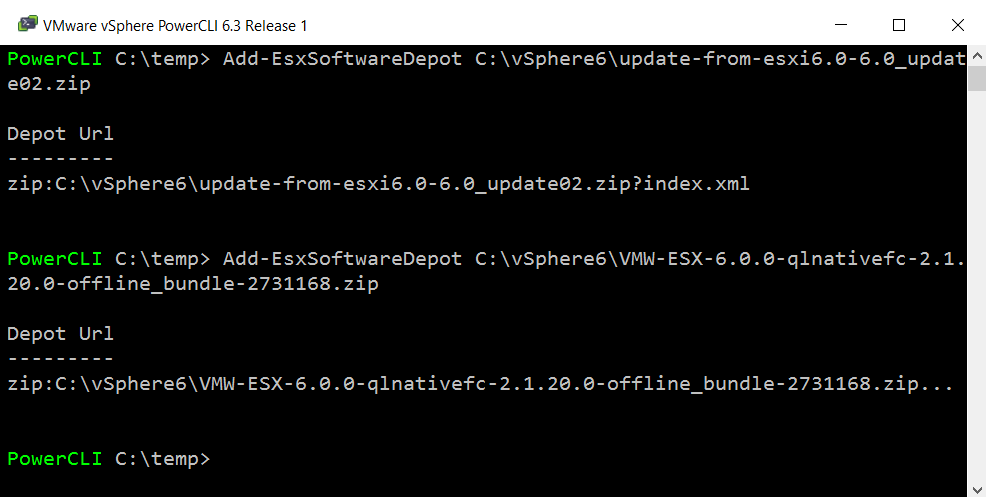
- Use Image Builder PowerCLI to add the ESXi Offline Bundle and third-party VIB files as software depots, as follows:
Add-EsxSoftwareDepot <pathtoESXiOfflineBundel.zip> Add-EsxSoftwareDepot <pathto3rdPartyVIB.zip>
The following screenshot illustrates adding the Offline ESXi Bundle and third-party software bundles by using the Add-EsxSoftwareDepot Image Builder PowerCLI command:
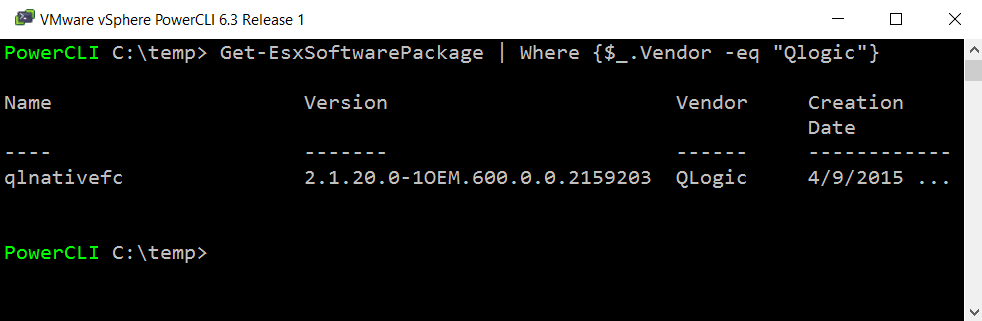
- List the available software packages to locate the Qlogic drivers, and note the package names:
Get-EsxSoftwarePackage | where {$_.Vendor -eq "Qlogic"}
The following screenshot illustrates the use of the Get-EsxSoftwarePackage PowerCLI command to locate the package name of the third-party package that will be added to the new ESXi image:
- List the available image profiles by using the following command:
Get-EsxImageProfile
The following screenshot illustrates the output of the Get-EsxImageProfile PowerCLI command that lists the available profiles:

- Create a clone of an image profile to apply customization to. The clone will allow the profile to be manipulated without making changes to the original profile:
New-EsxImageProfile -CloneProfile <ProfiletoClone> -Name <CustomProfileName> -Vendor Custom -AcceptanceLevel PartnerSupported
The following screenshot illustrates the output of the New-EsxImageProfile PowerCLI command that creates a clone of an existing profile:

- Add the software packages to the cloned image profile; this step is repeated for each package that needs to be added to the new image profile:
Add-EsxSoftwarePackage -ImageProfile <CustomProfileName> -SoftwarePackage <SoftwarePackagetoAdd>
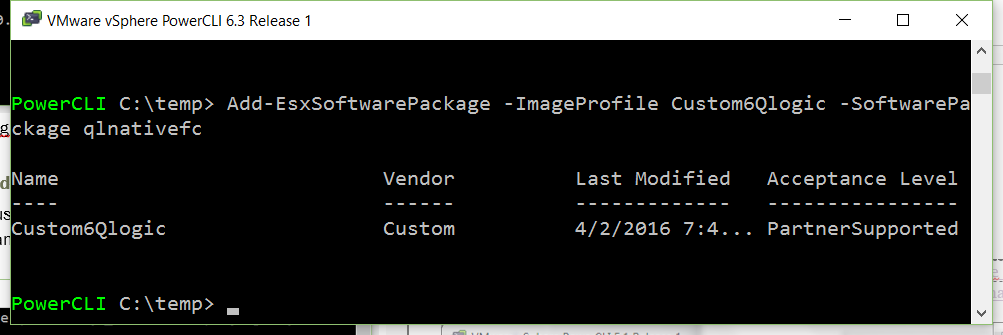
The following screenshot displays the output of the Add-EsxSoftwarePackage PowerCLI command when the third-party software package is added to the new ESXi image:
- Create an ISO from the cloned image profile by using the following command; the ISO will include the additional software packages:
Export-EsxImageProfile -ImageProfile <CustomProfileName> -ExportToIso -filepath <Pathtonew.iso>
The following screenshot shows the Export-EsxImageProfile PowerCLI command. There will be no message output from the command if it completes successfully, but the ESXi image ISO will be created and made available in the provided path:
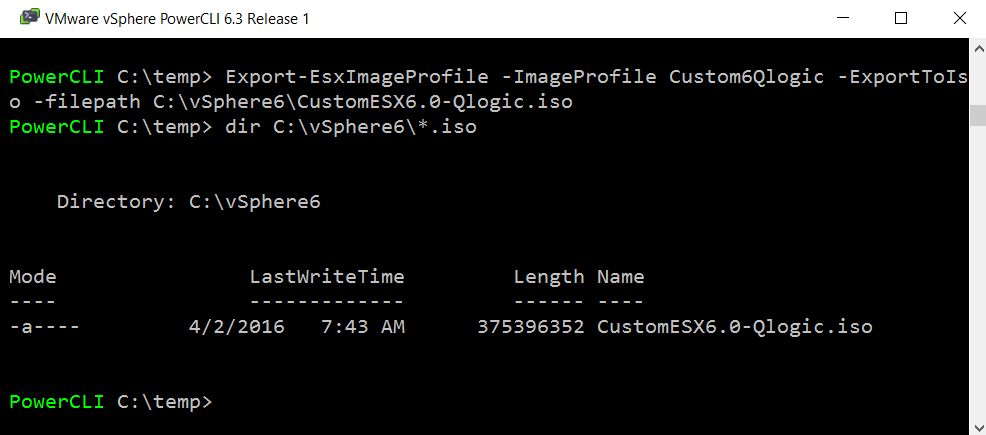
The new ISO image includes the third-party VIB files, and it can be used to install ESXi.