Creating a notebook in Office 365
Office 365 is a subscription service from Microsoft that provides various services (depending on your subscription level) such as cloud storage, email, shared calendars, instant messaging, online editing of Office documents (using Office Web App and/or streaming versions of the full programs known as Office on Demand), public website, and a SharePoint team site for document collaboration.
With an Office 365 subscription level that provides a team site, you can store files on that site and collaborate with others by using Office Web Application software, OneNote Web App included. To run OneNote Web App software with an Office 365 team site, you open your web browser, go to your Office 365 team site, and give commands through your browser to operate the software.
If you have Office 365 Home Premium, notebooks are stored on SkyDrive, not a team site, so you would go to SkyDrive to create and edit OneNote notebooks by using OneNote Web App instead of following the steps given here.
Create a notebook in Office 365
-
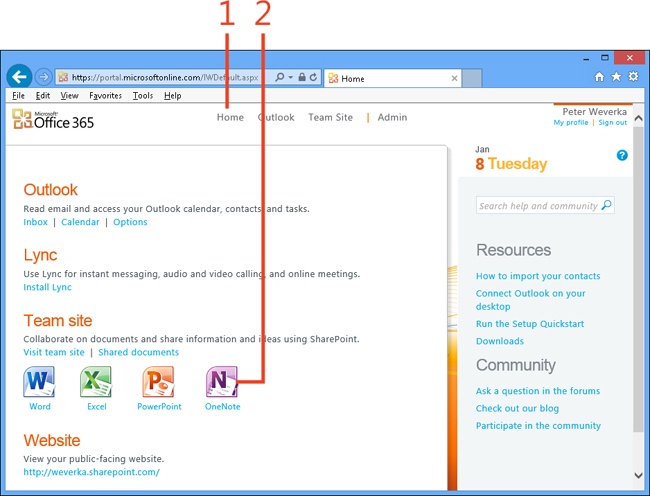
Go to the Home page of your Office 365 site.
-
Click the OneNote Icon.
-
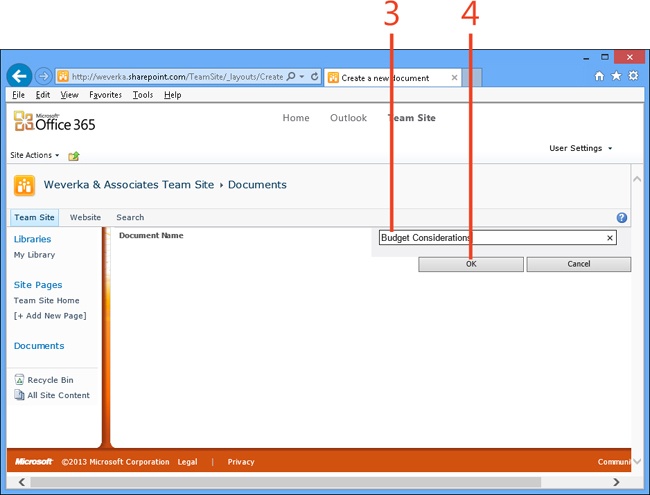
Enter a name for the notebook.
-
Click OK.
The notebook is opened in OneNote Web App.