Inserting images from a scanner or digital camera
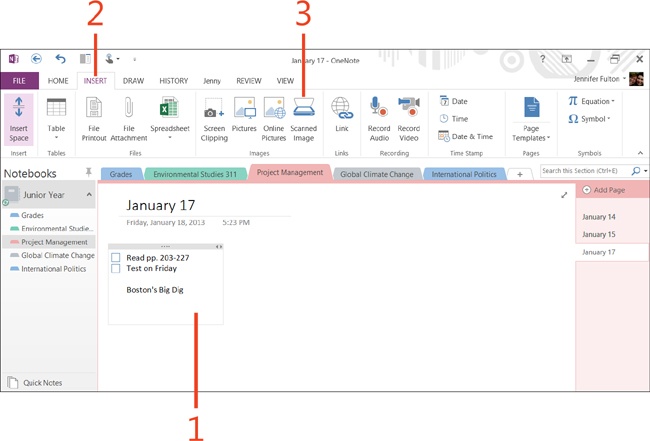
On the Insert tab, OneNote 2013 offers several commands for placing your own images in notes. Using the Scanned Image command, you can insert content from a scanner or digital camera into a note.
Before using the Scanned Image command, make sure that your scanner or digital camera is plugged into one of your computer’s USB ports.
Insert images from a digital camera
-
Click in a note.
-
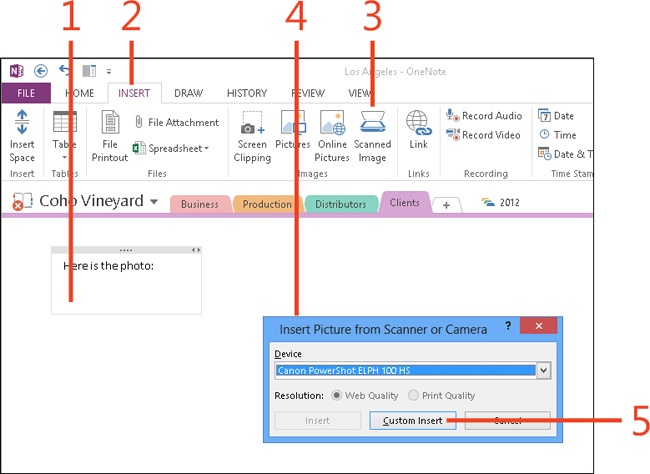
On the ribbon, click the Insert tab.
-
In the Images group, click Scanned Image.
-
In the Insert Picture From Scanner Or Camera dialog box, in the Device list box, select a device.
-
Click Custom Insert.
-
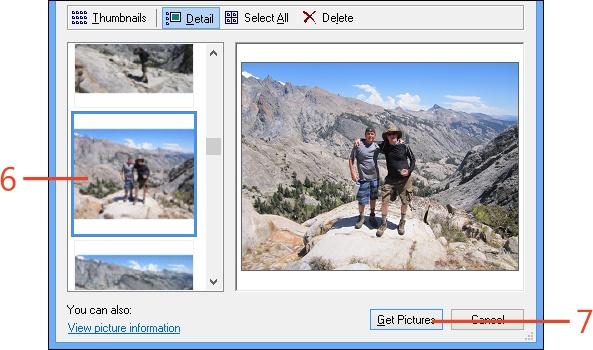
In the Get Pictures From dialog box, select a photo. To select more than one, Ctrl+click the photos.
-
Click Get Pictures.
The picture(s) you selected are inserted into the note.
Insert images from a scanner
-
Click in a note.
-
On the ribbon, click the Insert tab.
-
In the Images group, click Scanned Image.
-
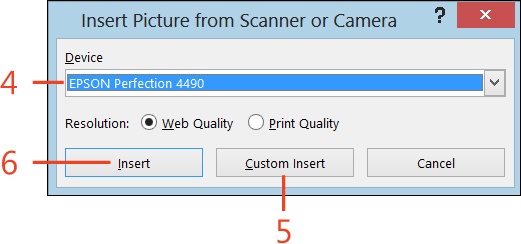
In the Insert Picture From Scanner Or Camera dialog box, in the Device list box, select a device, and then click the desired resolution option.
-
Click Custom Insert to crop the scanned image and make other adjustments; otherwise, skip this step.
-
Click Insert. (If you clicked Custom Insert in step 4, click Scan instead.)
The scan is inserted into the note where you clicked.