 Exploring the Zabbix API with JQuery
by Andrea Vacche, Patrik Uytterhoeven, Rihards Olups
Zabbix: Enterprise Network Monitoring Made Easy
Exploring the Zabbix API with JQuery
by Andrea Vacche, Patrik Uytterhoeven, Rihards Olups
Zabbix: Enterprise Network Monitoring Made Easy
- Zabbix: Enterprise Network Monitoring Made Easy
- Table of Contents
- Zabbix: Enterprise Network Monitoring Made Easy
- Zabbix: Enterprise Network Monitoring Made Easy
- Credits
- Preface
- I. Module 1
- 1. Getting Started with Zabbix
- The first steps in monitoring
- Zabbix features and architecture
- Installation
- Summary
- 2. Getting Your First Notification
- 3. Monitoring with Zabbix Agents and Basic Protocols
- 4. Monitoring SNMP Devices
- 5. Managing Hosts, Users, and Permissions
- 6. Detecting Problems with Triggers
- 7. Acting upon Monitored Conditions
- 8. Simplifying Complex Configurations with Templates
- 9. Visualizing Data with Graphs and Maps
- 10. Visualizing Data with Screens and Slideshows
- 11. Advanced Item Monitoring
- 12. Automating Configuration
- 13. Monitoring Web Pages
- 14. Monitoring Windows
- 15. High-Level Business Service Monitoring
- 16. Monitoring IPMI Devices
- 17. Monitoring Java Applications
- 18. Monitoring VMware
- 19. Using Proxies to Monitor Remote Locations
- 20. Encrypting Zabbix Traffic
- 21. Working Closely with Data
- 22. Zabbix Maintenance
- A. Troubleshooting
- B. Being Part of the Community
- 1. Getting Started with Zabbix
- II. Module 2
- 1. Zabbix Configuration
- 2. Getting Around in Zabbix
- 3. Groups, Users, and Permissions
- 4. Monitoring with Zabbix
- Introduction
- Active agents
- Passive agents
- Extending agents
- SNMP checks
- Internal checks
- Zabbix trapper
- IPMI checks
- JMX checks
- Aggregate checks
- External checks
- Database monitoring
- Checks with SSH
- Checks with Telnet
- Calculated checks
- Building web scenarios
- Monitoring web scenarios
- Some advanced monitoring tricks
- Autoinventory
- 5. Testing with Triggers in Zabbix
- 6. Working with Templates
- 7. Data Visualization and Reporting in Zabbix
- 8. Monitoring VMware and Proxies
- 9. Autodiscovery
- 10. Zabbix Maintenance and API
- C. Upgrading and Troubleshooting Zabbix
- III. Module 3
- 1. Deploying Zabbix
- 2. Distributed Monitoring
- 3. High Availability and Failover
- Understanding high availability
- Understanding the levels of IT service
- Some considerations about high availability
- Implementing high availability on a web server
- Configuring the Zabbix server for high availability
- Implementing high availability for a database
- Summary
- 4. Collecting Data
- 5. Visualizing Data
- 6. Managing Alerts
- 7. Managing Templates
- 8. Handling External Scripts
- 9. Extending Zabbix
- 10. Integrating Zabbix
- D. Bibliography
- Index
Another interesting project that we can download and check is JQZabbix. For more information about this project, you can refer to https://github.com/kodai/jqzabbix.
JQZabbix is a demo application readymade to test the Zabbix API and, sometimes, it can be useful to have it installed somewhere as it allows a simple web browser to do a JSON-RPC query against our Zabbix server without the need to write scripts.
To install the package, we need to download the package; here, we can simply clone the GitHub repository with the following command:
$ mkdir jqzabbix && cd jqzabbix
$ git clone https://github.com/kodai/jqzabbix
The project will download a demo directory contained in the jqzabbix GitHub clone. We need to create a new location that we can call jqzabbix under DocumentRoot of httpd. Usually, the document root is located at /var/www/html, but it is better to check the DocumentRoot directive under /etc/httpd/conf/httpd.conf. Running the following command as root, we can now copy the required jqzabbix files:
$ mkdir /var/www/html/jqzabbix
$ cp <your-jqzabbix-location>/demo/* /var/www/html/jqzabbix/
$ cp <your-jqzabbix-location>/jqzabbix/* /var/www/html/jqzabbix/
Now all you have to do to see it in action is edit the file main.js changing the following entry:
// Zabbix server API url
var url = 'http://localhost/zabbix/api_jsonrpc.php';
This url variable needs to contain the real IP address or DNS name of our Zabbix server.
Once this is done, you can simply check by opening a browser. The home page is available at http://<your-zabbix-server>/jqzabbix/.
Opening your browser, you'll see something similar to the following screenshot:
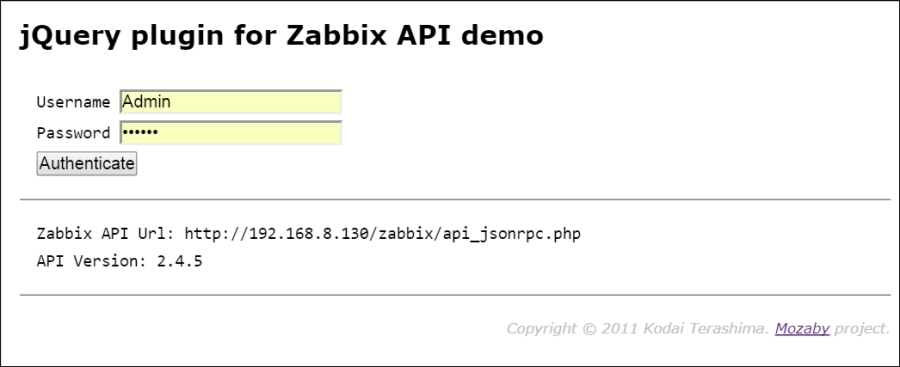
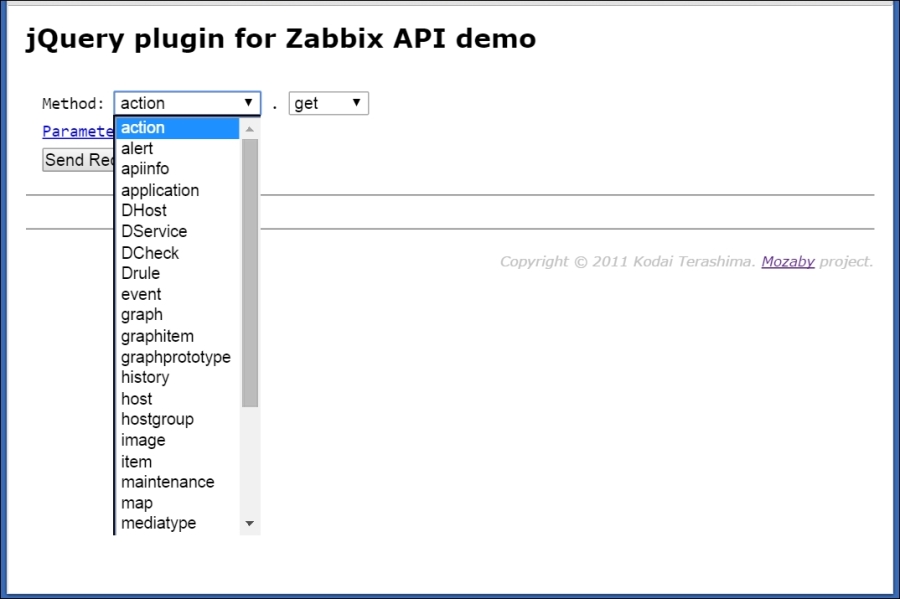
This application is interesting to see as it is an example of coding the Zabbix API using jQuery. This application enables you to use most of the methods supported by the Zabbix API:
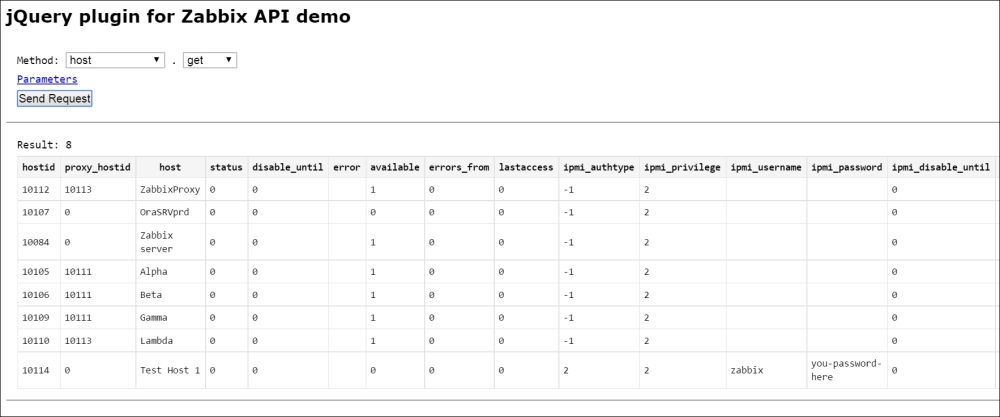
What follows, for instance, is the result of a host.get call:
Let's see with more details how this application works. You can take a look at the main.js file. The first thing that is done is the creation of the jqzabbix object with several options, which are mostly optional. The following are the default values:
server = new $.jqzabbix({
    url: 'http://localhost/zabbix/api_jsonrpc.php',  // URL of Zabbix API
    username: 'Admin',   // Zabbix login user name
    password: 'zabbix',  // Zabbix login password
    basicauth: false,    // If you use basic authentication, set true for this option
    busername: '',       // User name for basic authentication
    bpassword: '',       // Password for basic authentication
    timeout: 5000,       // Request timeout (milli second)
    limit: 1000,         // Max data number for one request
})
Then, check the Zabbix API version with the following calls:
server.getApiVersion();
If the request is completed successfully, it is time for authentication:
server.userLogin();
Once it is completed, the authentication ID is stored in server property. Now, you can execute the normal API method as per their own definition:
server.sendAjaxRequest(method, params, success, error)
Here, we have:
method: The Zabbix API method listed on the Zabbix API documentparams: The Zabbix API method parameterssuccess: The success callback functionerror: The error callback function
As you can see, this is a very simple package but it can be really useful to compare the values returned by the API with your own scripts and so on. Plus, it is a good starting point if you're thinking about coding a jQuery application. Here, thanks to the Zabbix API, the only limit we have is our imagination, but the API thanks the developer for allowing us to automate all the repetitive tasks and many maintenance tasks.
-
No Comment