
Creating a notebook on SkyDrive
You can create a OneNote notebook starting in SkyDrive. After you create the notebook, it opens in OneNote Web App.
Create a notebook on SkyDrive
-
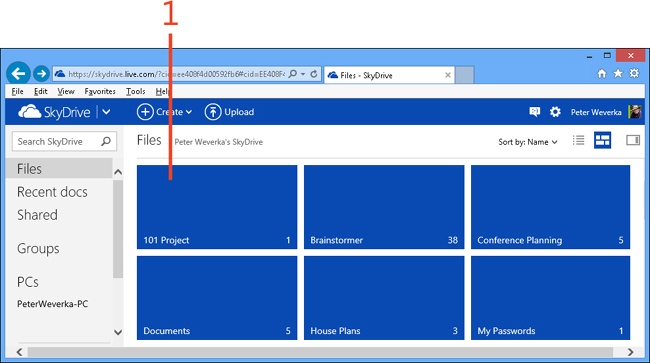
On SkyDrive, click to open the folder where you want to store the notebook.
-
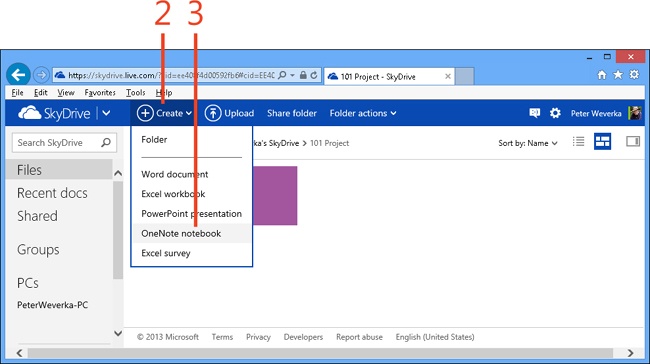
On the toolbar at the top of the SkyDrive window, click the Create button.
-
On the menu that appears, click OneNote Notebook.
-
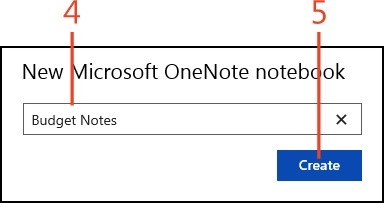
In the New Microsoft OneNote Notebook dialog box, enter a name.
-
Click Create.
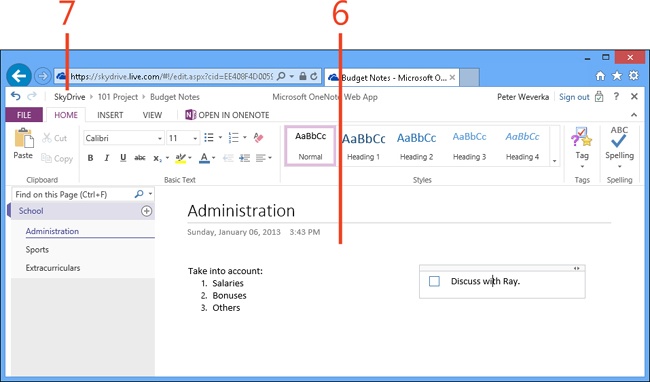
The notebook opens in OneNote Web App.
-
Use the OneNote Web App tools to edit the notebook.
Changes you make are saved automatically.
-
Click SkyDrive to return to the SkyDrive window.
Tip
Use these techniques to manage notebooks (and other files) in a SkyDrive folder:
-
Selecting notebooks . In Thumbnails view, select the check box in the upper-right corner of the notebook’s tile; in Details view, select the notebook’s check box. You can select more than one notebook by selecting multiple check boxes.
-
Deleting notebooks . Select the notebook, click Manage, and then, on the drop-down menu that appears, click Delete.
-
Renaming notebooks . Select the notebook, click Manage, and then, on the drop-down menu that appears, click Rename and enter a name.
-
Moving notebooks . Select the notebook, click Manage, and then, on the drop-down menu that appears, click Move To. Then, in the Selected Item Will Be Moved To dialog box, select a folder and click Move.