
Creating sections
Within a OneNote 2013 notebook, you can create a section for each topic that you want to address. For example, create a section for each class or staff meeting you attend. Sections are the primary means of organizing notes in a notebook.
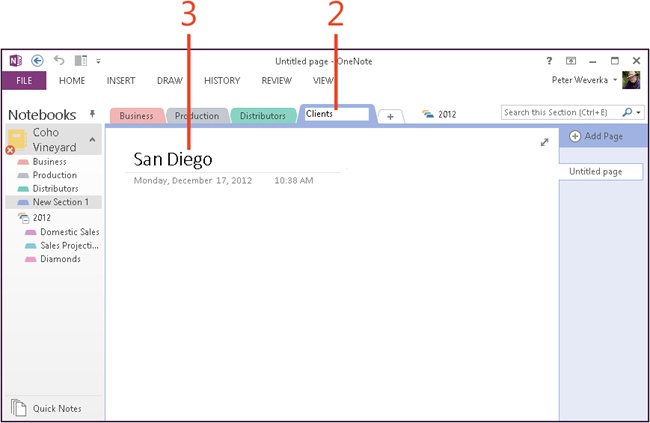
After you create a section, a tab appears at the top of the window on which you can enter a name for the section. If you create more sections than can be displayed as tabs along the top of the window, the Show The Rest Of The Sections drop-down arrow appears; click it to display a list of the remaining sections.
When you create a new section, OneNote creates the first page in the section automatically. You can add more pages to the section as needed.
Create a section

Try This
Each section you create is stored in a Microsoft OneNote Section (.one) file in the notebook folder where data about your notebook is kept. To see the path for this file, move the pointer over a section tab. A ScreenTip shows the path to this .one file.
See Also
To learn how to move or copy a section to a different notebook, read Moving or copying a section to another notebook.