
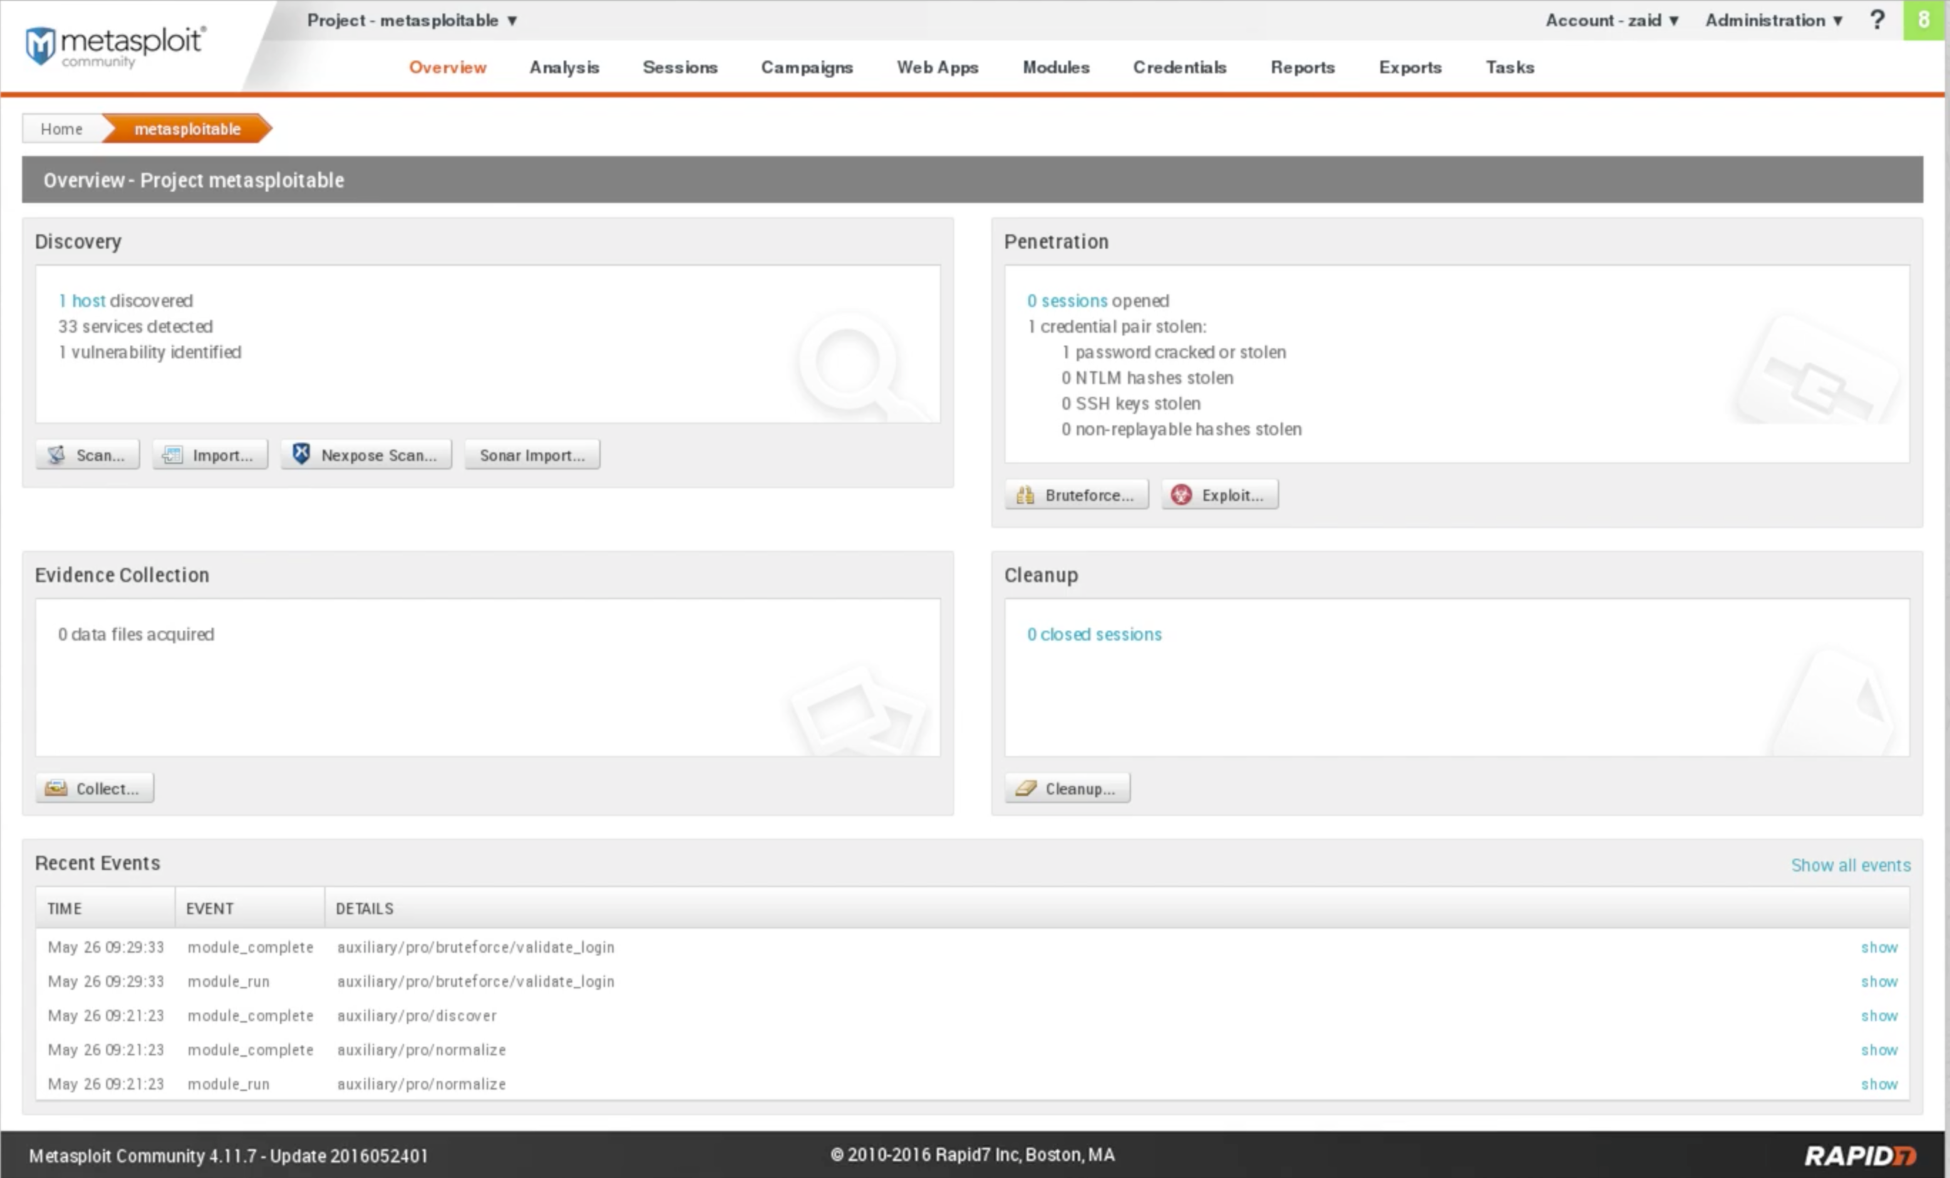
The scan process is over. It will nearly take two minutes, and it will discover one new host, because we only had one host, with 33 new services installed on it. Now, we're going to go back and click on my Metasploitable machine to see what we have discovered. We can see in the following screenshot it has found 33 services and also it managed to detect one vulnerability:
Go to Analysis | Hosts, and we will that see that we have our host here, and it has been scanned correctly. It's a VMware, it's a server, and it's running on Linux 8.04:

If we click on the IP, we will see in the following screenshot. The first thing that we see is the installed services:

We can see the NAME of the service, for example, dns, running on port 53; the PROTO, which means the protocol is udp; it's an open port; and also we have the SERVICE INFORMATION.
You can switch through pages using the arrow buttons at the bottom-right of the page. It will show same results as Nmap, just with a better GUI. The Sessions tab is where we see the connections. If we exploited anything, we will see them in the sessions. The GUI looks like this:

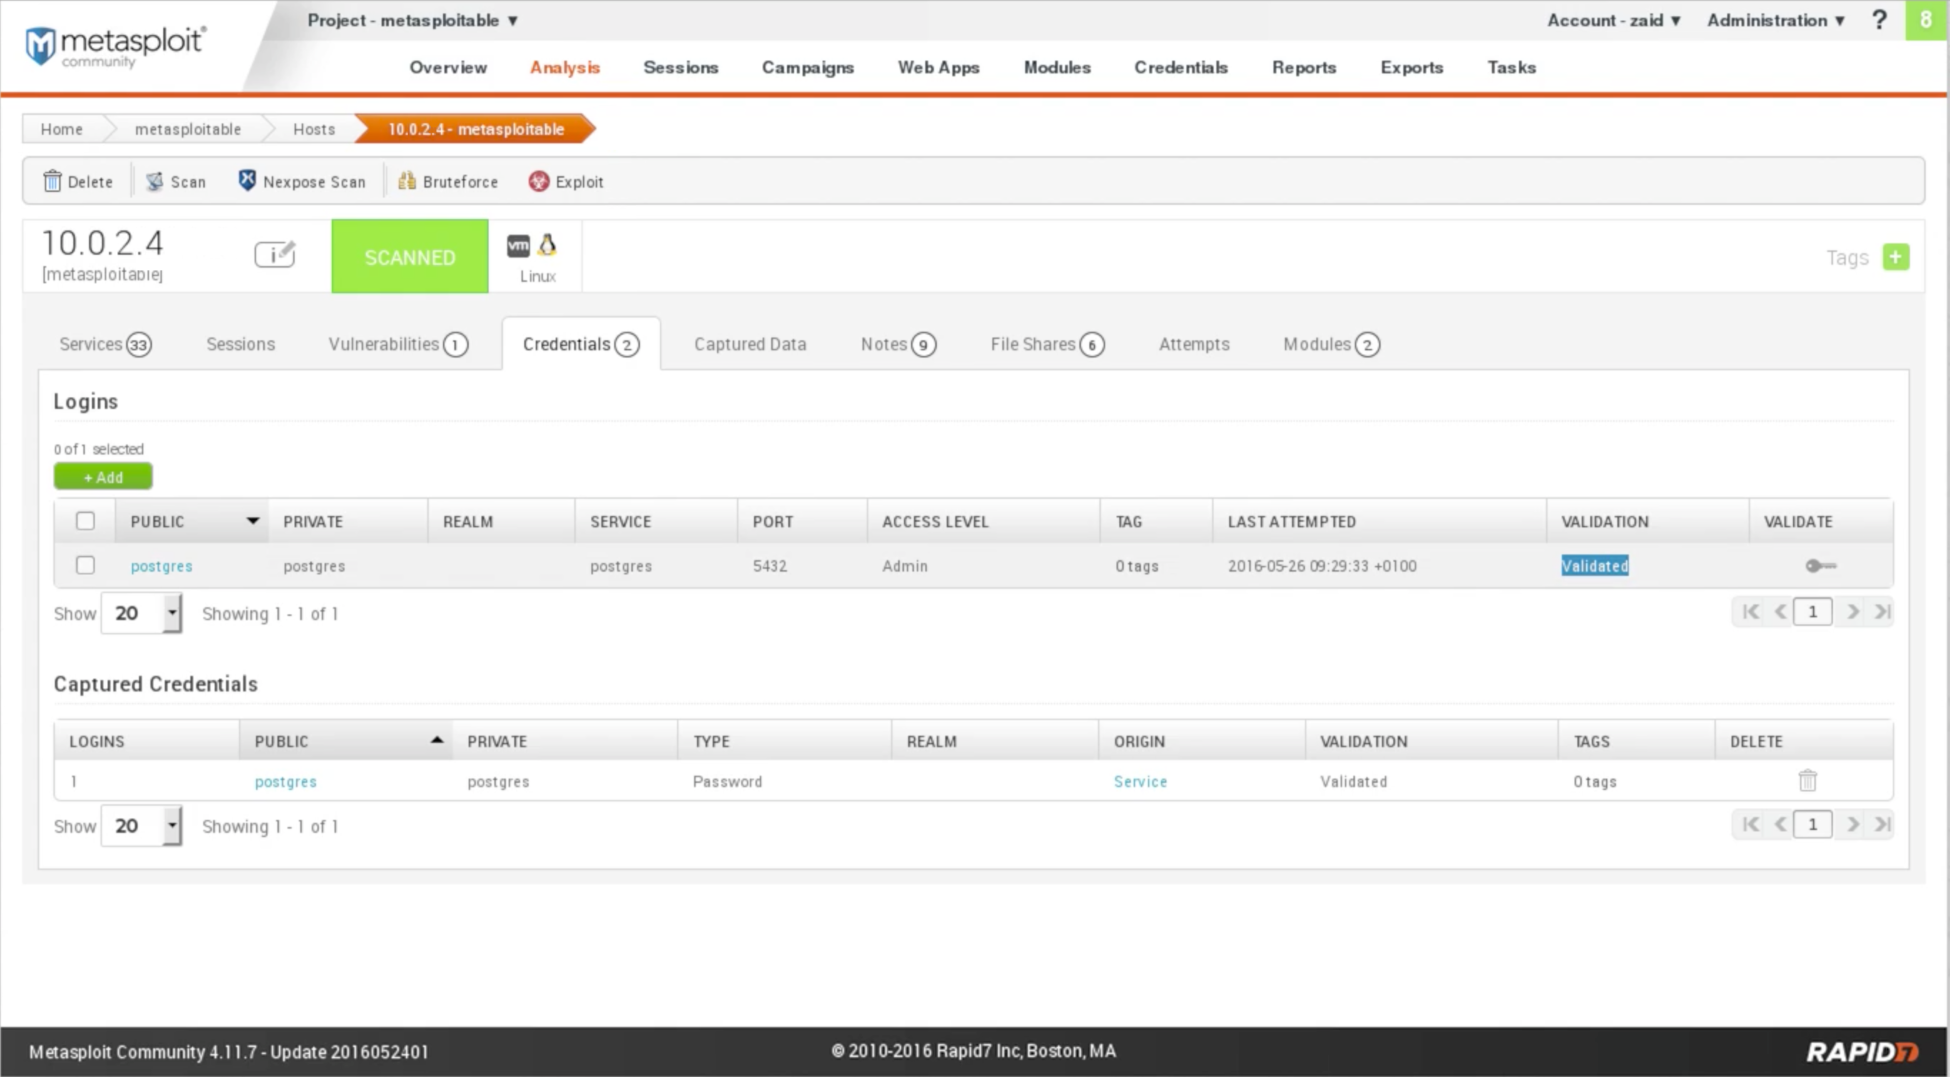
The Vulnerabilities tab will show you the vulnerabilities that have been discovered. With Nmap, we only got the services. In Metasploitable, it actually maps if it finds a vulnerability, and if Metasploit has an exploitation for that vulnerability it will actually show it to us. We can click on it and get more information about the vulnerability. The Credentials tab will show you if there are any interesting credentials that the program managed to find. We can see in the following screenshot that it's managed to find the username and the password for PostgreSQL, which is postgres. It's a weak password, and that is the password for the admin. If we click on the key icon under the VALIDATE column it will validate it for us, turning the status to Validated in the VALIDATION column:
Now, we can use the preceding information. We can go ahead and connect to the SQL database here using this information, using the username postgres and the password postgres. Let's look at a quick example of this. We are going to our Terminal in Kali and we're going to use the command that you used to connect to SQL, to PostgreSQL. It's psql. Put the IP that we want to connect to after the -h option. The command is as follows:
psql -h 10.0.2.4 postgres
Then, we enter the username. Now, it will ask for the password, and we're going to enter the password that we captured, which is postgres. We will be logged in to the database. We can run any SQL command now on the target computer. SQL is the language that is used to communicate with databases. We not going to go into too much detail here, just that we managed to capture a username and a password for a database, and the database we can communicate with using the SQL language. We can run the select current_database(); command just as an example. We can see that it selected our current_database, which is also called postgres. Just a quick example to show that the captured data is correct; in Metasploit, in the Captured Data tab, there is no captured data from the file or from the target computer. But on Notes, we will see some interesting notes, some of them about the HTTP requests for some of the methods that we use. We can go through the notes, which can be useful for the information gathering process.
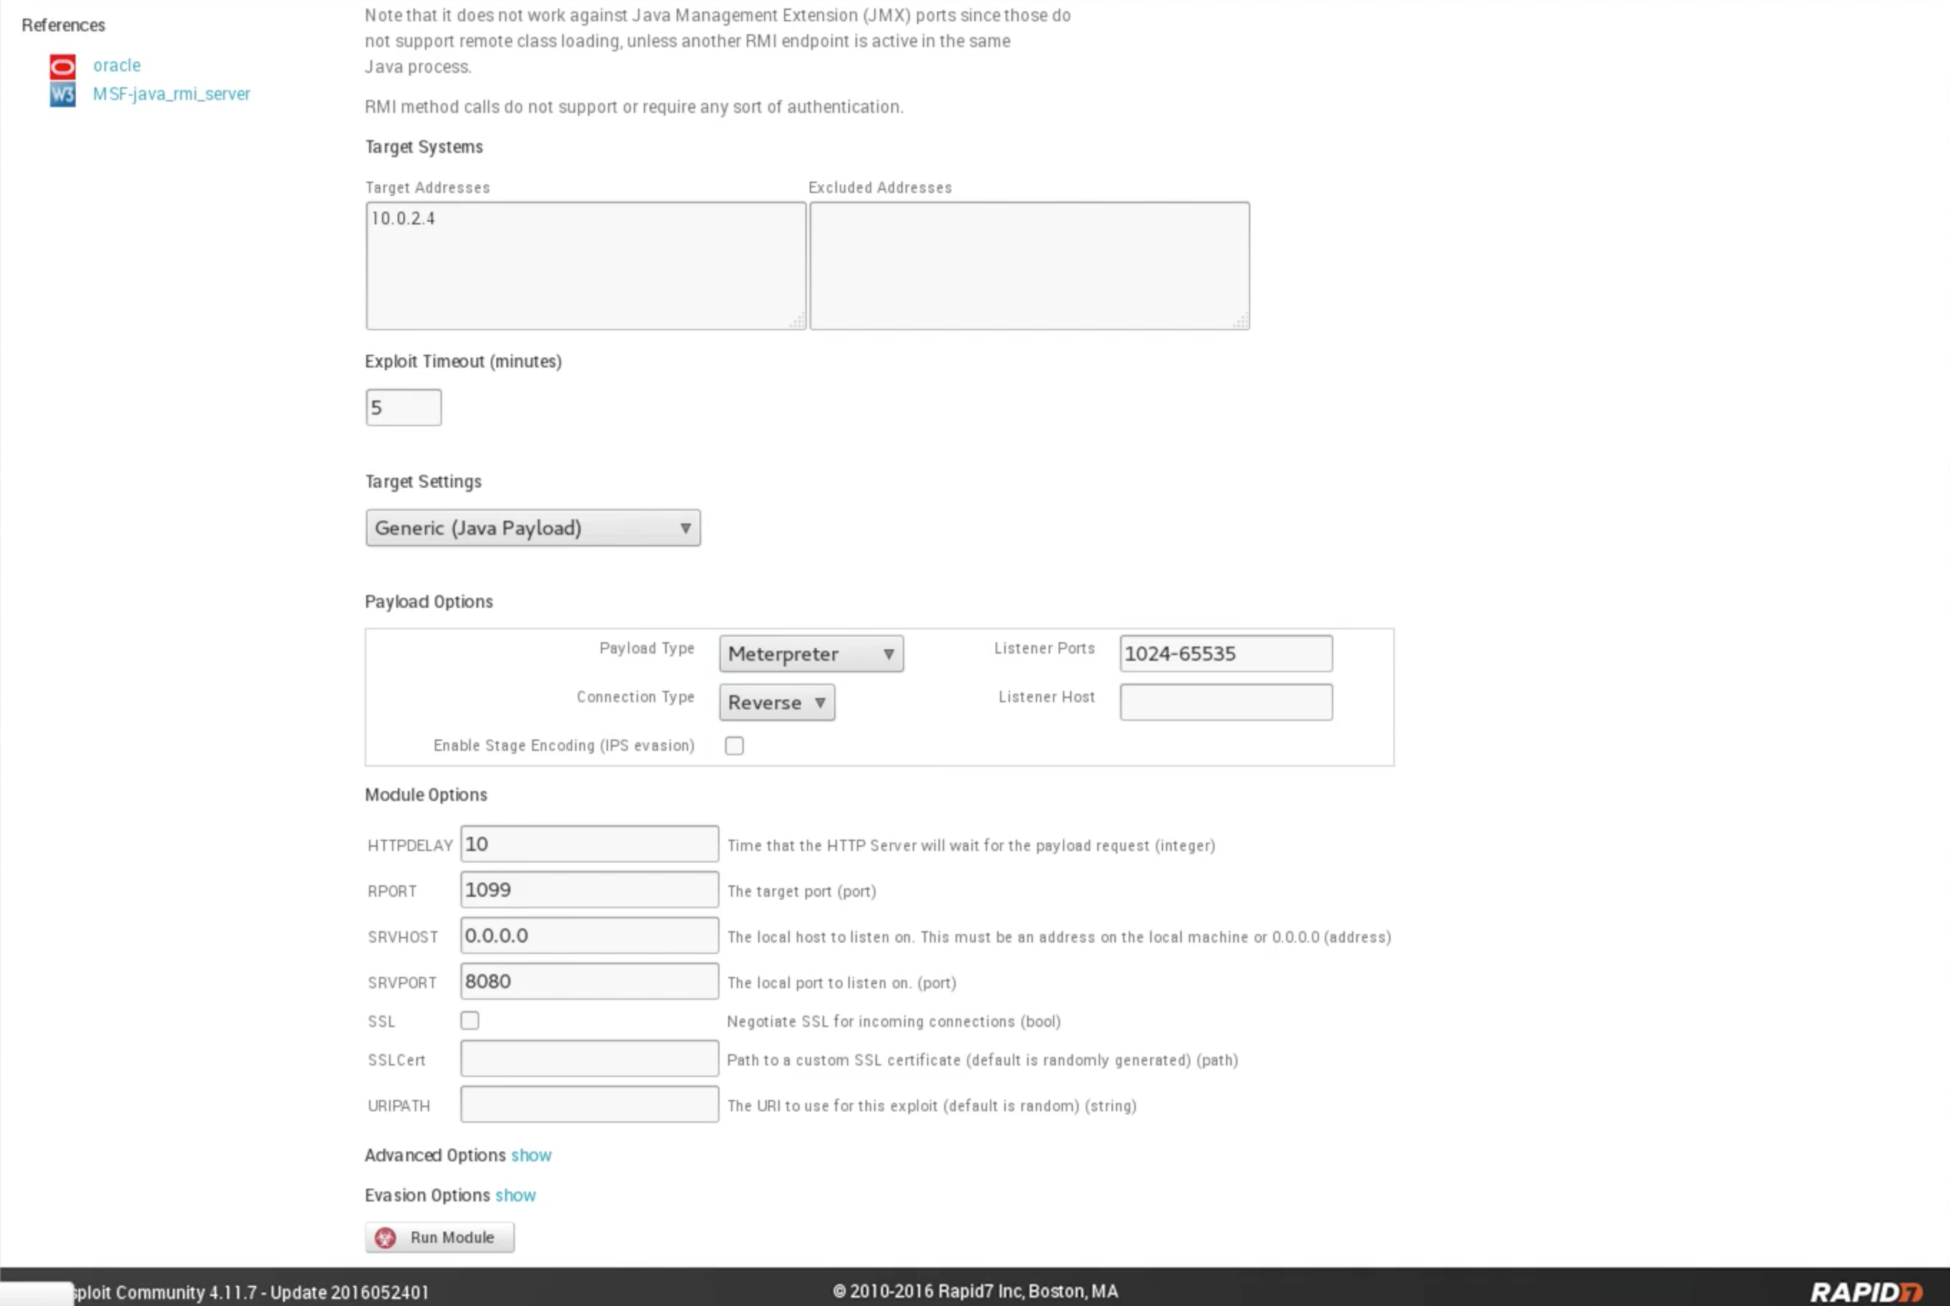
The File Shares tab will show us any files being shared from the target computer. The Attempts tab will show you the attempts that we did on the target computer, and the Modules tab will show us the modules that can be used to exploit any found vulnerabilities. We have a vulnerability called the Java RMI Server, and we have a module to discover the Java RMI Server vulnerability. We're going to launch Exploit: Java RMI Server Insecure Default Configuration Java Code Execution, and we will do this launch straight from the tool. We're just going to click on Launch. It will allow us to run the exploit from within Metasploit Community. exploit/multi/misc/java_rmi_server is the module name; do use exploit/multi/misc/java_rmi_server, set the PAYLOAD, set the LHOST, set the RHOST, and then exploit, the same way that we did it before in msfconsole. Alternatively, we can let Metasploit Community do all the work for us.
We can see that it already picked the target address correctly, and we are going to set the connection to Reverse, and we are going to keep the Payload Type as Meterpreter. Now, we can choose the command shell as we can see in the following screenshot, which is what we used before, and Meterpreter is just a different type of payload that we'll talk about later. Now, we are just going to run the module by clicking on Run Module:
As we can see in the following screenshot, the module did run and the output is very similar to what you get from the Metasploit console, and it says that session 1 is open. It has already created a session for us. Now, we can communicate with it:
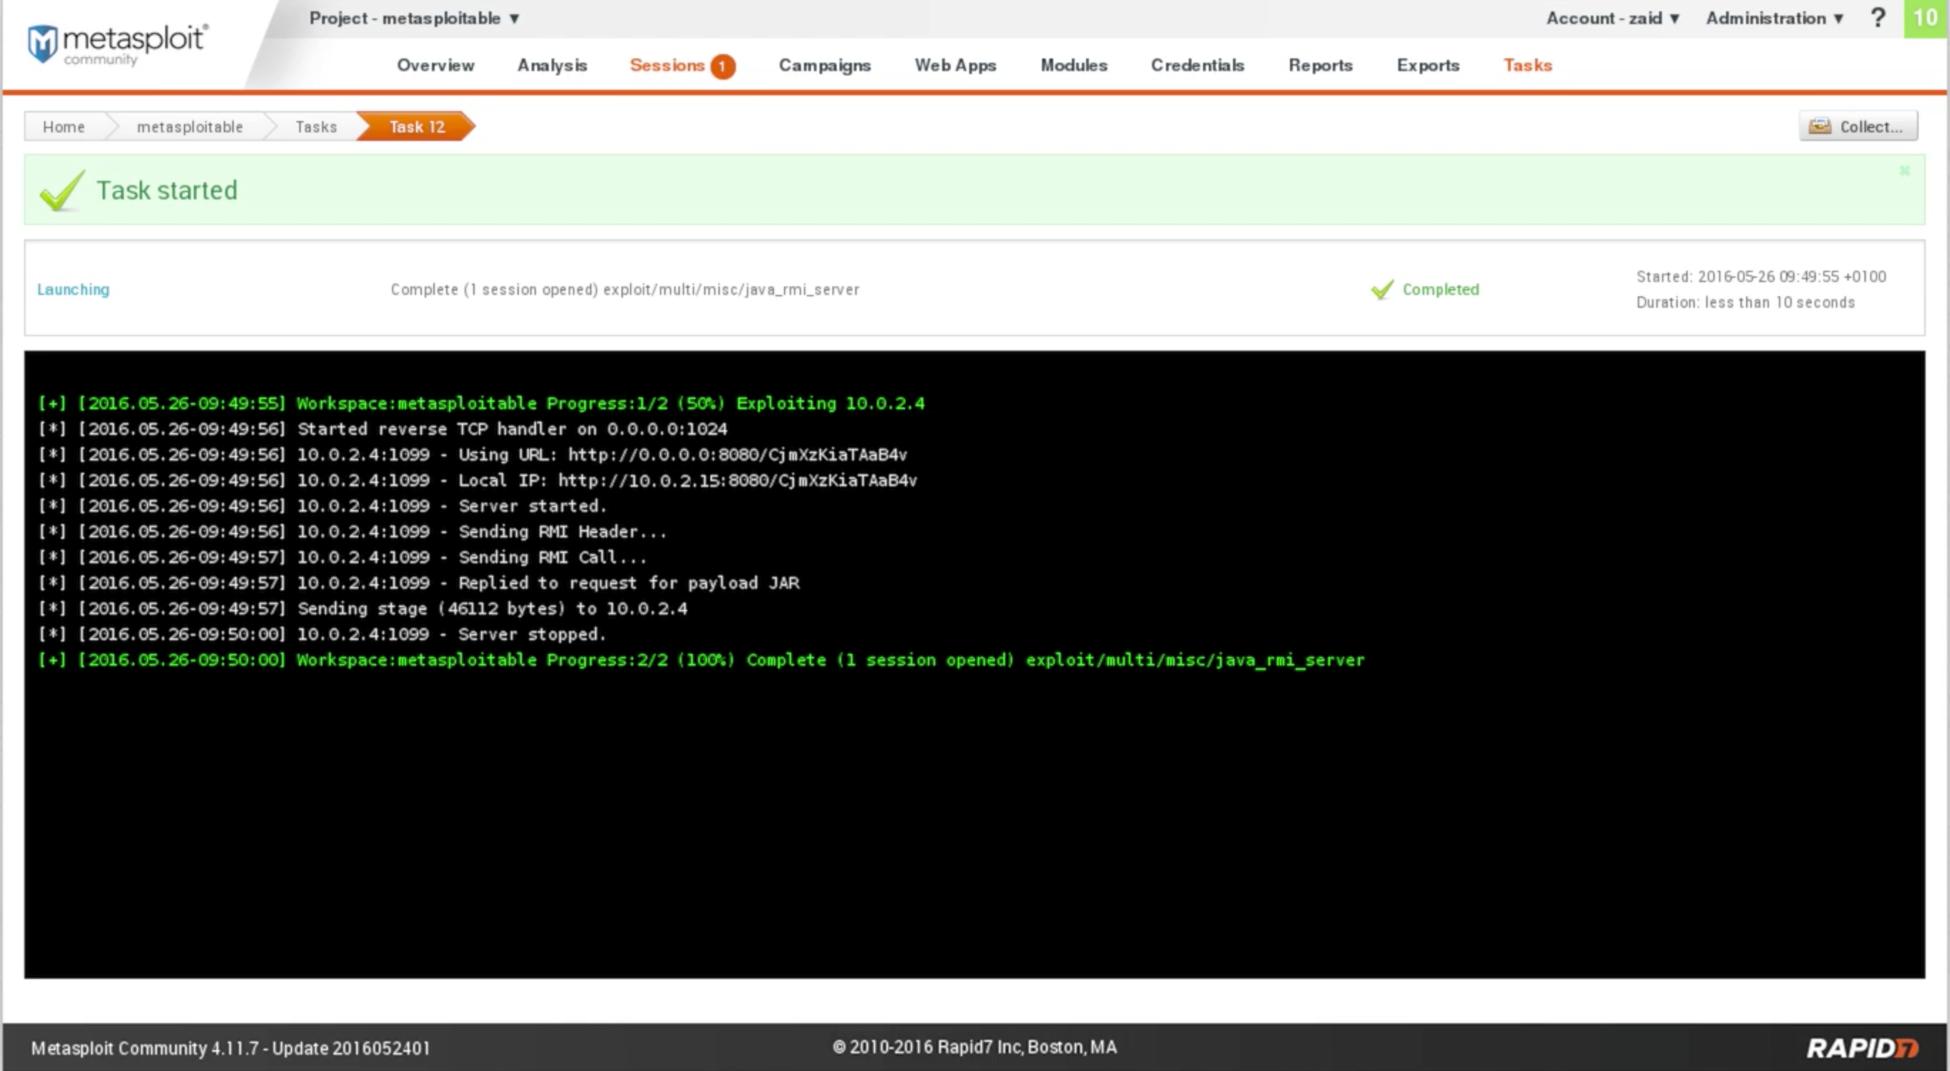
We can see the Session tab as seen in the preceding screenshot. It has the number 1. If we click on that we will see that, we have a session open and it's on the Metasploitable machine, or on the Metasploitable project, and it used the Java RMI Server. If we click on that session we will see all the things that we can do on that computer. Now, we can use Collect System Data to get some sensitive data, but we won't be able to use that because it's all for the Pro version, and we have the Community version. We can use Access Filesystem, and we can literally have a web-based file browser. We can browse through the files of the target computer. Or we can just get a Command Prompt for the Meterpreter, like what we used to get before. If we go to Command shell by going to the previous page, we will see that we have a Meterpreter command shell that allows us to use the Meterpreter payload.
Now, we are going to study the Meterpreter payload and how to use it in the post-exploitation, but we are just going to see that we have full access to the target computer from here and that we are able to do whatever we want to do on it. Metasploit did everything through the browser. We didn't have to go and run Metasploit and manually configure the payload and the exploit. Now, there is one last thing that we will see, which is the Modules tab. Some of these modules don't have to give us full access. Some of them can only be used to do a denial of service, and some of them are code execution vulnerabilities, but they might not work. We can try them and see if they work. We can click on them and run them from within the computer.
In the gathering module, it doesn't exploit anything. It just allows us to upload files, and some of them give us a Meterpreter session. Just click on it, and we can run it from within the web interface. The tool also offers other features, such as the Web Apps feature, which scans for web apps. We can just go to report options, where we can create a report of the findings of everything that has been found, but the problem is these features are limited to the Pro edition. We can't really use them unless we pay for the program.