In this section, we will discuss a tool called Nexpose. Nexpose is made by Rapid7. It's made by the same people that made Metasploit and Metasploit Community, and it's similar to Metasploit Community in the sense that it has a web GUI and it allows us to discover, assess, and act on discovered vulnerabilities. It also maps these vulnerabilities to existing exploits, but the difference is Metasploit Community only showed us exploits that can be used within Metasploit, whereas Nexpose actually shows us exploits that have been published somewhere other than Rapid7 and Metasploit. It works on a larger scale, it shows us more vulnerabilities, and it also helps us to create a report at the end of the scan so that we can share it with the technical people, and a high-level small report that can be shared with the managers. It also helps us create schedule scans. Suppose, for example, we have a company, or we are working on a big infrastructure and we want to do regular scans every week or every month; we can do that using this tool.
Let's see how to install it and run it, and the differences will become more clear:
- Nexpose doesn't come pre-installed in Kali Linux; we have to install it manually. To download it you need to download it from https://www.rapid7.com/products/nexpose/download/. It'll ask you to fill in your name and address. Fill it in and download it. We will download the Community version, which is free. The first thing we are going to do before we can install it is stop the PostgreSQL service that comes it installed with, or that is running in Kali Linux. Just launch the service postgresql stop command, which will stop the SQL service.
- Usually, when we run the Terminal we won't be in the Downloads directory. We will need to change our directory to the Downloads directory using the cd command. Once we're in the Downloads directory we can list all the available files, and we will find the Nexpose Rapid7Setup-Linux64.bin setup file. We need to change the permissions of this to an executable. If you have already changed the permissions, that's when it will appear in green if we do the ls command. Let's first use the chmod command to change the permissions so that we can execute that file. The command will be chmod +x filename; filename is the file that we want to change the permission of; for us it's Rapid7Setup-Linux64.bin. Here is the command:
chmod +x Rapid7Setup-Linux64.bin
- Now to run this installer. To run an executable in Linux systems, all we have to do is type ./ then enter the file that you want to run. For us, it's Rapid7Setup-Linux64.bin. The command will be as follows:
./Rapid7Setup-Linux64.bin
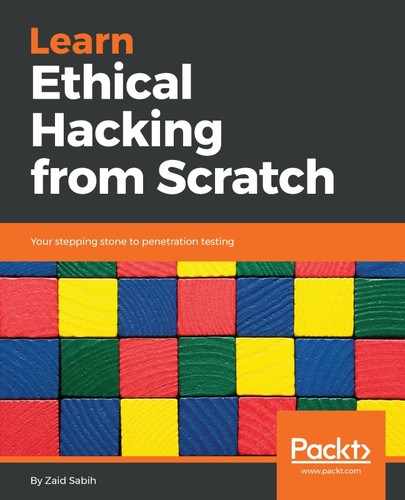
An installer will pop up, as seen in the following screenshot:
- Now, all we have to do is click Next, and then it will ask us to accept the agreement. We are going to install the console with the scan engine. We might come across a problem. Nexpose is only compatible with Kali 2. If we want to go ahead with this, we're going to modify two files on our local system to make our system look like Kali 2 so that the installer will let us install it on our system. But if you don't face this issue, then you can just click Next at this point, but we will just go through the steps and modify two files to make my system look like Kali 2.
- Follow these steps only if you get an error saying your system is not compatible:
-
- Click on Finish. The file that contains the instructions that we need to change the version of our system to Kali 2 is in this book's GitHub repository (https://github.com/PacktPublishing/Fundamentals-of-Ethical-Hacking-from-Scratch). The two files that need to be changed are lsb-release and os-release. We are going to open two tabs, one for each file, and the first one is in the /etc directory, and it's called lsb-release. Before we modify the file, we are actually going to copy it and store a backup of it, because after we finish this step we are going to restore it to the way it was.
- We are going to create a new folder, and we are going to call it backup, and we will paste the file in the backup folder. After we do that we are going to modify the file according to the instructions. We are going to open it with Leafpad, and we are going to copy all of the content, save it, and quit. We are going to do the same with the next file, which is os-release, which is stored in /usr/lib/os-release. We are going to copy the file and put it in our backup folder. Then we are going to modify the code as per the instructions.
- OK, once everything is done, we are going to go back and run the installer again, and it should think that we have Kali 2 installed and proceed through the installation.
- Scroll down, click Accept, the Next, and we will see that the software thinks that we have Kali 2, so it will let us proceed through the installation.
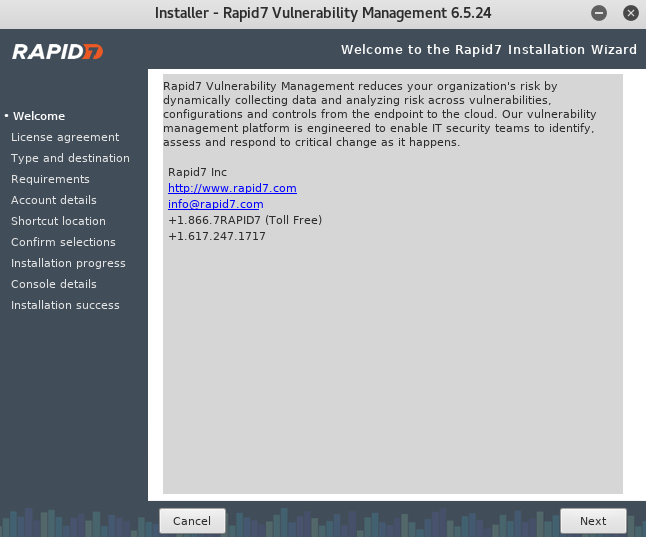
- Now, the port is already set to 5432 and we are going to click on Next:
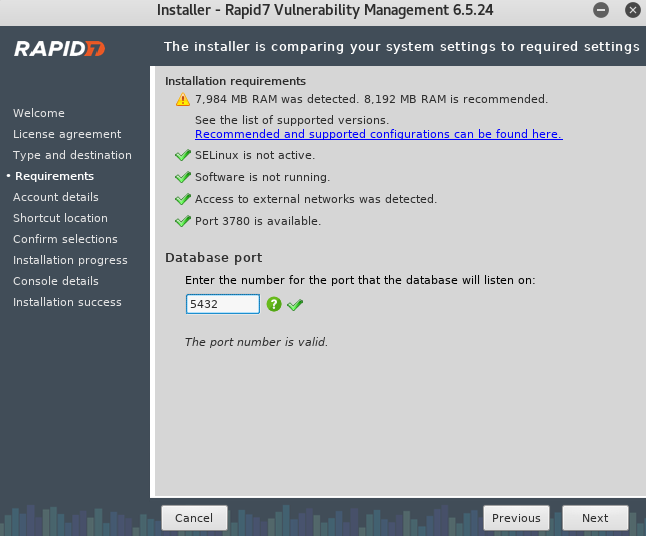
- Now, we are going to put First Name, Last Name, and the Company. It will ask us to put the port for the database that's going to be used with Nexpose:
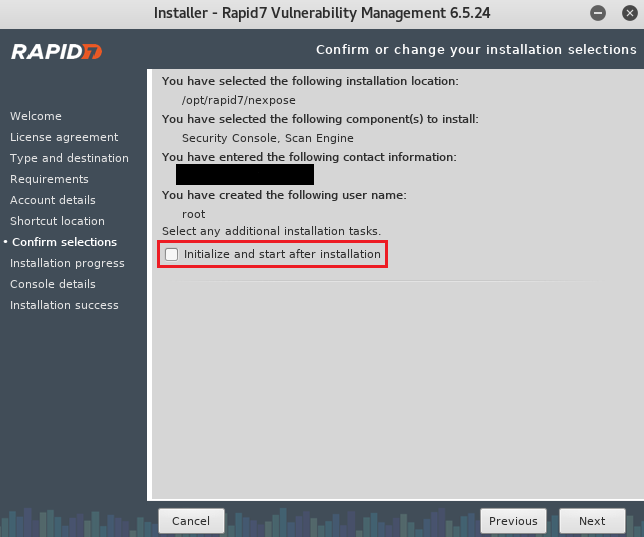
- Make sure we don't check the box that is shown in the following screenshot. We will have a lot of issues if we check this box during installation; it basically should start Nexpose once the installation is over, but we are not going to check it. We will just go to install it and then start it later when we want to use it. We are not going to check this box, make sure it's unchecked. And that's it, now it's going to install it for us:
- OK, once the the installation is successful, as we haven't started Nexpose yet, if we go to https://localhost:3780 then nothing's going to work. We need to run the command first and then we can can access it. We are going to talk about that in the next section. For now, we are going to click on Finish, and we're done:

Now, we're going to go back and make sure we set our files back to the way they were. Now, for those of you who haven't modified them, again skip this step; if you did modify them, then make sure to go back and set them back to the way they were.