With roscore running, start rqt_rviz (note that rviz is still valid in ROS Kinetic) with:
$ rosrun rqt_rviz rqt_rviz
We will see the graphical interface of the following screenshot, which has a simple layout:
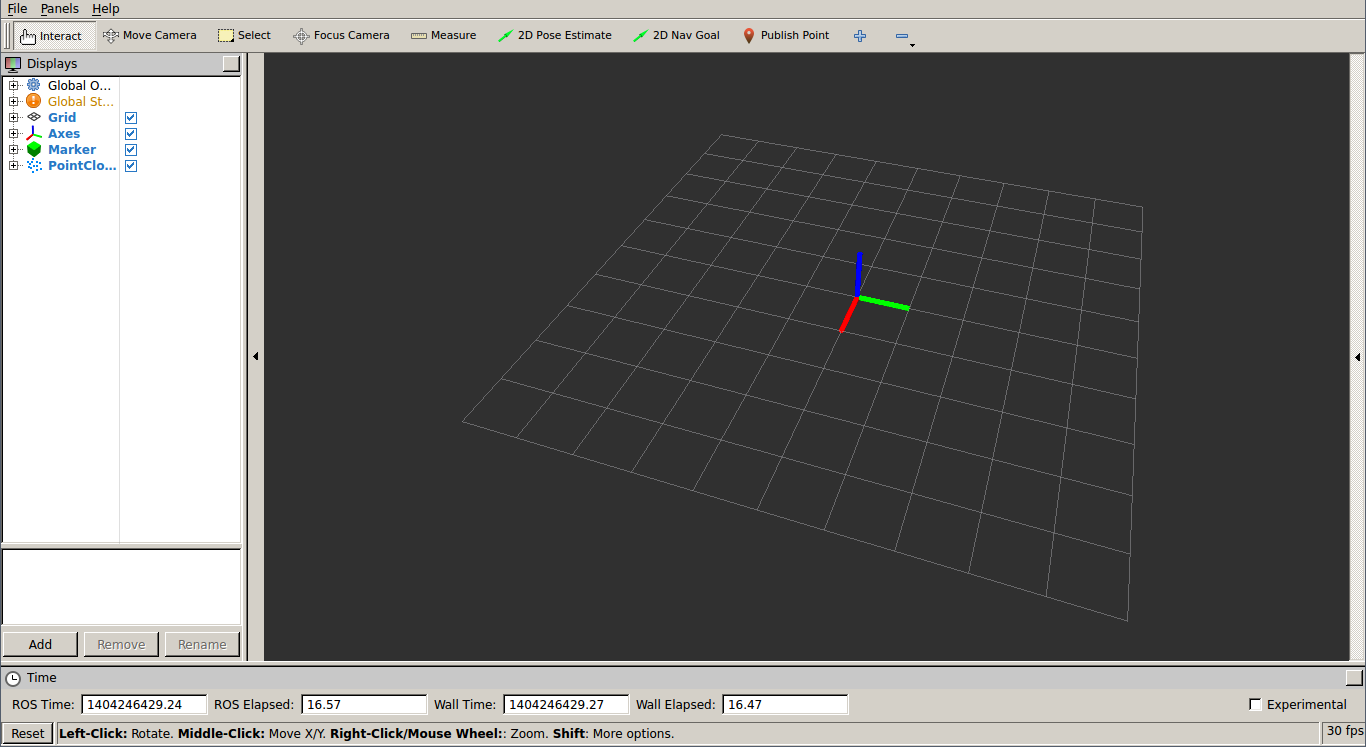
On the left-hand side, we have the Displays panel, in which we have a tree list of the different elements in the world, which appears in the middle. In this case, we have certain elements already loaded. This layout is saved in the config/example9.rviz file, which can be loaded in the File | Open Config menu.
Below the Displays area is the Add button, which allows you to add more elements by topic or type. Also note that there are global options, which are basically tools to set the fixed frame in the world in respect to others. Then, we have Axes and a Grid as a reference for the rest of the elements. In this case, for the example9 node, we are going to see Marker and PointCloud2.
Finally, on the status bar, we have information regarding the time, and on the right-hand side, there are menus. The Tools properties allows us to configure certain plugin parameters, such as the 2D Nav Goal and 2D Pose Estimate topic names. The Views menu gives different view types, where Orbit and TopDownOrtho are generally enough; one for a 3D view and the other for a 2D top-view. Another menu shows elements selected in the environment. At the top, we also have a menu bar with the current operation mode (Interact, Move Camera, Measure, and so on) and certain plugins.
Now we are going to run the example9 node using the following command:
$ roslaunch chapter3_tutorials example9.launch
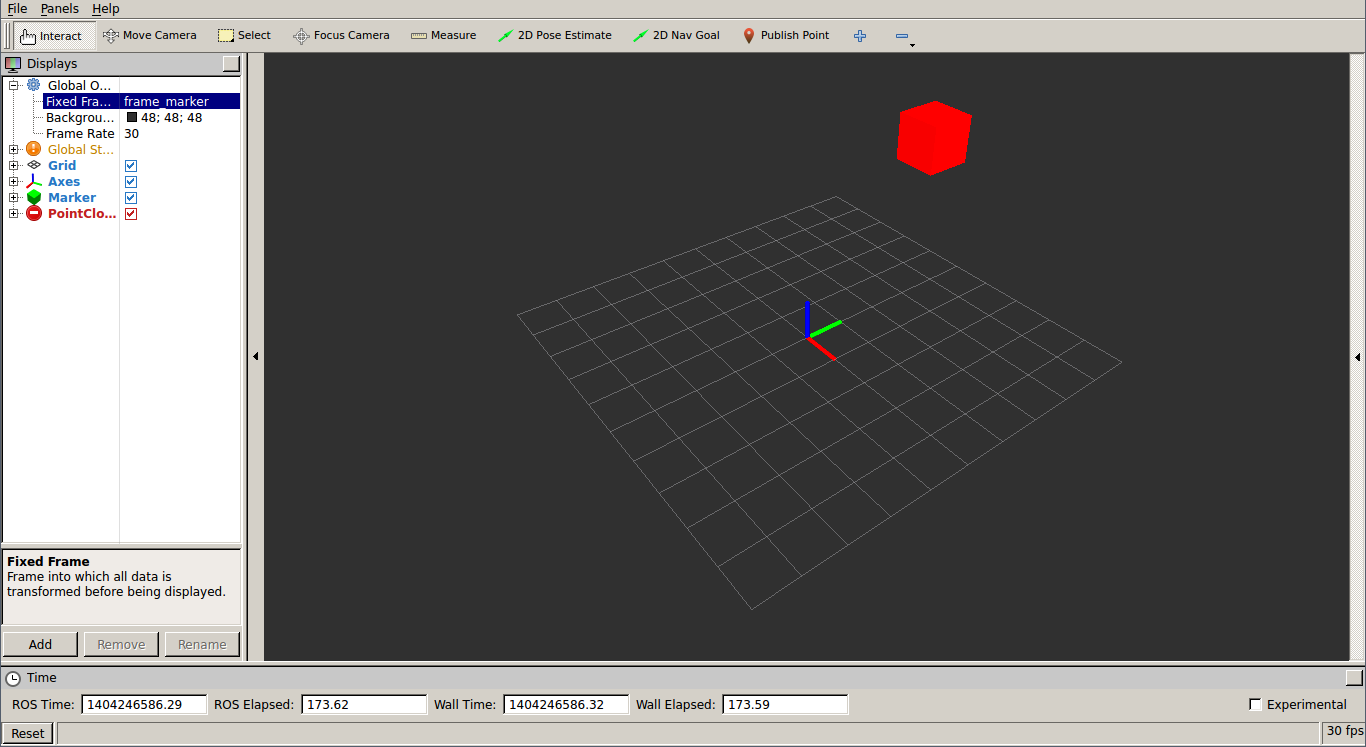
In rqt_rviz, we are going to set frame_id of the marker, which is frame_marker,
in the fixed frame. We will see a red cubic marker moving, as shown in the following screenshot:
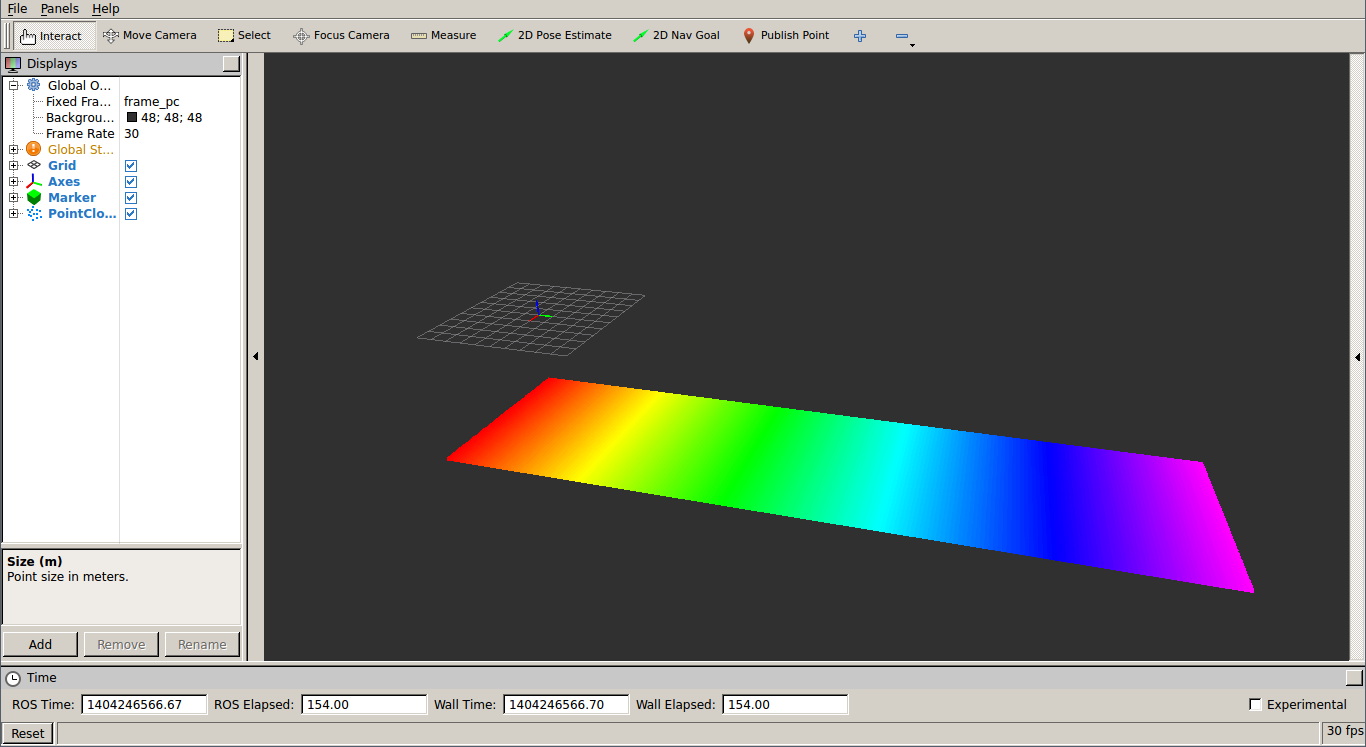
Similarly, if we set Fixed Frame to frame_pc, we will see a point cloud that represents a plane of 200 x 100 points, as shown in the following screenshot:
The list of supported built-in types in rqt_viz includes Camera and Image, which are shown in a window-similar to image_view. In the case of Camera, its calibration is used, and in the case of stereo images, they allow us to overlay the point cloud. We can also see the LaserScan data from range lasers, Range cone values from IR/sonar sensors, or PointCloud2 from 3D sensors, such as the Kinect sensor.
For the navigation stack, which we will cover the in following chapters, we have several data types, such as Odometry (which plots the robot odometry poses), Path (which draws the path plan followed by the robot), Pose objects, PoseArray for particle clouds with the robot pose estimate, the Occupancy Grid Map (OGM) as a Map, and costmaps (which are of the Map type in ROS Kinetic and were GridCell before ROS Kinetic).
Among other types, it is also worth mentioning the RobotModel, which shows the CAD model of all the robot parts, taking the transformation among the frames of each element into account. Indeed, tf elements can also be drawn, which is very useful for debugging the frames in the system; we will see an example of this in the following section. In RobotModel, we also have the links that belong to the robot Unified Robot Description Format (URDF) description with the option to draw a trail showing how they move over time.
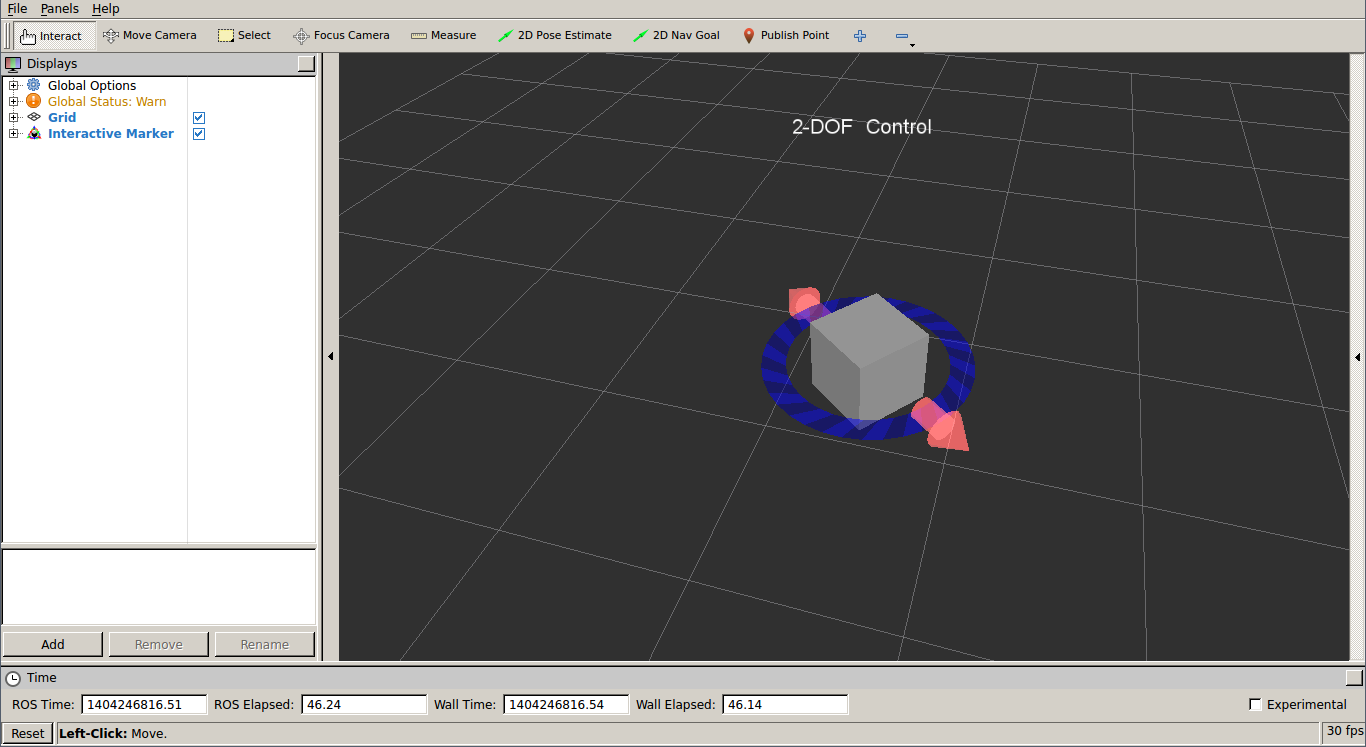
Basic elements can also be represented, such as a Polygon for the robot footprint; several kind of Markers, which support basic geometric elements, such as cubes, spheres, lines, and so on; and even Interactive Marker objects, which allow the user to set a pose (position and orientation) in the 3D world. Run the example8 node to see an example of a simple interactive marker:
$ roslaunch chapter3_tutorials example10.launch
You will see a marker that you can move in the interactive mode of rqt_rviz. Its pose can be used to modify the pose of another element in the system, such as the joint of a robot: