
Interfacing Tiva C Launchpads in ROS is very much similar to Arduino. The IDE we are using to program Tiva C boards such as the EK-TM4C123GXL and EK-TM4C1294XL is called Energia (http://energia.nu/). The Energia IDE is a modified version of the Arduino IDE. The procedure to generate the ROS serial client library is the same as Arduino. We have to install a few packages on Ubuntu before we start working with the Energia ROS serial client for Energia.
The following command will install the ROS serial client library for the Energia IDE:
$ sudo apt-get install ros-kinetic-rosserial-tivac
The following command will install the C libraries for the i386 platform. This library is required if you run Energia on 64-bit Ubuntu.
    $ sudo dpkg --add-architecture i386
    $ sudo apt-get update
    $ sudo apt-get install libc6:i386
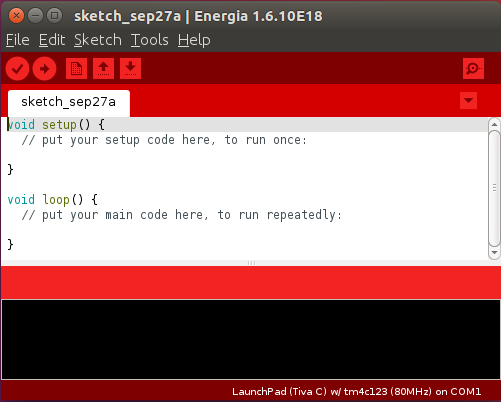
After installing these packages, you can download and extract the Energia IDE. You can download the latest Energia version from http://energia.nu/download/. We are using Energia-018 here, and you can launch Energia by running energia from the extracted folder. You will get an IDE like this, which is very much like the Arduino IDE except the color:
Creating the ROS library for Energia is the same as for Arduino:
- Go to File | Preference and set the sketchbook location.
- Create a folder called libraries if one doesn't exist inside this location, and run the following command to create ros_lib:
$ rosrun rosserial_tivac make_libraries_energia
- If everything works fine, you can access the ROS examples like this:
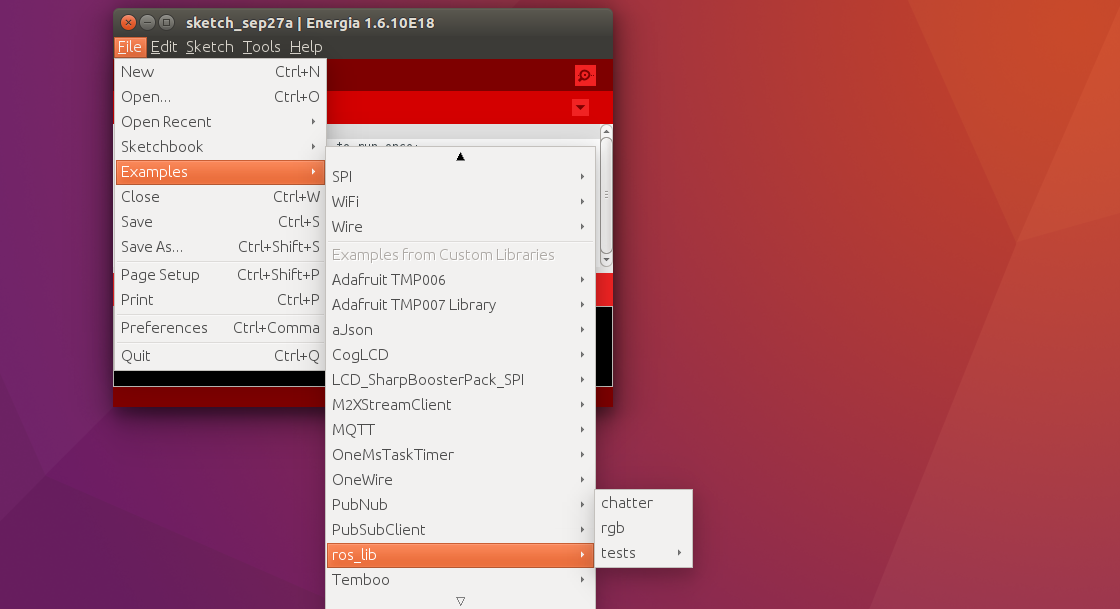
We can try with the rgb example first. The Tiva C board has a tricolor LED integrated with some port pins. Using this code, we can publish RGB values to a topic, and the board will turn on and off the LED according to the topic values. We can input values 0 or 1 for each LED. If the value is 0, that LED will be off, and if it is 1, it will have maximum brightness.
We can compile the code and upload it to the desired board and start the ROS serial server using the following set of commands.
Starting roscore:
$ roscore
Starting the ROS serial server:
$ rosrun rosserial_python serial_node.py /dev/ttyACM0
We will get a topic called /led when we start the ROS serial server, and we can publish the values to the topic using the following command:
$ rostopic pub led std_msgs/ColorRGBA "r: 0.0 g: 0.0 b: 1.0 a: 1.0"
Here, the type of /led topic is std_msgs/ColorRGBA, and r, g, and b correspond to red, green, and blue, and A is for alpha or transparency. We are not using the alpha value.
We have seen how to make a controller board as an ROS node, and now we will see how to run ROS on a single-board computer.