
Using a webcam, we can only find the 2D position and orientation of an object, but what should we use if we need the 3D coordinates of the object? We could simply use a depth sensor like the Kinect and run these same nodes. For interfacing the Kinect with ROS, we need to install some driver packages. The Kinect can deliver both RGB and depth data. Using RGB data, the object detector detects the object, and using the depth value, it computes the distance from the sensor too.
Here are the dependent packages for working with the Kinect sensor:
- If you are using the Xbox Kinect 360, which is the first Kinect, you have to install the following package to get it working:
$ sudo apt-get install ros-kinetic-openni-launch
- If you have Kinect version 2, you may need a different driver package, which is available on GitHub. You may need to install it from the source code. The following is the ROS package link of the V2 driver. The installation instructions are also given:https://github.com/code-iai/iai_kinect2
If you are using the Asus Xtion Pro or other PrimeSense device, you may need to install the following driver to work with this detector:
$ sudo apt-get install ros-kinetic-openni2-launch
In this section, we will be working with the Xbox Kinect, which is the first version of Kinect.
Before starting the Kinect driver, you have to plug the USB to your PC and make sure that the Kinect is powered using its adapter. Once everything is done, you can launch the drivers using the following command:
$ roslaunch openni_launch openni.launch depth_registration:=true
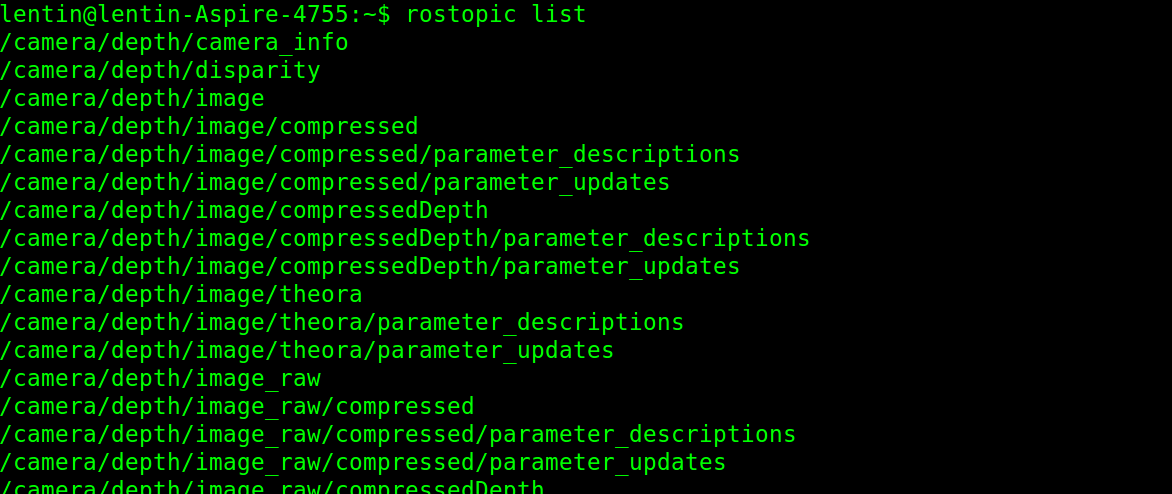
- If the driver is running without errors, you should get the following list of topics:
- If you are getting this, start the object detector and mark the object as you did for the 2D object detection. The procedure is the same, but in this case, you will get the 3D coordinates of the object. The following diagram shows the detection of the object and its TF data on Rviz. You can see the side view of the Kinect and the object position in Rviz.

- To start the object detection, you have to perform some tweaks in the existing launch file given by this package. The name of the launch file for object detection is find_object_3d.launch.
- We can modify this file a little bit because in our case, there is no robot, so we can modify it in such a way that the TF information should be published with respect to Kinect's camera_rgb_frame, which is shown in the previous diagram. Here is the launch file definition we want for the demo:
            <launch>
                <node name="find_object_3d" pkg="find_object_2d"
                type="find_object_2d" output="screen">
                <param name="gui" value="true" type="bool"/>
                <param name="settings_path"
            value="~/.ros/find_object_2d.ini" type="str"/>
               <param name="subscribe_depth" value="true"
                  type="bool"/>
               <param name="objects_path" value="" type="str"/>
               <param name="object_prefix" value="object"
              type="str"/>
               <remap from="rgb/image_rect_color"
                to="camera/rgb/image_rect_color"/>
                <remap from="depth_registered/image_raw"
                 to="camera/depth_registered/image_raw"/>
                <remap from="depth_registered/camera_info"
                to="camera/depth_registered/camera_info"/>
              </node>
           </launch>
In this code, we just removed the static transform required for the mobile robot. You can also change the object_prefix parameter to name the detected object.
Using the following commands, you can modify this launch file, which is already installed on your system:
          $ roscd find_object_2d/launch
          $ sudo gedit find_object_3d.launch
Now, you can remove the unwanted lines of code and save your changes. After saving this launch file, launch it to start detection:
$ roslaunch find_object_2d find_object_3d.launch
You can mark the object and it will start detecting the marked object.
- To visualize the TF data, you can launch Rviz, make the fixed frame /camera_link or /camera_rgb_frame, and add a TF display from the left panel of Rviz.
- You can run Rviz using the following command:
$ rosrun rviz rviz
Other than publishing TF, we can also see the 3D position of the object in the detector Terminal. The detected position values are shown in the following screenshot:
