
After following this procedure, we can build the package using catkin_make and if the build is successful, we can generate the shared object libnodelet_hello_world.so file, which is actually a plugin.
The first step in running nodelets is to start the nodelet manager. A nodelet manager is a C++ executable program, which will listen to the ROS services and dynamically load nodelets. We can run a standalone manager or can embed it within a running node.
The following commands can start the nodelet manager:
- Start roscore
$roscore
- Start the nodelet manager using the following command
$ rosrun nodelet nodelet manager __name:=nodelet_manager
If the nodelet manager runs successfully, we will get a message as shown here:

After launching the nodelet manager, we can start the nodelet by using the following command:
    $ rosrun nodelet nodelet load nodelet_hello_world/Hello
 nodelet_manager __name:=nodelet1
When we execute the preceding command, the nodelet contacts the nodelet manager to instantiate an instance of the nodelet_hello_world/Hello nodelet with a name of nodelet1. The following screenshot shows the message when we load the nodelet:

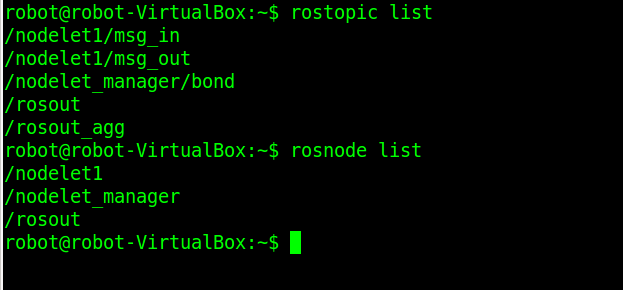
The topics generated after running this nodelet and the list of nodes are shown here:
We can test the node by publishing a string to the /nodelet1/msg_in topic and check whether we receive the same message in nodelet1/msg_out.
The following command publishes a string to /nodelet1/msg_in:
$ rostopic pub /nodelet1/msg_in std_msgs/String "Hello"
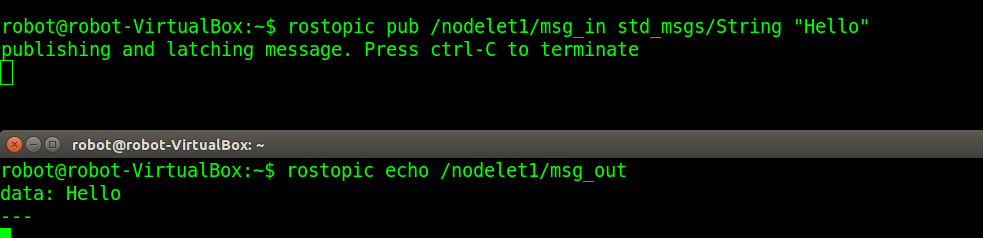
We can echo the msg_out topic and can confirm whether the code is working good.
Here, we have seen that a single instance of the Hello() class is created as a node. We can create multiple instances of the Hello() class with different node names inside this nodelet.