
The procedure for creating an Ethernet hotspot in Ubuntu and sharing Wi-Fi Internet through this connection follows:
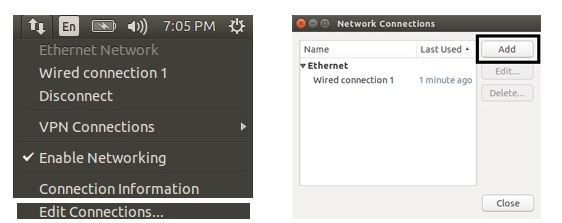
- Take Edit Connection... from the network settings and Add a new connection as shown next:
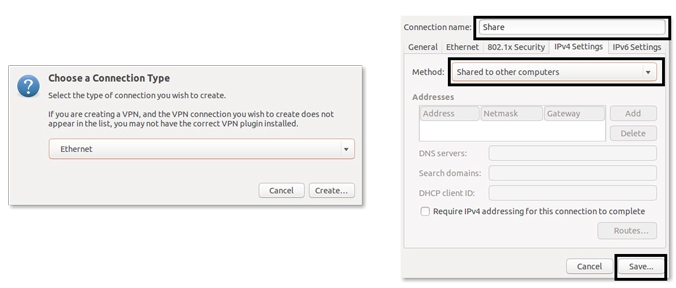
- Create anEthernet connection and inIPv4 setting, change the method to Shared to Other Computers and give the connection name as Share, as shown next:
- Plugin the micro SD card, power up the Odroid or Raspberry Pi, and connect the Ethernet port from the board to the PC. When the board boots up, we will see that the shared network is automatically connected to the board.
- The following command helps to get the board IP for communicating
using SSH:
$ cat /var/lib/misc/dnsmasq.leases

- We can communicate with the board using the following commands:
- In Odroid:
          $ ssh odroid@ip_address
          password is odroid
- In Raspberry Pi 2:
        $ ssh pi@ip_adress
        password is raspberry
After doing SSH into the board, we can launch roscore and most of the ROS commands on the board similar to our PC. We will do two examples using these boards. One is for blinking and LED, and the other is for handling a push button. The library we are using for handling GPIO pins of Odroid and Raspberry is called Wiring Pi.
The odroid and Raspberry pi have the same pin layout and most of the Raspberry pi GPIO libraries are ported to Odroid, which will make the programming easier. One of the libraries we are using in this chapter for GPIO programming is wiring Pi. Wiring Pi is based on C++ APIs which can access the board GPIO using C++ APIs.
Following are the instructions for installing Wiring Pi on Odroid and Raspberry 2: