
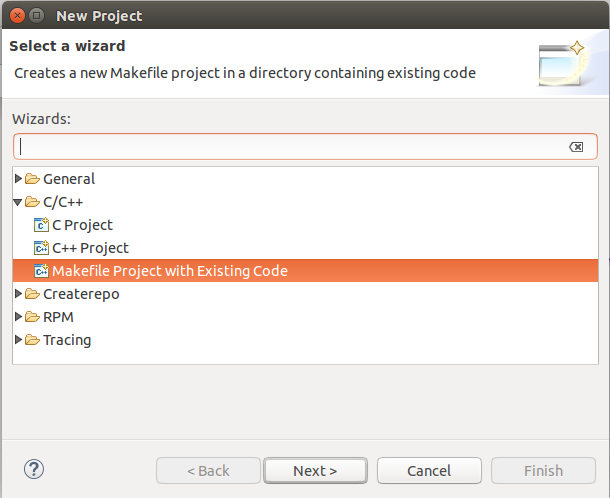
After doing the preceding configuration, we can start adding ROS packages to Eclipse IDE. Click on File Menu | Project... from the New Project wizard, select
C/C++ | MakeFileProject with Existing Code:
There was a hello_world ROS package in ros_catkin_ws; we are opening this project. This package consists of two ROS nodes, talker.cpp and listener.cpp. You can open any packages on your workspace.
Give a name for this project as hello_world and browse the ROS package from the catkin workspace as shown in the following screenshot:

After opening the project, right-click on the project and go to Properties of the project. From the Properties, click on the C/C++ Build option, and from the Builder Settings tab, change the Build command to the custom command called eclipsemake. Browse Build location of the ROS package by clicking on the File System button, as shown in the following screenshot:

In C/C++ Build | Environment, add a new variable called VERBOSE and set the value as 1, as shown in the following screenshot:

In C/C++ General, select Path and Symbols, choose the Symbols tab, and add a symbol called __GXX_EXPERIMENTAL_CXX0X__ in GNU C++ with no values. Click on Apply | OK to confirm the settings, as shown in the following screenshot:

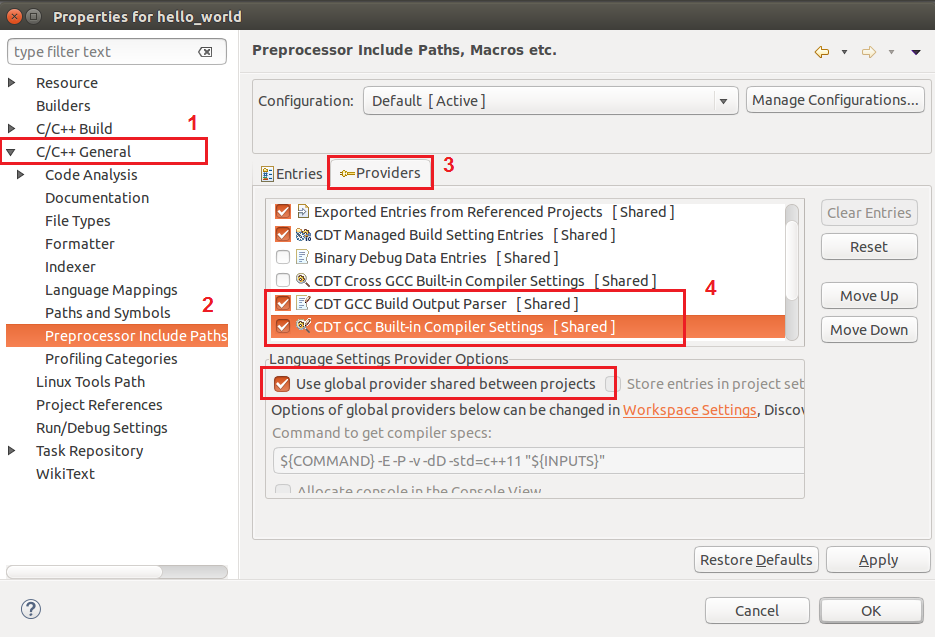
In C/C++ General, choose Preprocessor Includes Paths, Macros etc. from the Providers tab, check the options CDT GCC Build Output Parser [Shared] and GCC Built-in Compiler Settings [Shared]. We should also verify the Use global provider shared between projects option in both. Click on Apply and then click on OK, as shown in the following screenshot:
After doing these all settings, we should clean the project by right-clicking on the Project | Clean Project. After cleaning, build the project (Ctrl+B).