
Interfacing an Arduino board with ROS simply means running a ROS node on Arduino that can publish/subscribe like a normal ROS node. An Arduino ROS node can be used to acquire and publish sensor values to a ROS environment, and other nodes can process it. Also, we can control devices, for example, actuators such as DC motors, by publishing values to an Arduino node. The main communication between PC and Arduino happens over UART. There is a dedicated protocol called ROS Serial (http://wiki.ros.org/rosserial/Overview), implemented as a ROS metapackage called rosserial, which can encode and decode ROS Serial messages. Using the ROS Serial protocol, we can publish and subscribe to Arduino like a ROS node over UART.
To start with ROS interfacing of Arduino, follow these steps:
- First, we have to install some ROS packages on Ubuntu. The following commands can be used to install them.
- Installing the rosserial metapackage:
$ sudo apt-get install ros-kinetic-rosserial
- The following command will install the rosserial-arduino client package on ROS. This client package helps create a client library of the Arduino IDE for ROS. Using this library, we can create Arduino ROS nodes that work like a normal ROS node.
$ sudo apt-get install ros-kinetic-rosserial-arduino
- After installing these packages, you need to download and set up the Arduino IDE. We need to download this IDE to program Arduino boards. You can download the latest Arduino IDE from (https://www.arduino.cc/en/Main/Software).
- You can download the Arduino IDE for Linux 64/32-bit according to your OS configuration and run the arduino executable after extracting the package.
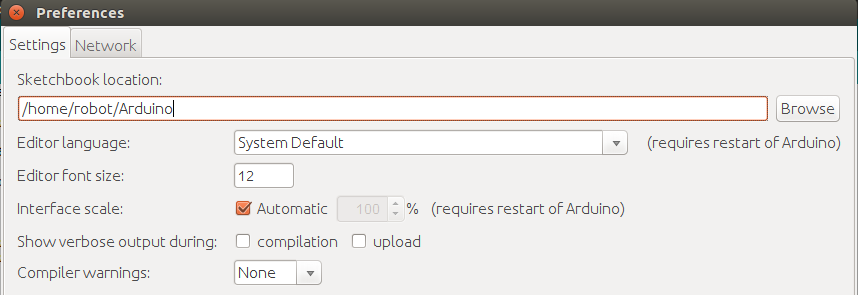
- To add the ROS library for the Arduino IDE, first you have to go to File | Preference and set the Sketchbook location, as shown in this screenshot:
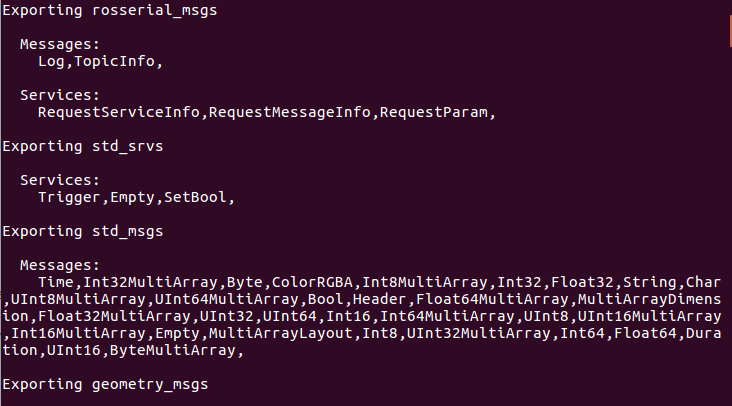
- Go to the sketchbook location and create a folder called libraries if it is not present, and open a Terminal inside the libraries folder. We are keeping all Arduino libraries on this folder. Enter the following command to generate the ros_lib library for Arduino:
$ rosrun rosserial_arduino make_libraries.py .
- You will see the following messages printing during the execution of the command. You may get an error after some time, but that's perfectly fine.
- After the execution of this command, a folder called ros_lib will be generated, which is the Arduino ROS serial client library.
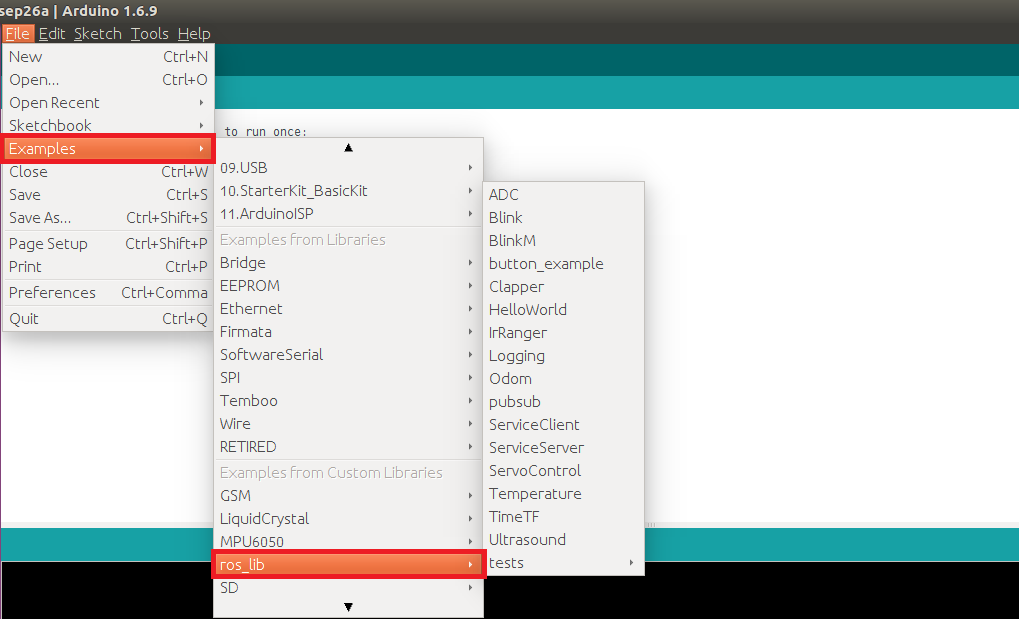
- Now, you can open the Arduino IDE and check that the option highlighted in the following figure is available. You can take any of the ROS examples and compile and check whether it is building without any errors:
Congratulations! You have successfully set up ros_lib on Arduino. Now we can perform a few experiments using the ROS-Arduino interface.