
Here is the procedure to run the detector nodes for a webcam. If we want to detect an object using a webcam, we first need to install the usb_cam package,which was discussed in Chapter 20, Face Detection and Tracking Using ROS, OpenCV, and Dynamixel Servos.
- Start roscore:
$ roscore
- Plug your USB camera into your PC, and launch the ROS usb_cam driver:
$ roslaunch usb_cam usb_cam-test.launch
This will launch the ROS driver for USB web cameras, and you can list the topics in this driver using the rostopic list command. The list of topics in the driver is shown here:
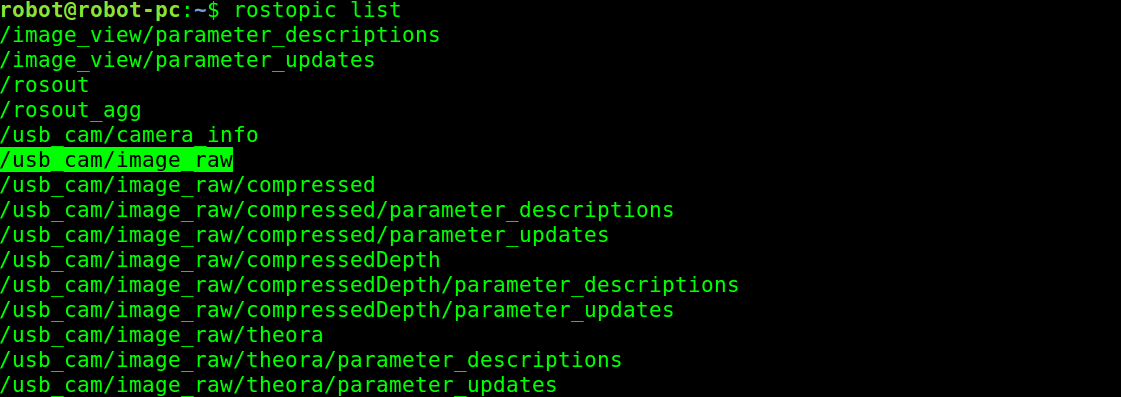
- From the topic list, we are going to use the raw image topic from the cam, which is being published to the /usb_cam/image_raw topic. If you are getting this topic, then the next step is to run the object detector node. The following command will start the object detector node:
$ rosrun find_object_2d find_object_2d image:=/usb_cam/image_raw
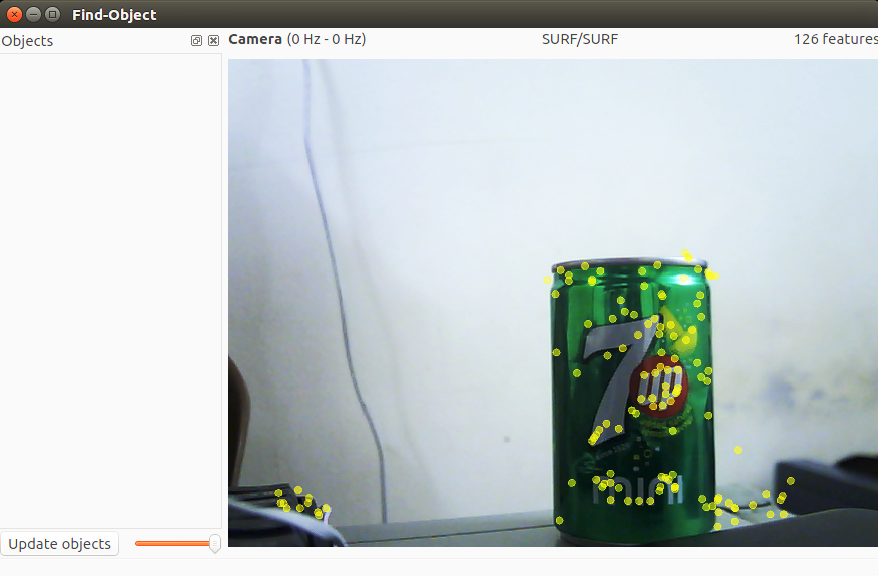
This command will open the object detector window, shown in the previous screenshot, in which we can see the camera feed and the feature points on the objects.
- So how can we use it for detecting an object? Here are the procedures to perform a basic detection using this tool:
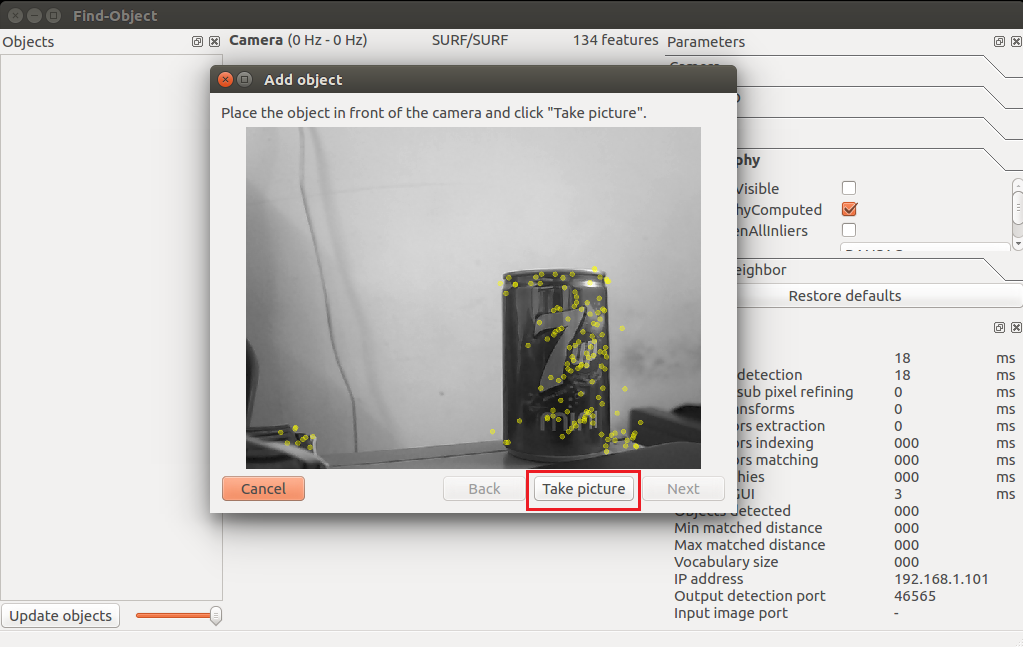
- You can right-click on the left-hand side panel (Objects) of this window, and you will get an option to Add objects from scene. If you choose this option, you will be directed to mark the object from the current scene, and after completing the marking, the marked object will start to track from the scene. The previous screenshot shows the first step, which is taking a snap of the scene having the object.
- After aligning the object toward the camera, press the Take Picture button to take a snap of the object:
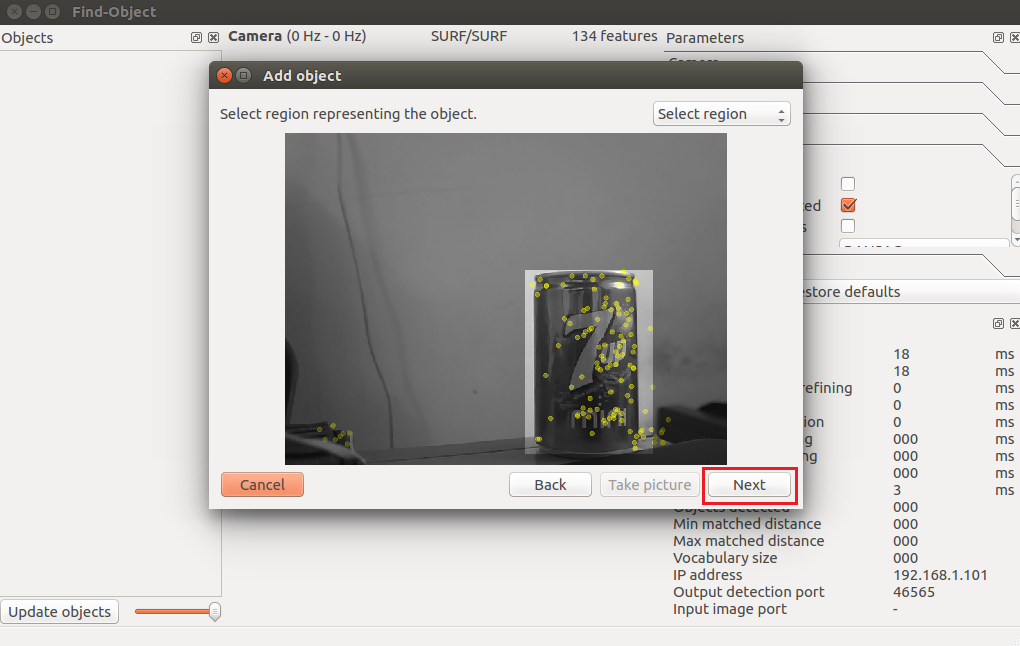
- The next window is for marking the object from the current snap. The following figure shows this. We can use the mouse pointer to mark the object. Click on the Next button to crop the object, and you can proceed to the next step:
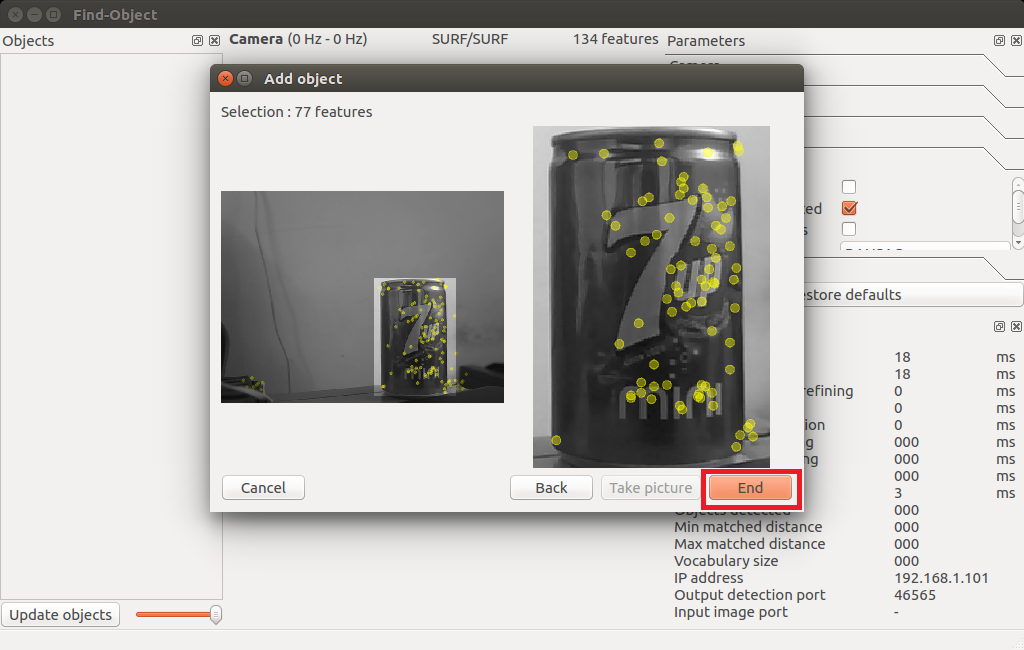
- After cropping the object, it will show you the total number of feature descriptors on the object, and you can press the End button to add the object template for detection. The following figure shows the last stage of adding an object template to this detector application:
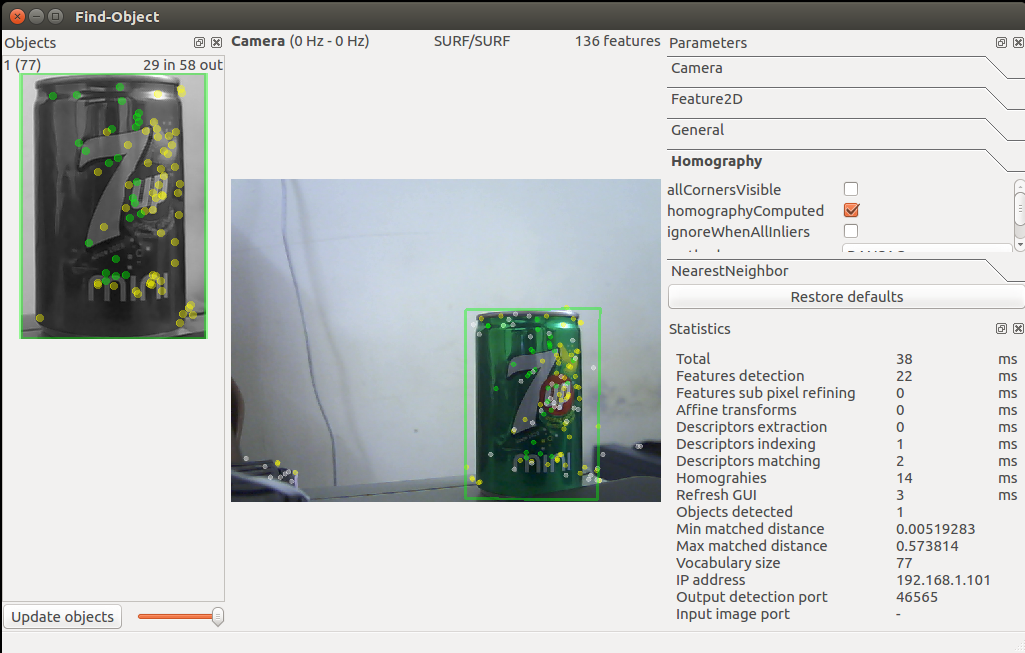
- Congratulations! You have added an object for detection. Immediately after adding the object, you will be able to see the detection shown in the following figure. You can see a bounding box around the detected object:
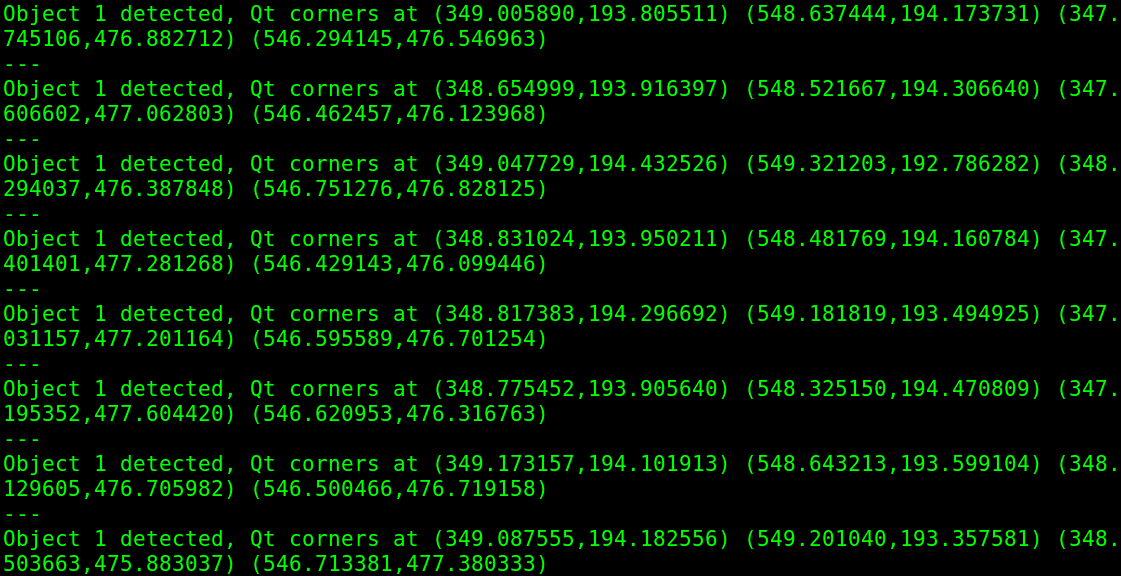
- Is that enough? What about the position of the object? We can retrieve the position of the object using the following command:
$ rosrun find_object_2d print_objects_detected
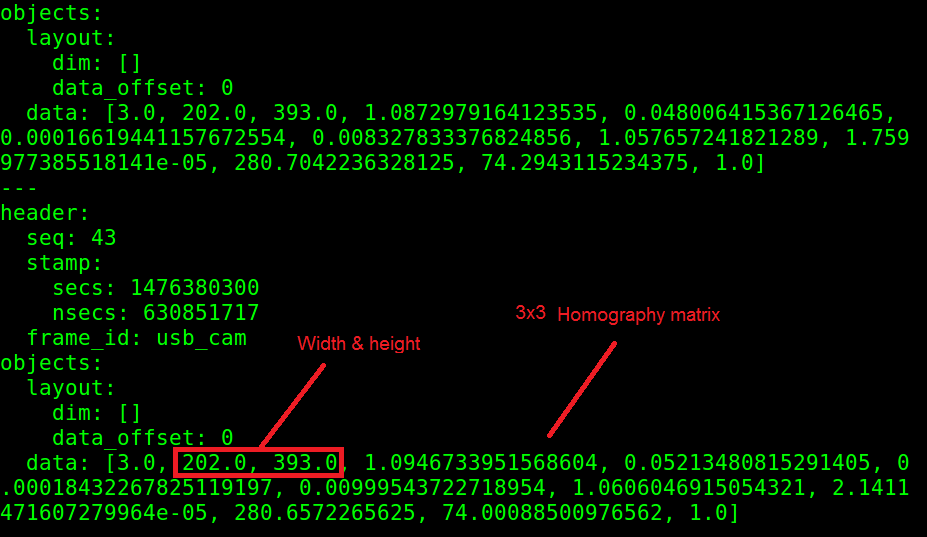
- You can also get the complete information about the detected object from the /object topic. The topic publishes a multi-array that consist of the width and height of the object and the homography matrix to compute the position and orientation of the object and its scale and shear values. You can echo the /objects topic to get output like this:
- We can compute the new position and orientation from the following equations:
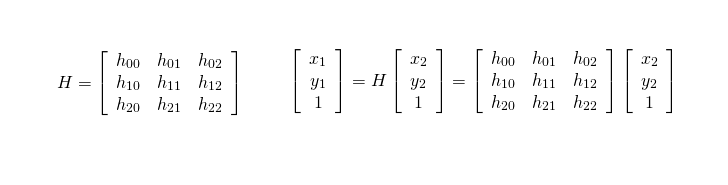
Here, H is the homography 3x3 matrix, (x1, y1) is the object's position in the stored image, and (x2, y2) is the computed object position in the current frame.